

Side Gallery presents a printmaking group exhibition, ‘Tacit’, comprised of local artists Dulcet Gray, Kitty Horton, Simon Roots and Summa Shing. ‘Tacit’ displays a broad range of mixed media printmaking techniques and approaches, reflecting each artist’s individual practice.

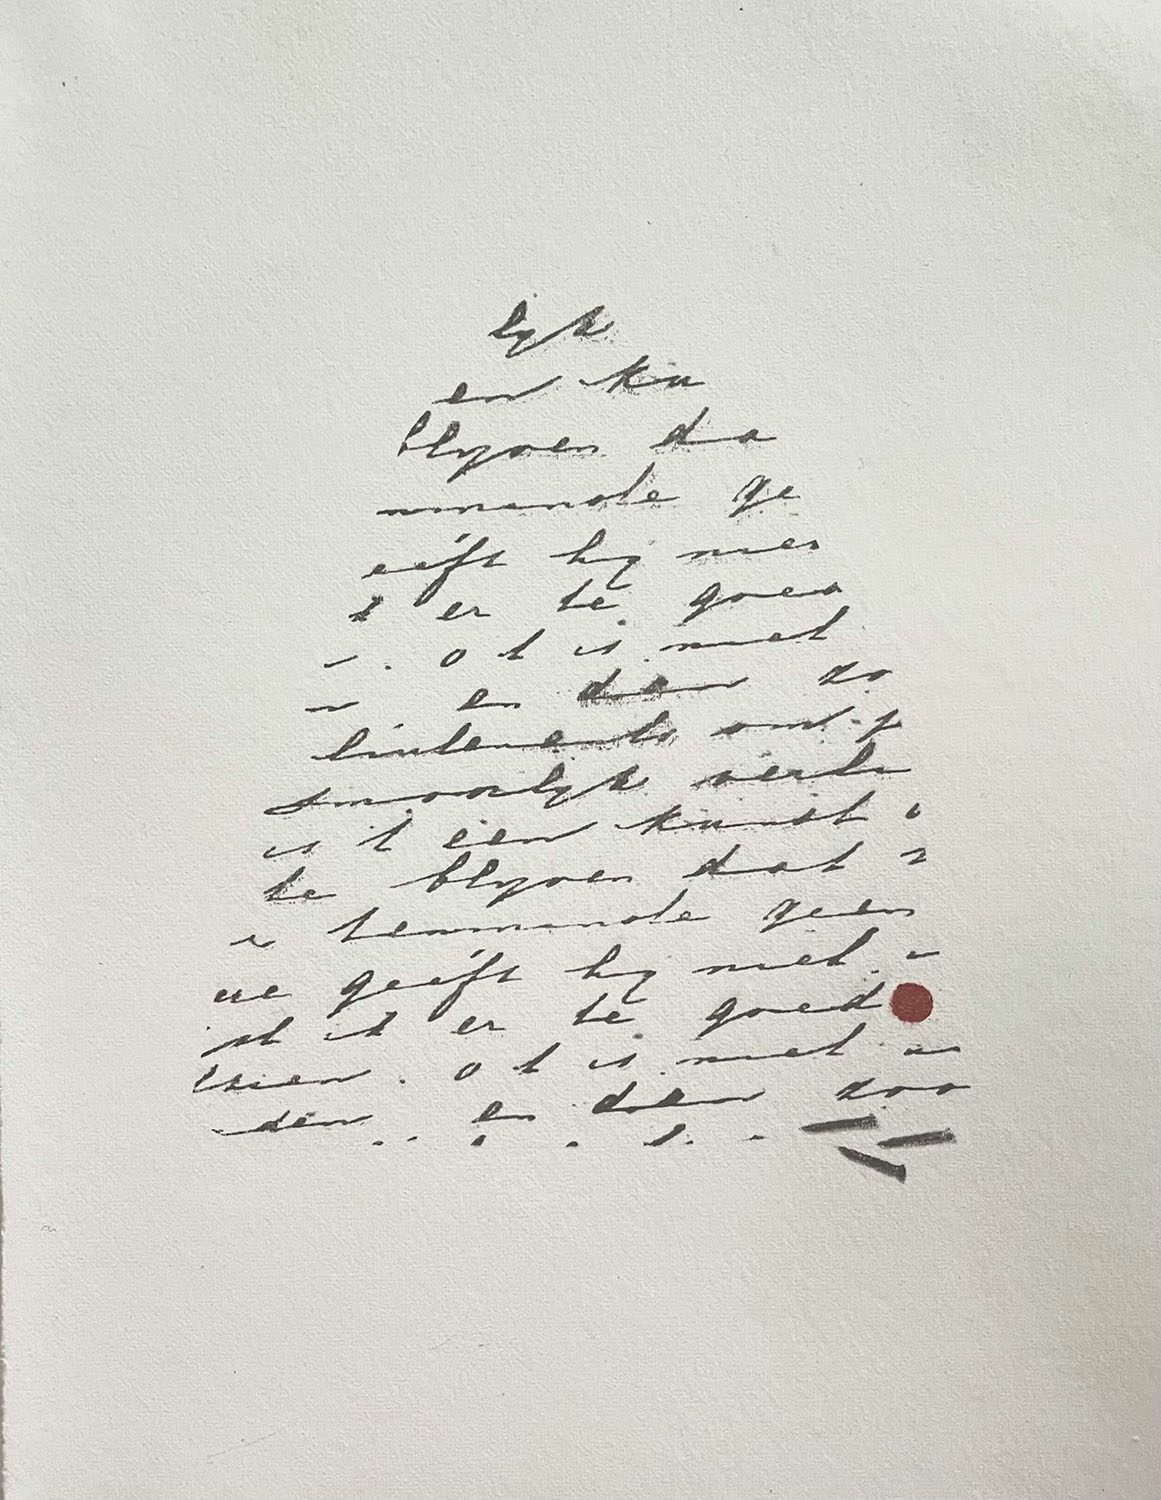
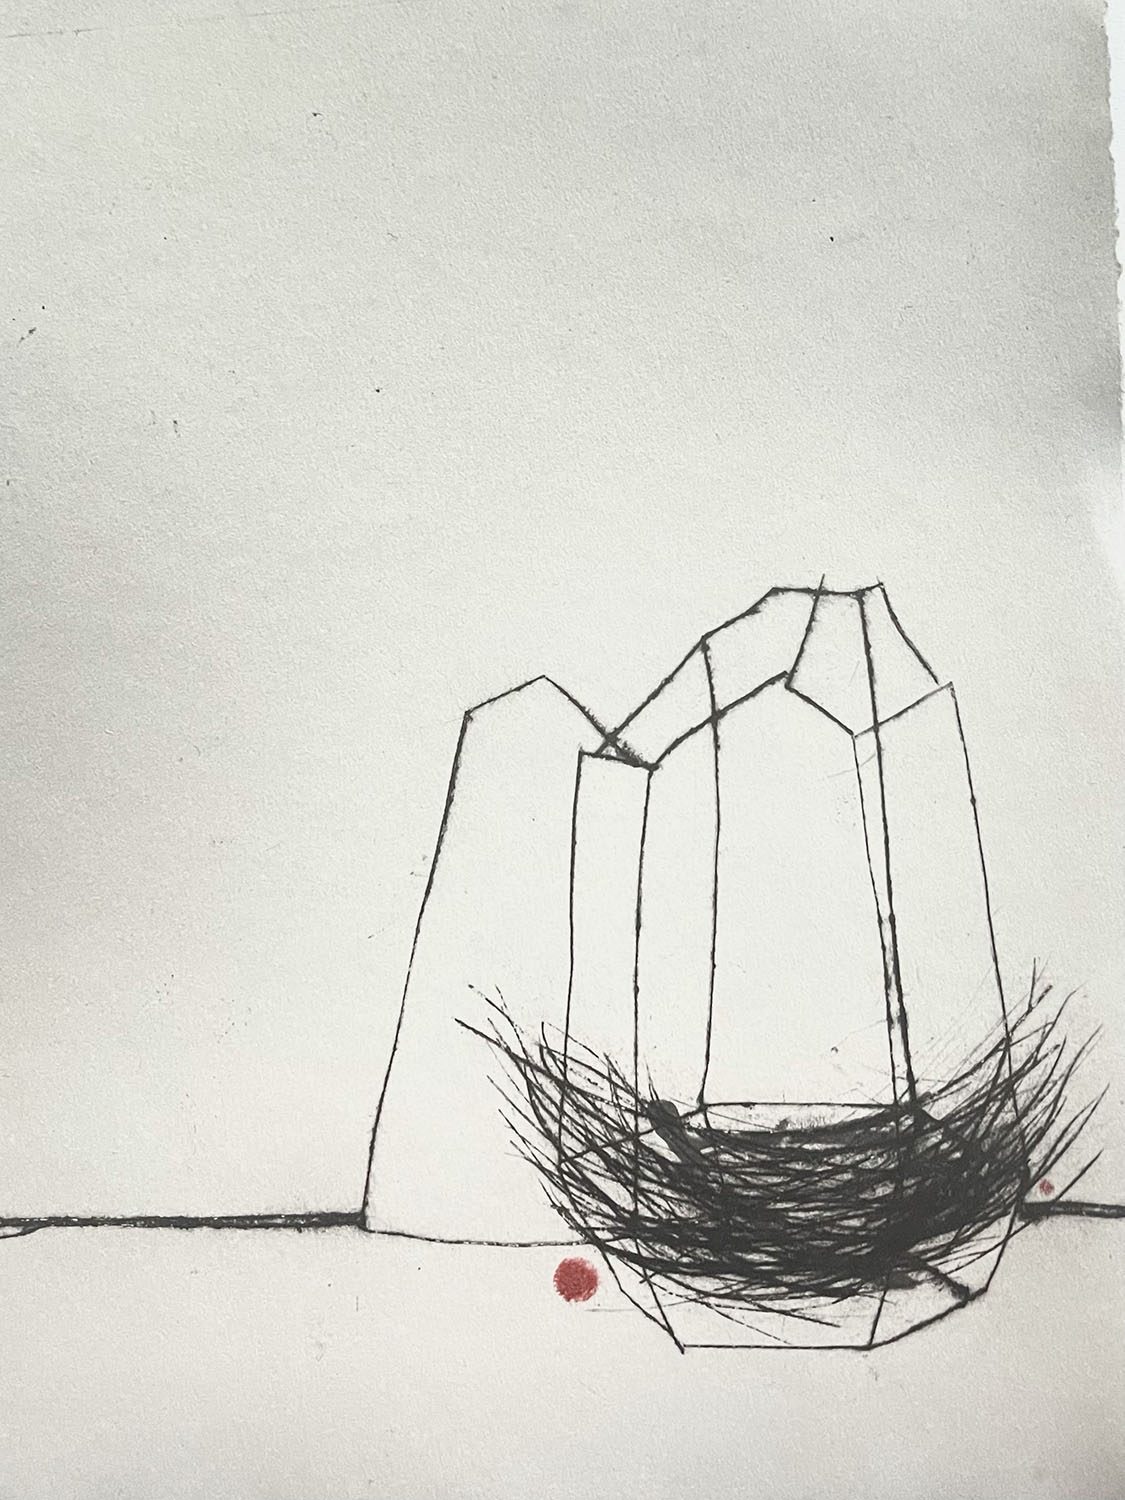
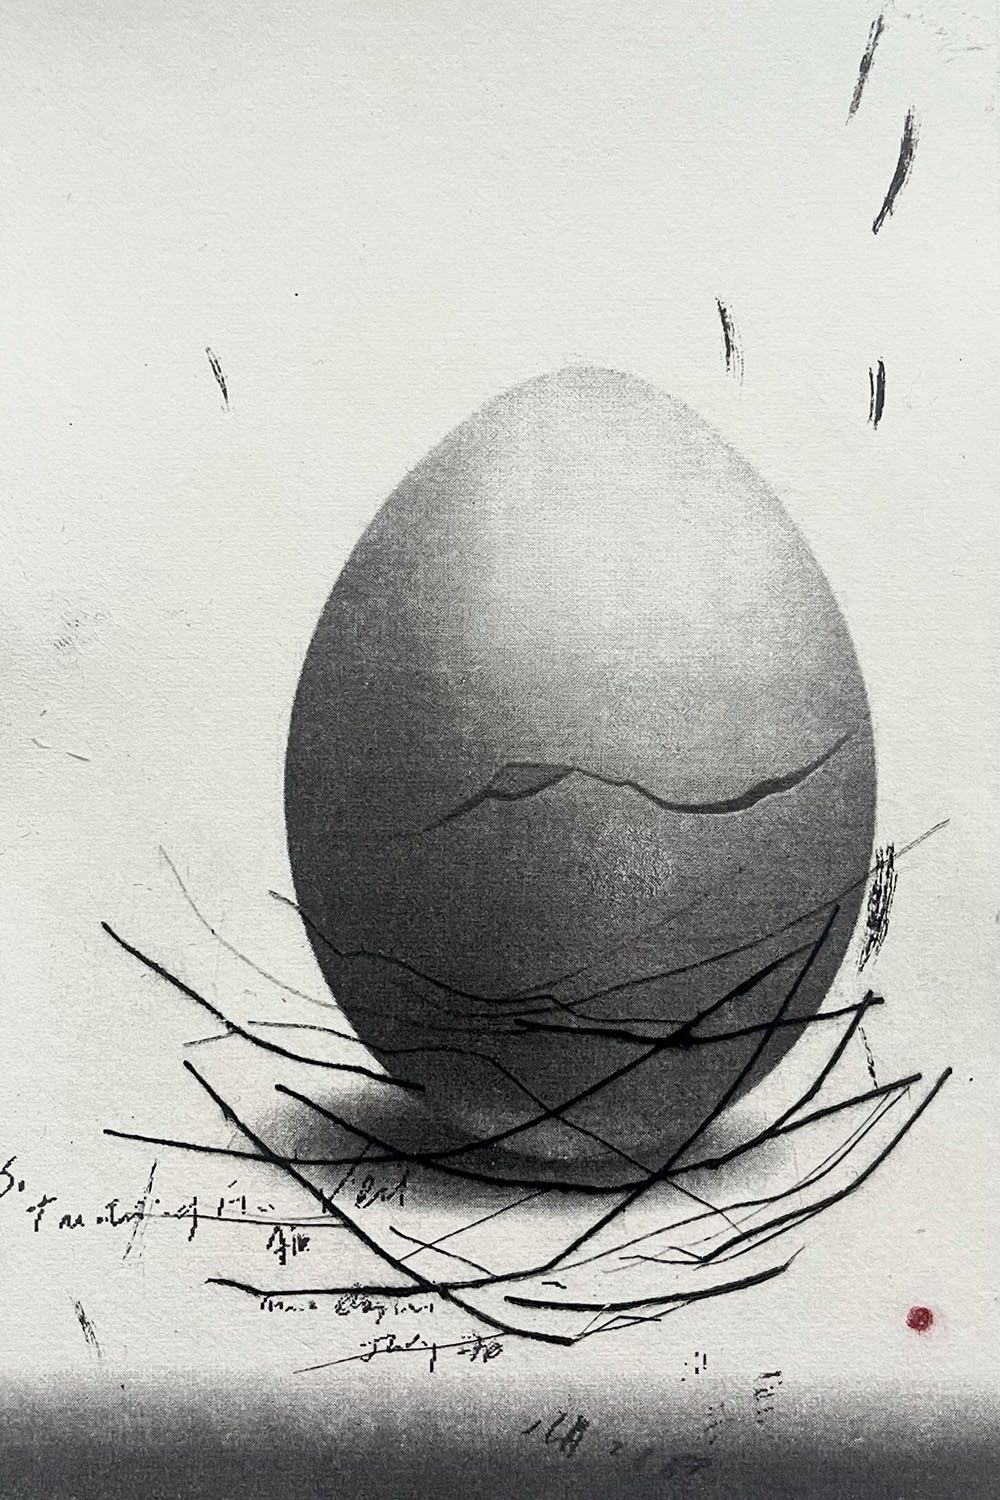
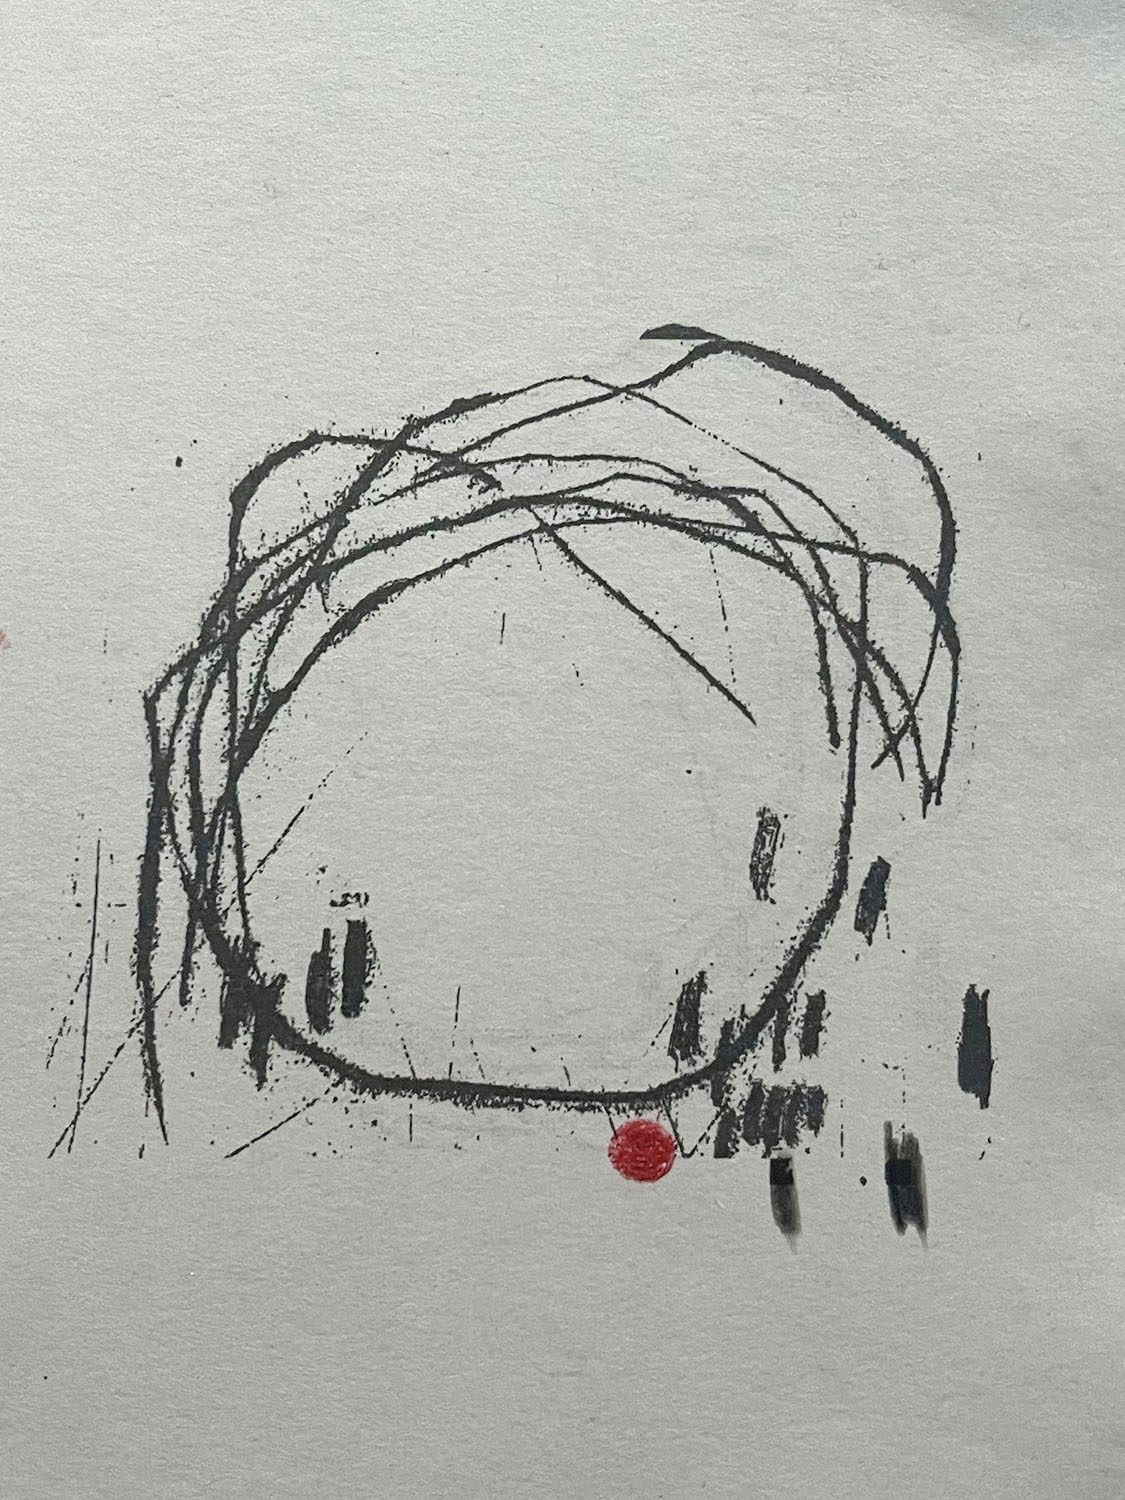
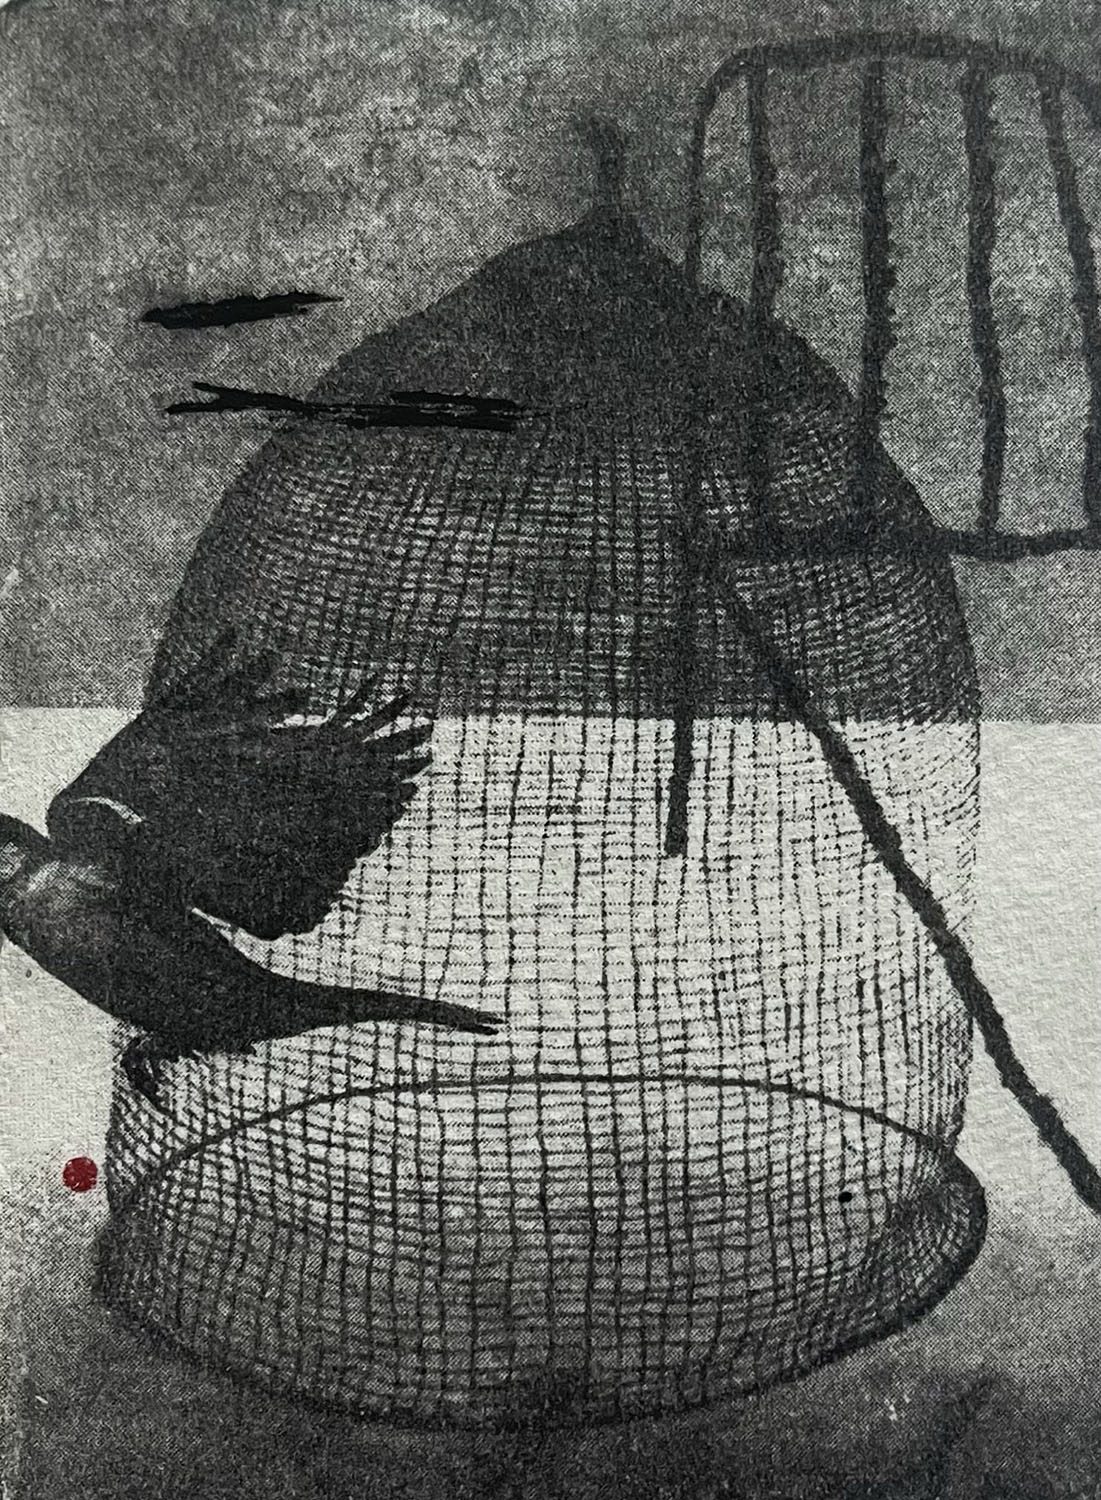
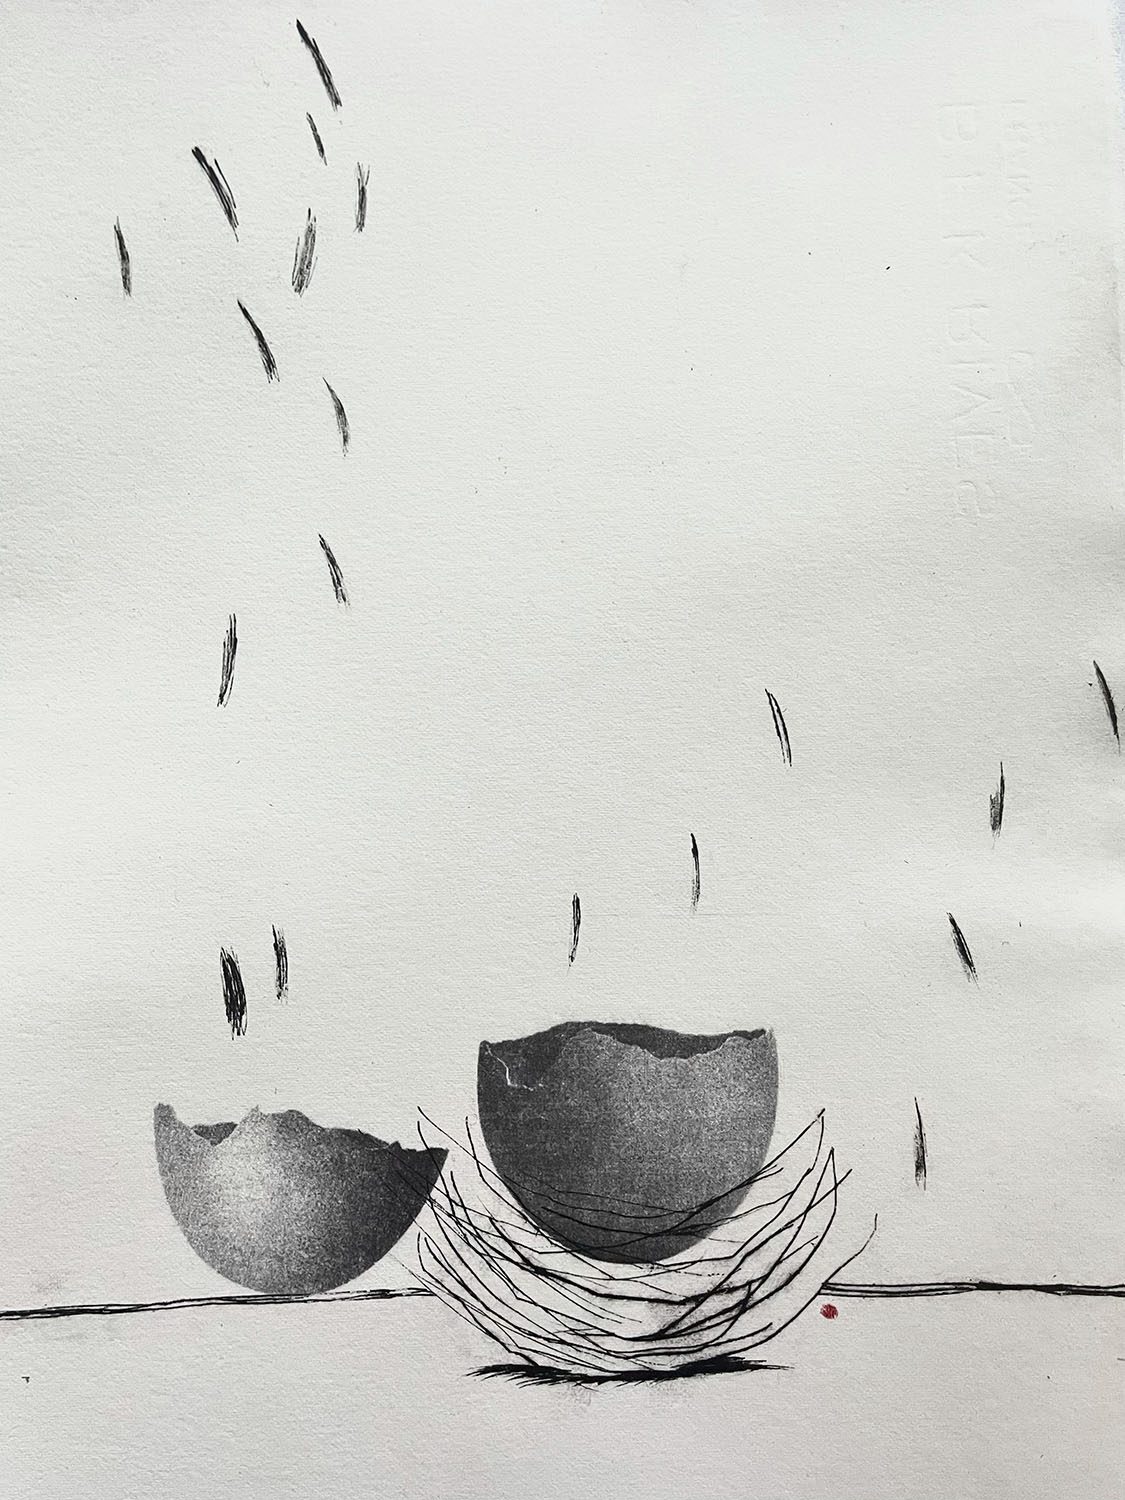
Still Life — Kitty Horton 2021
dry point, photographic transfer & mixed media on Stonehenge paper
19 x 14 cm
$70 unframed, $100 framed
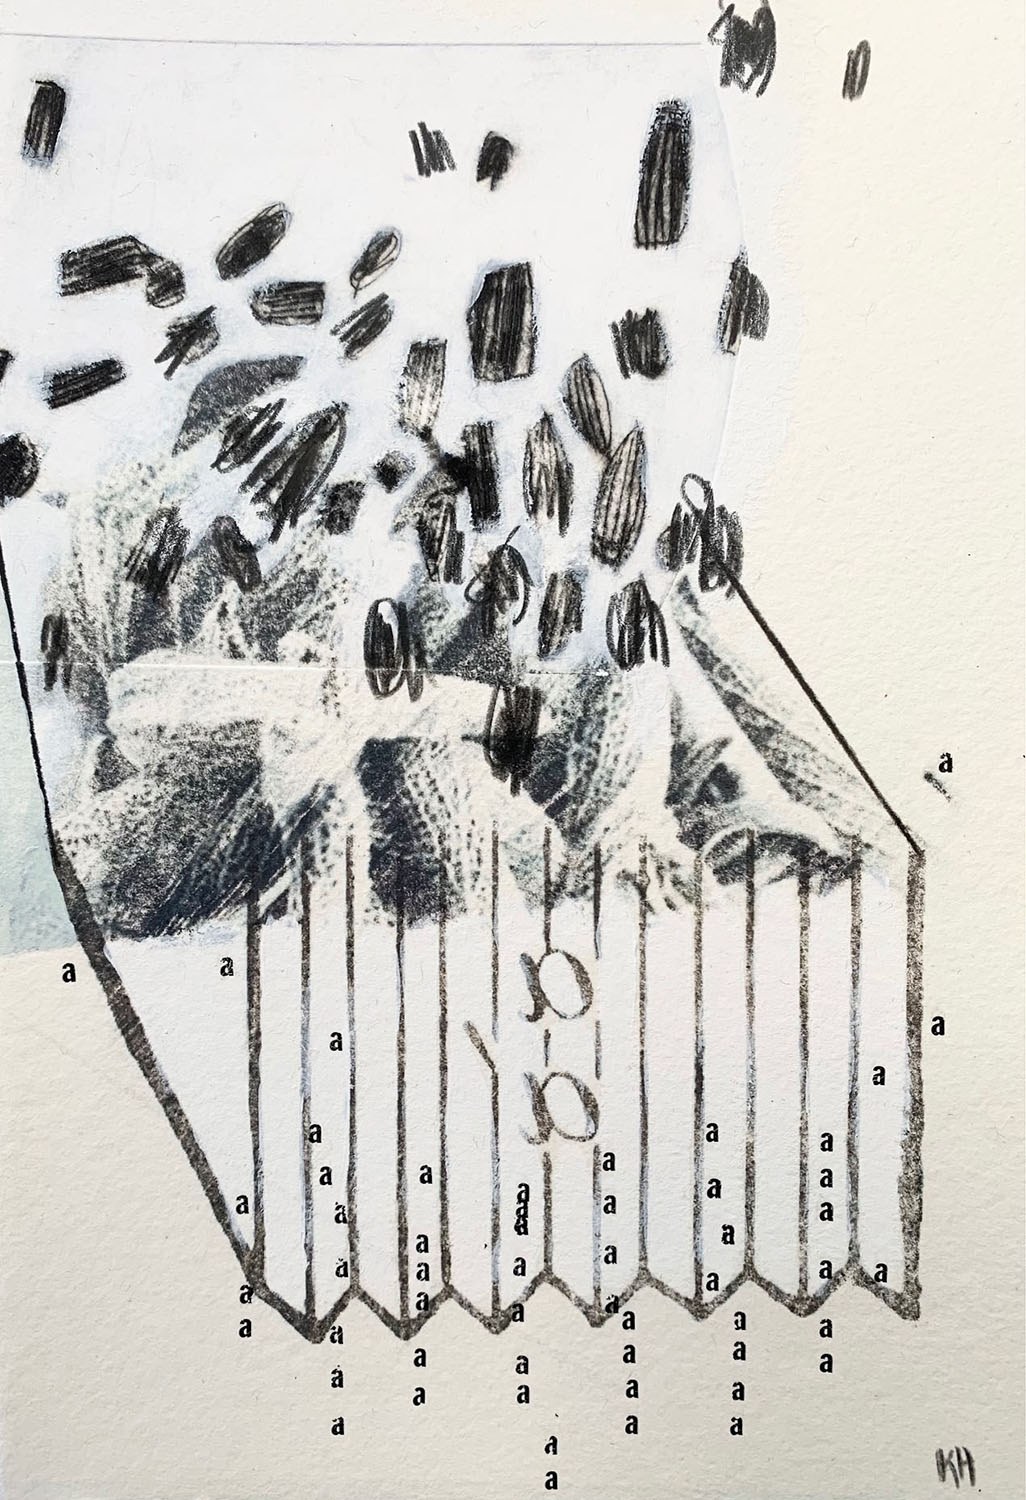
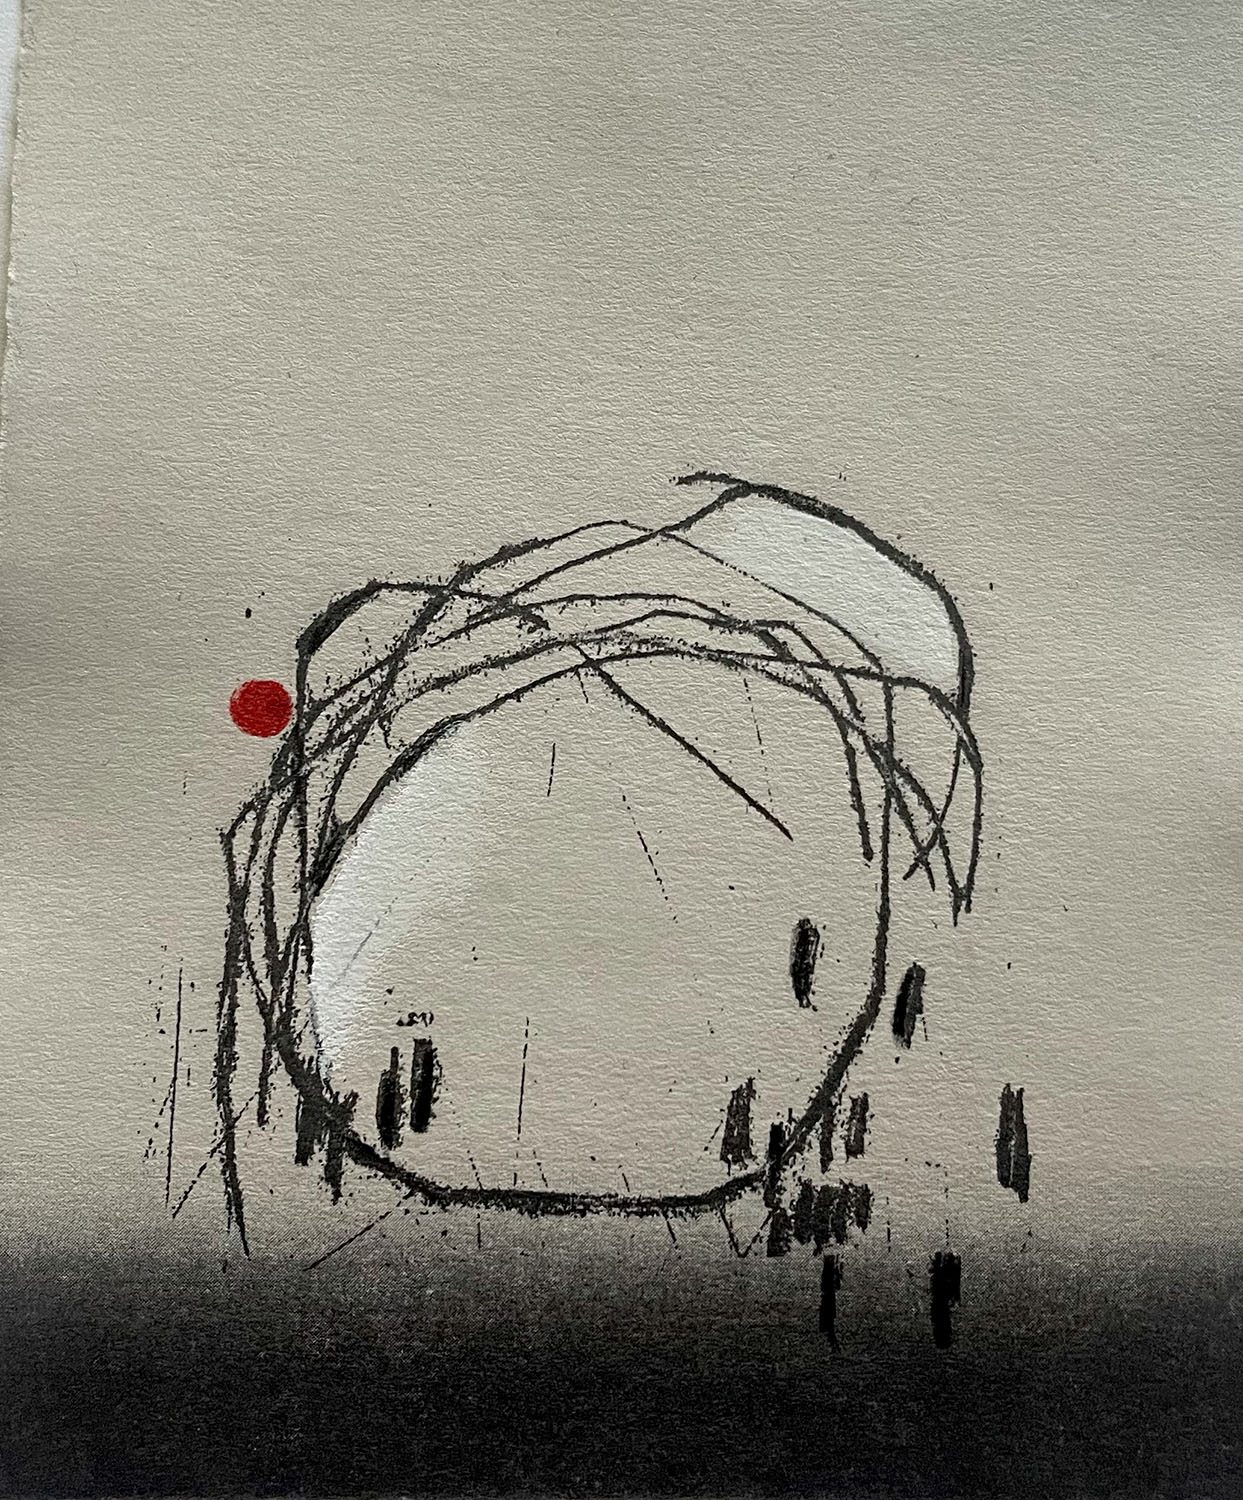
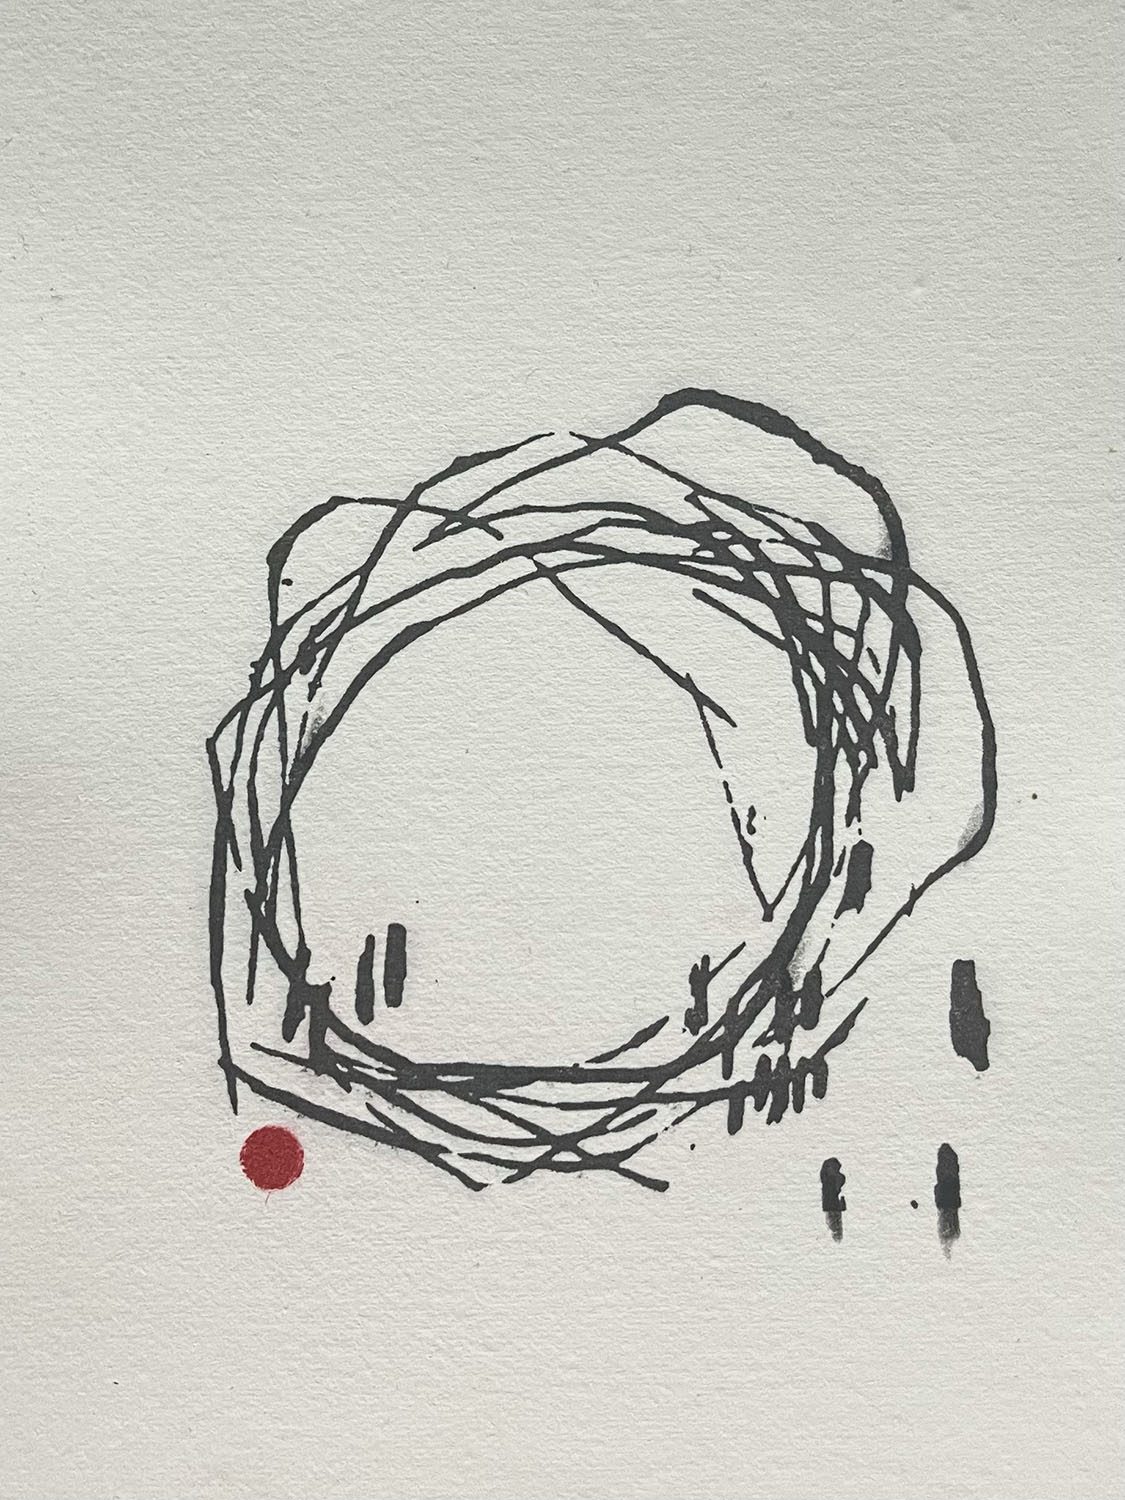
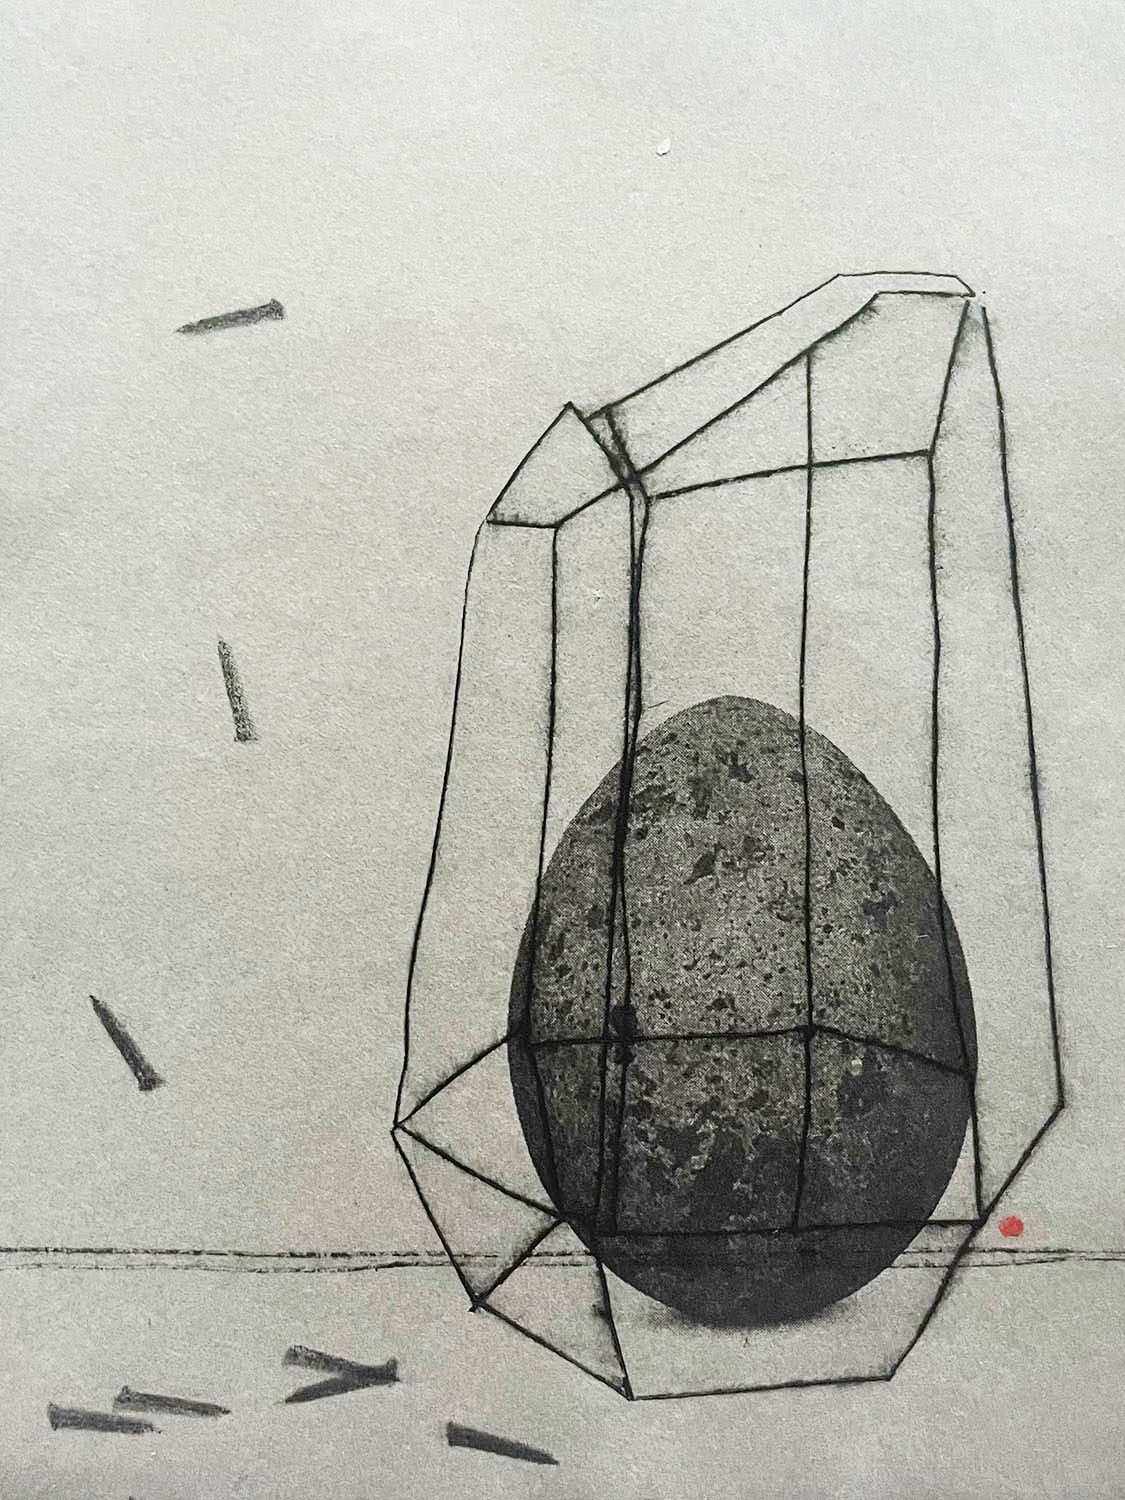
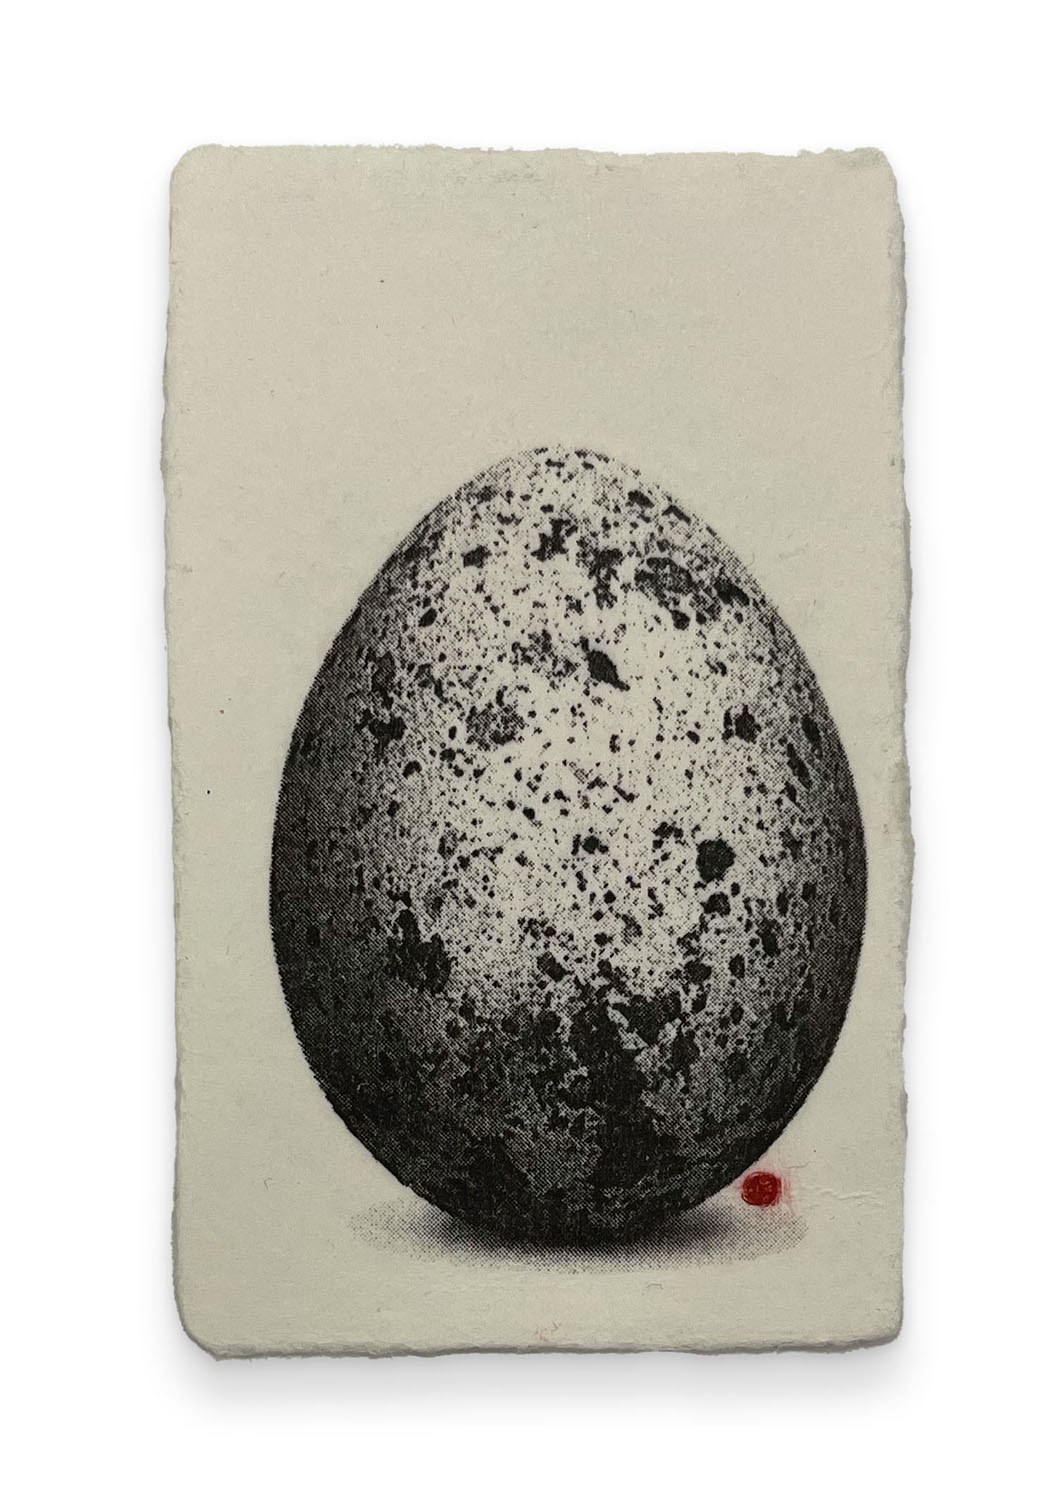
A — Kitty Horton 2021
dry point, photographic transfer & mixed media on Hahnemuhle paper
19 x 13.5 cm
$70
 Sold
Sold
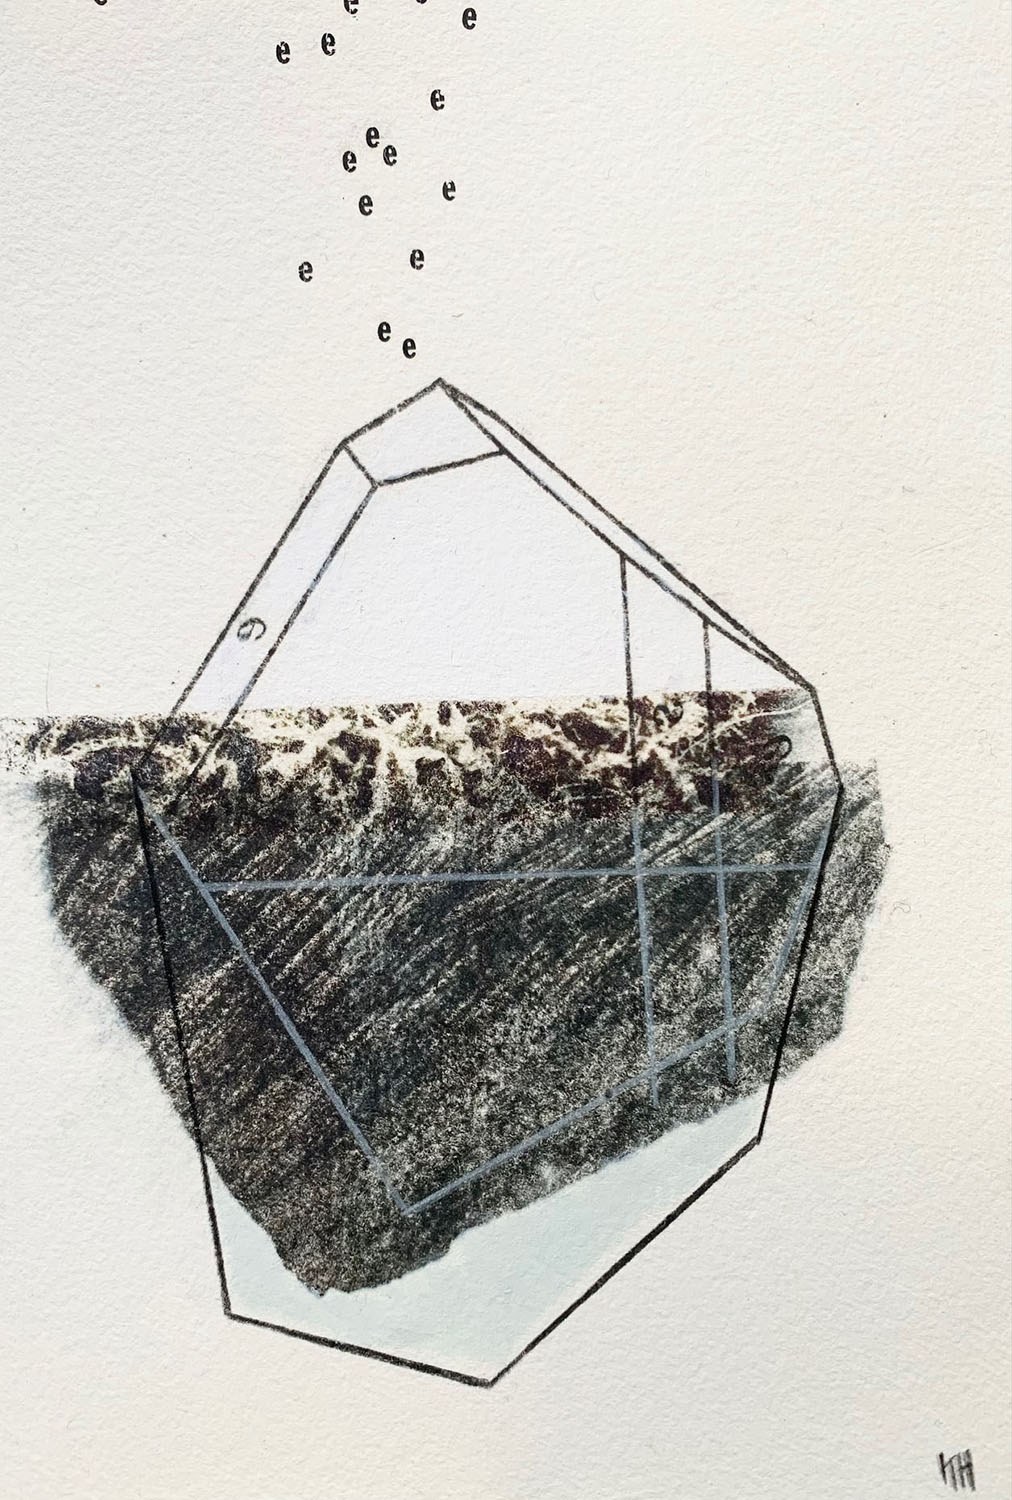
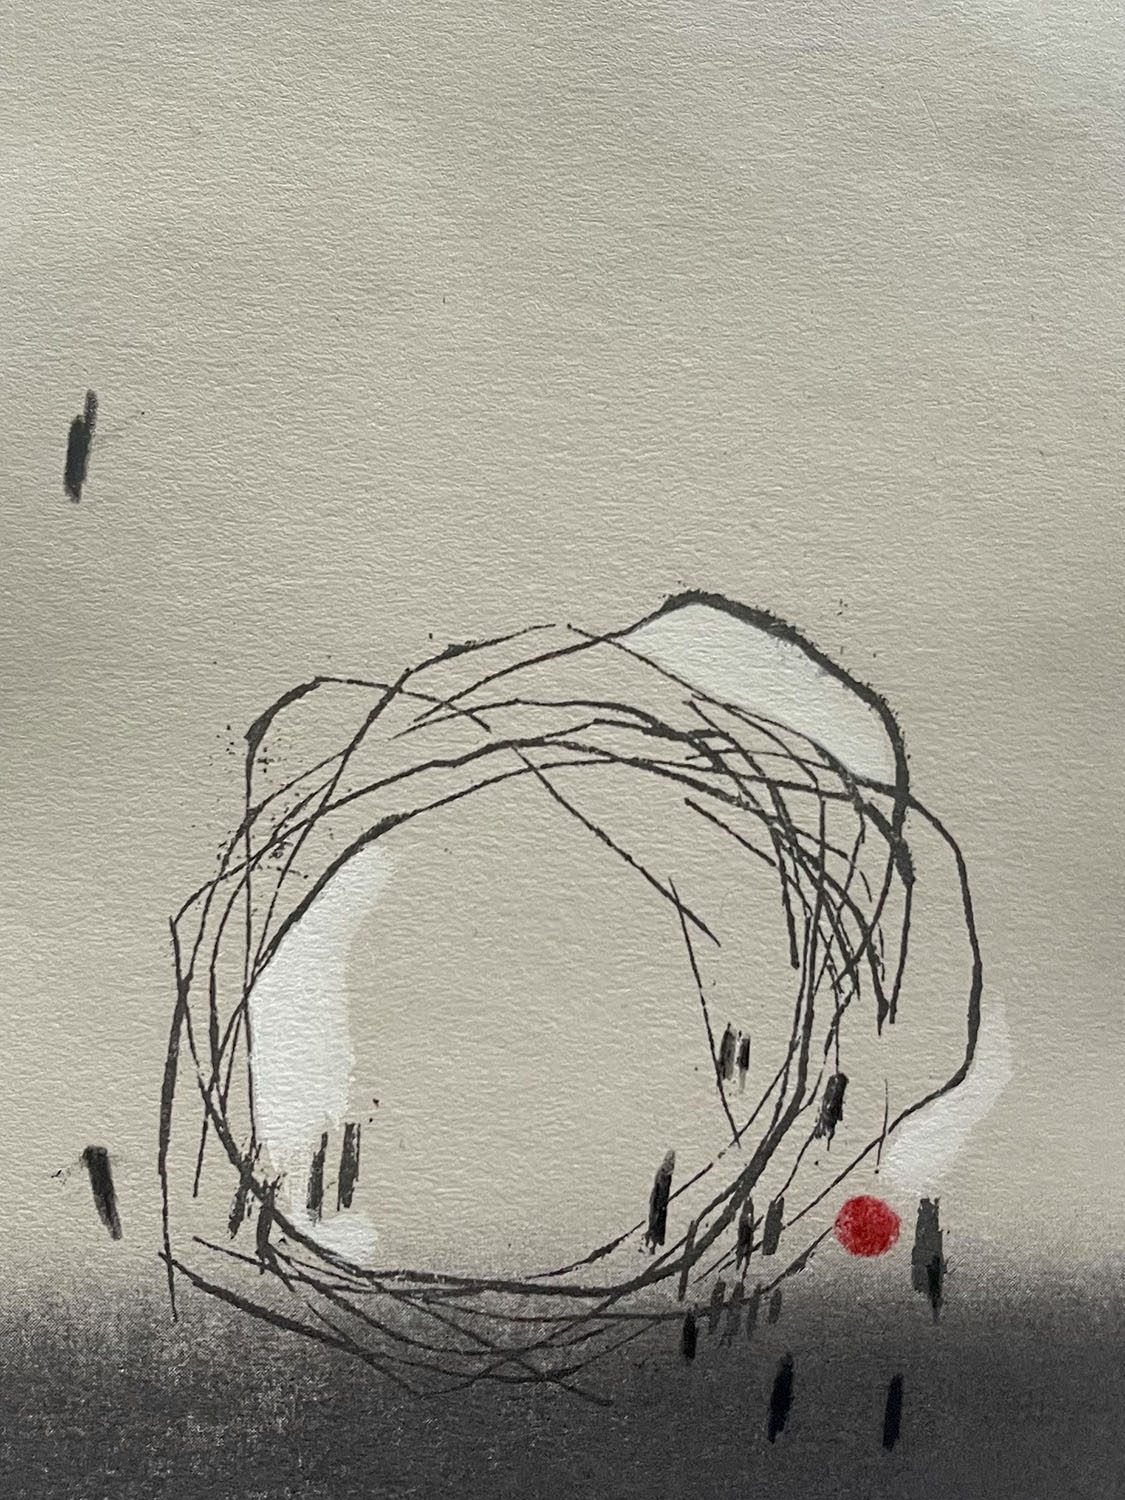
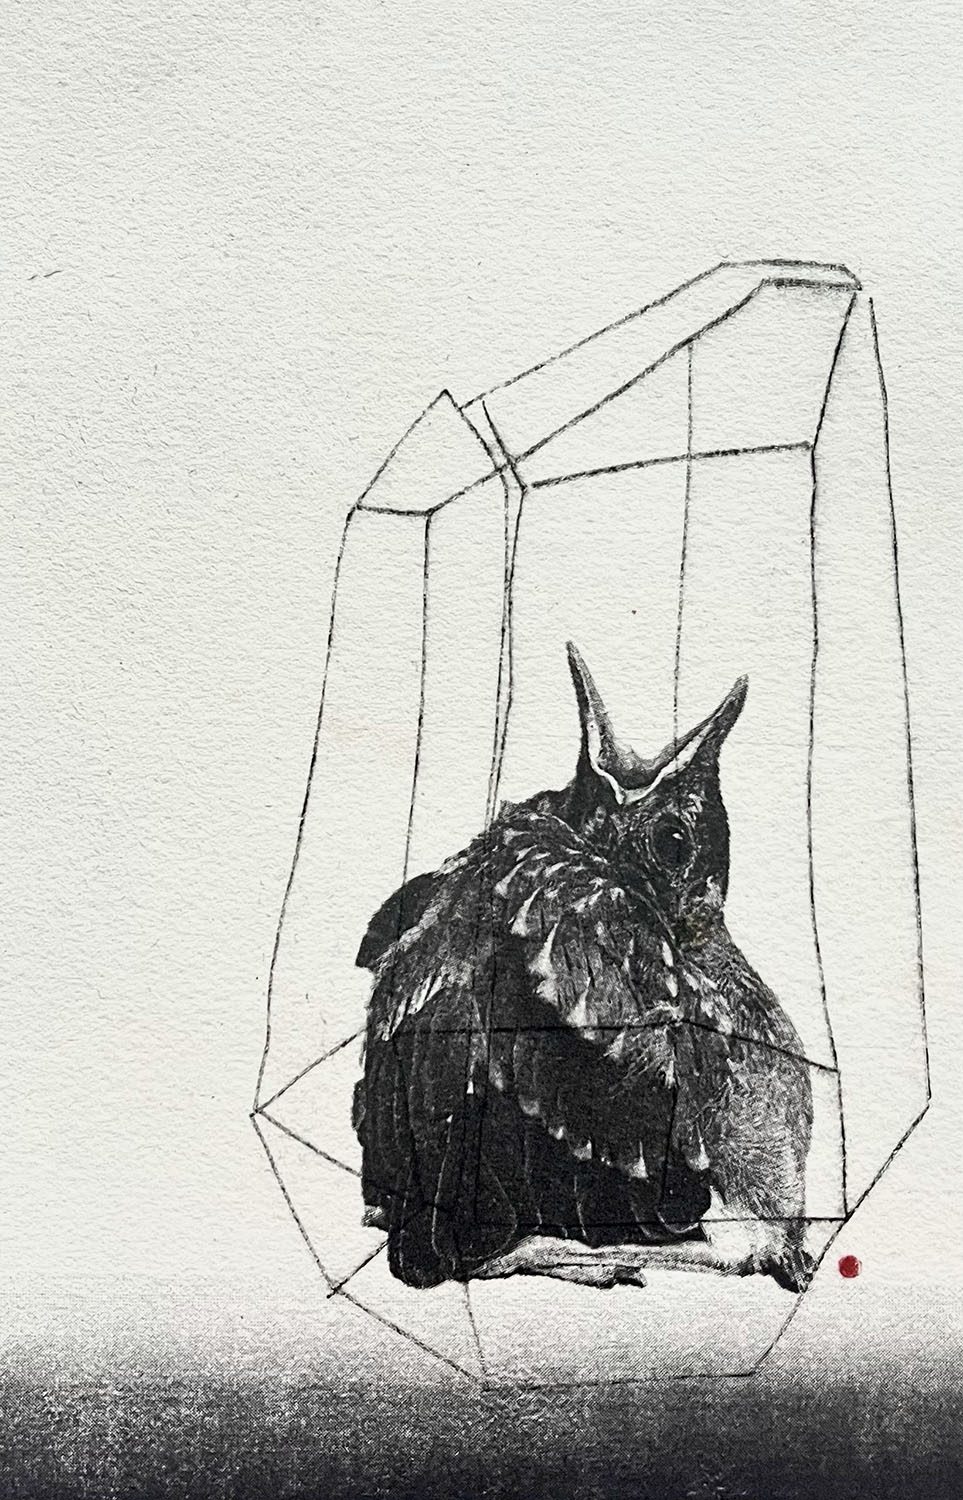
Above Below — Kitty Horton 2021
dry point, photographic transfer & mixed media on Hahnemuhle paper
19 x 13.5 cm
$70 Sold
 Sold
Sold
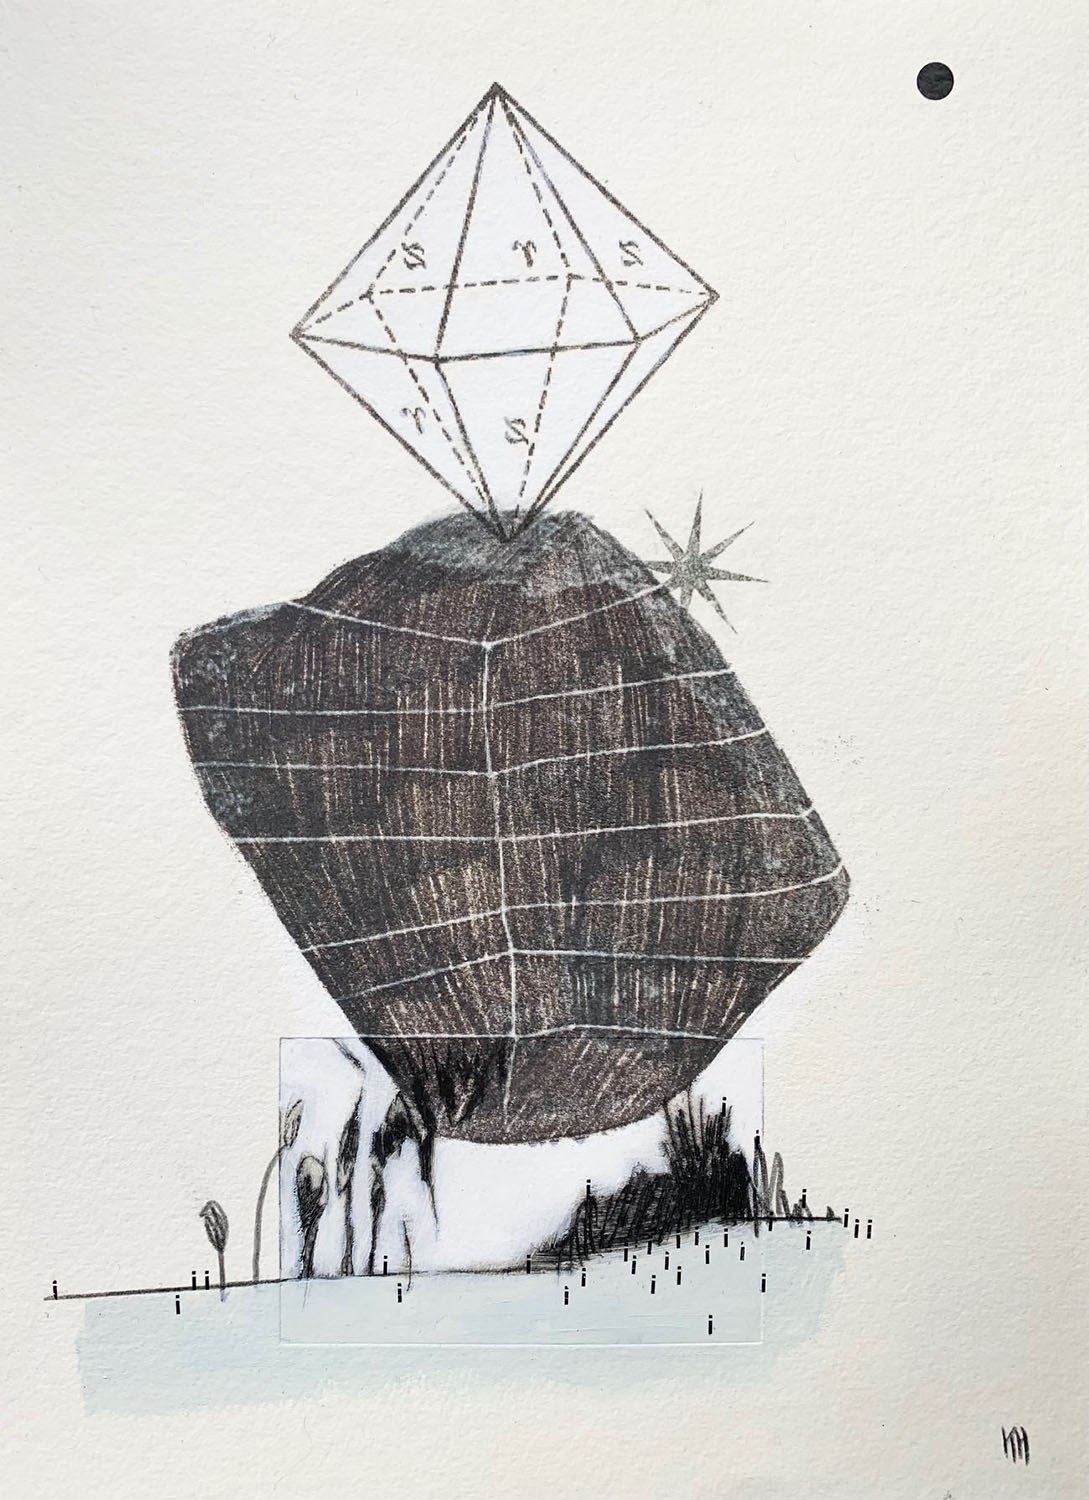
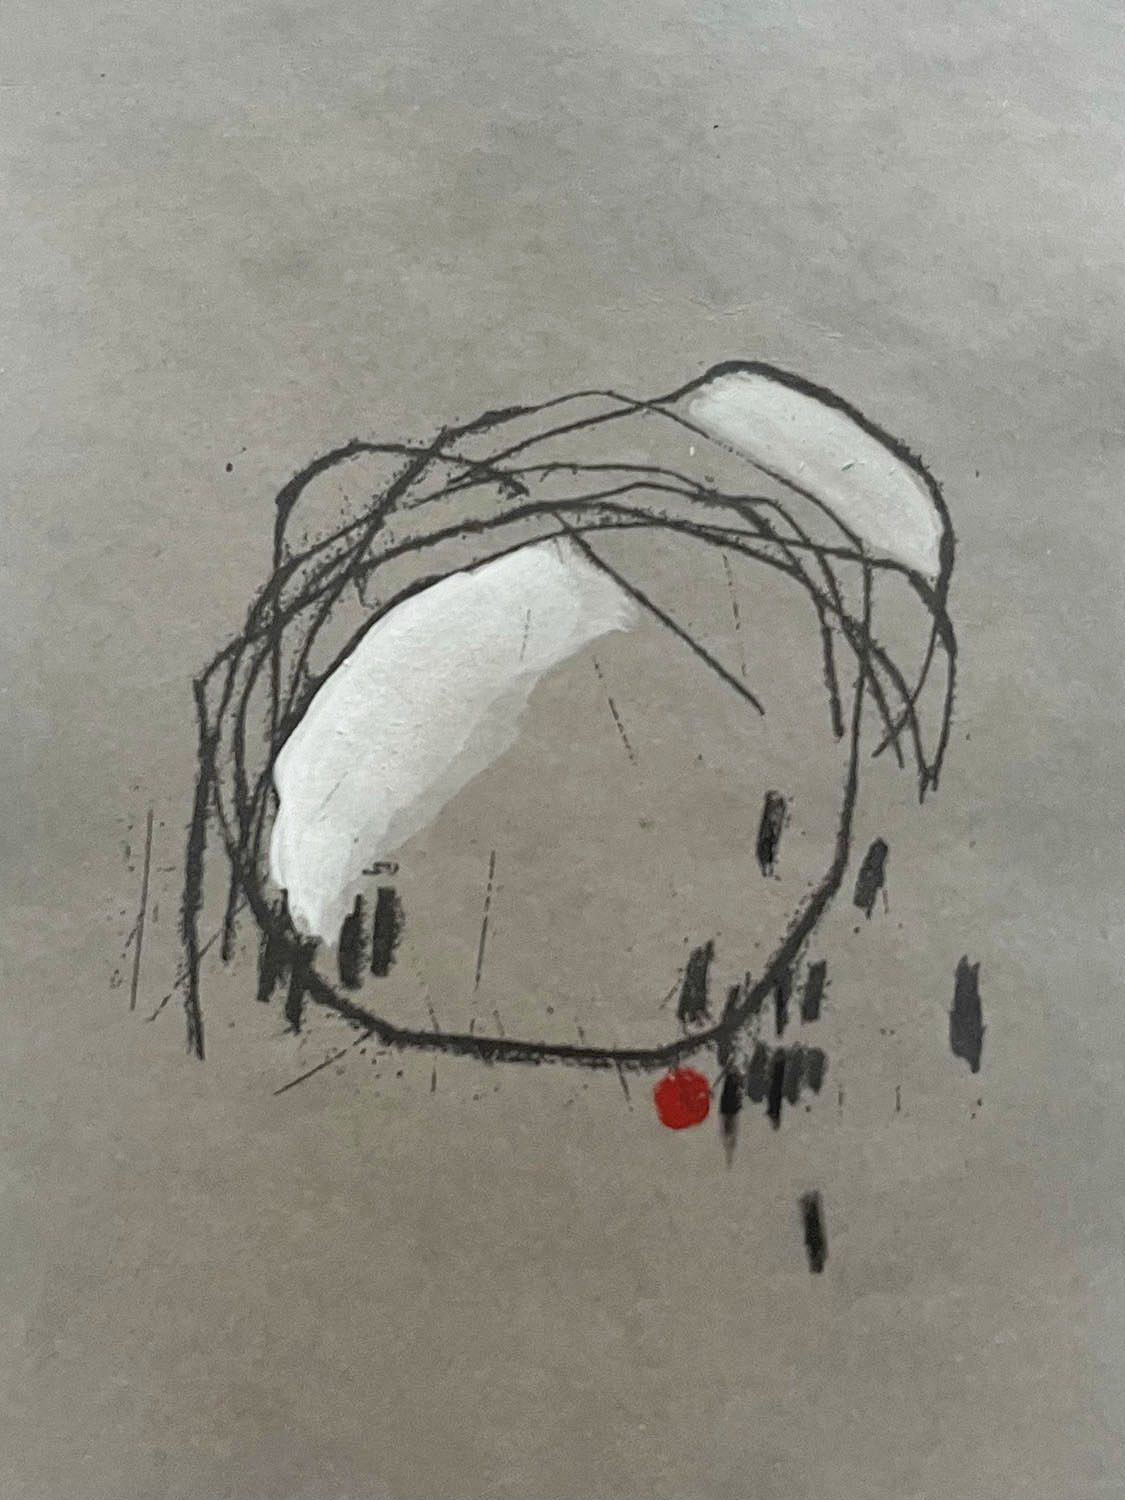
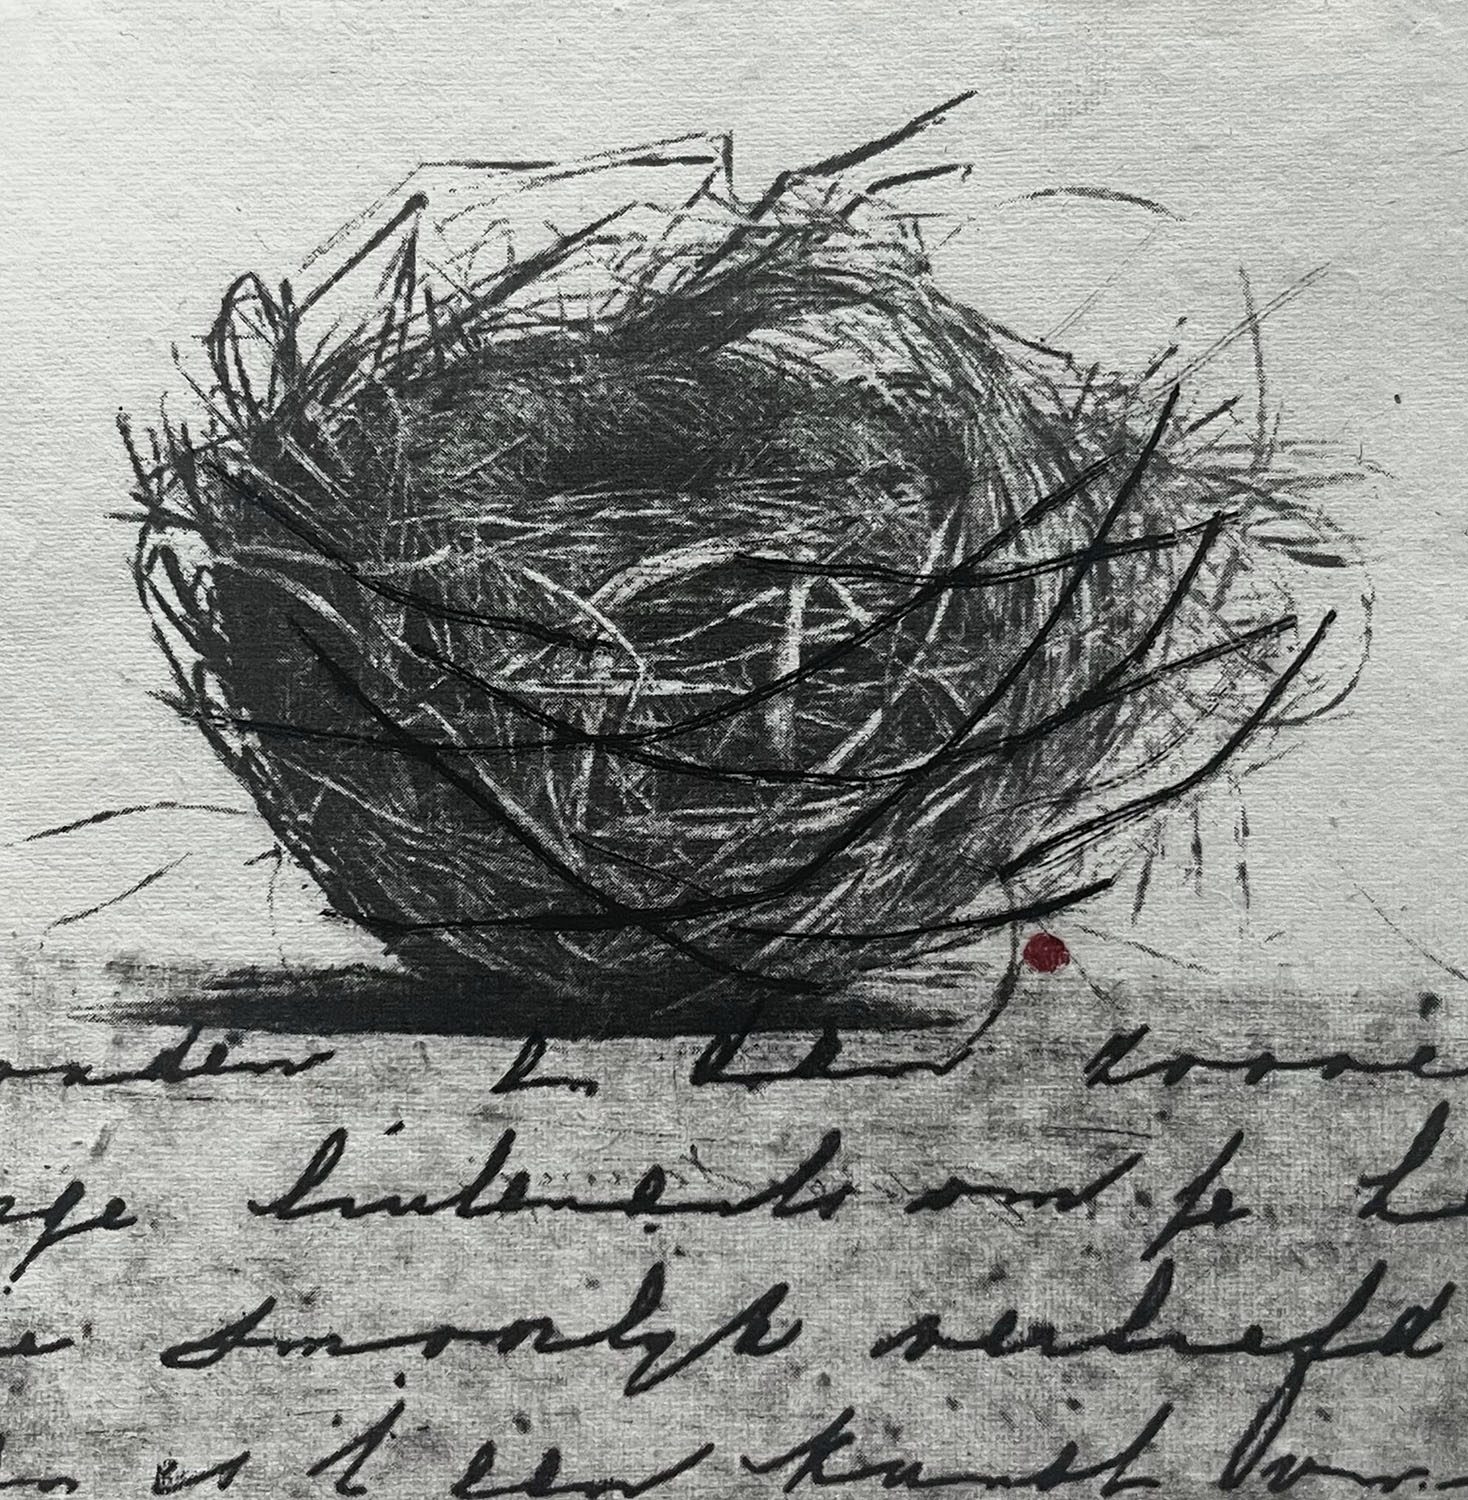
Celestial — Kitty Horton 2021
dry point, photographic transfer & mixed media on Hahnemuhle paper
26 x 20 cm
$120 Sold
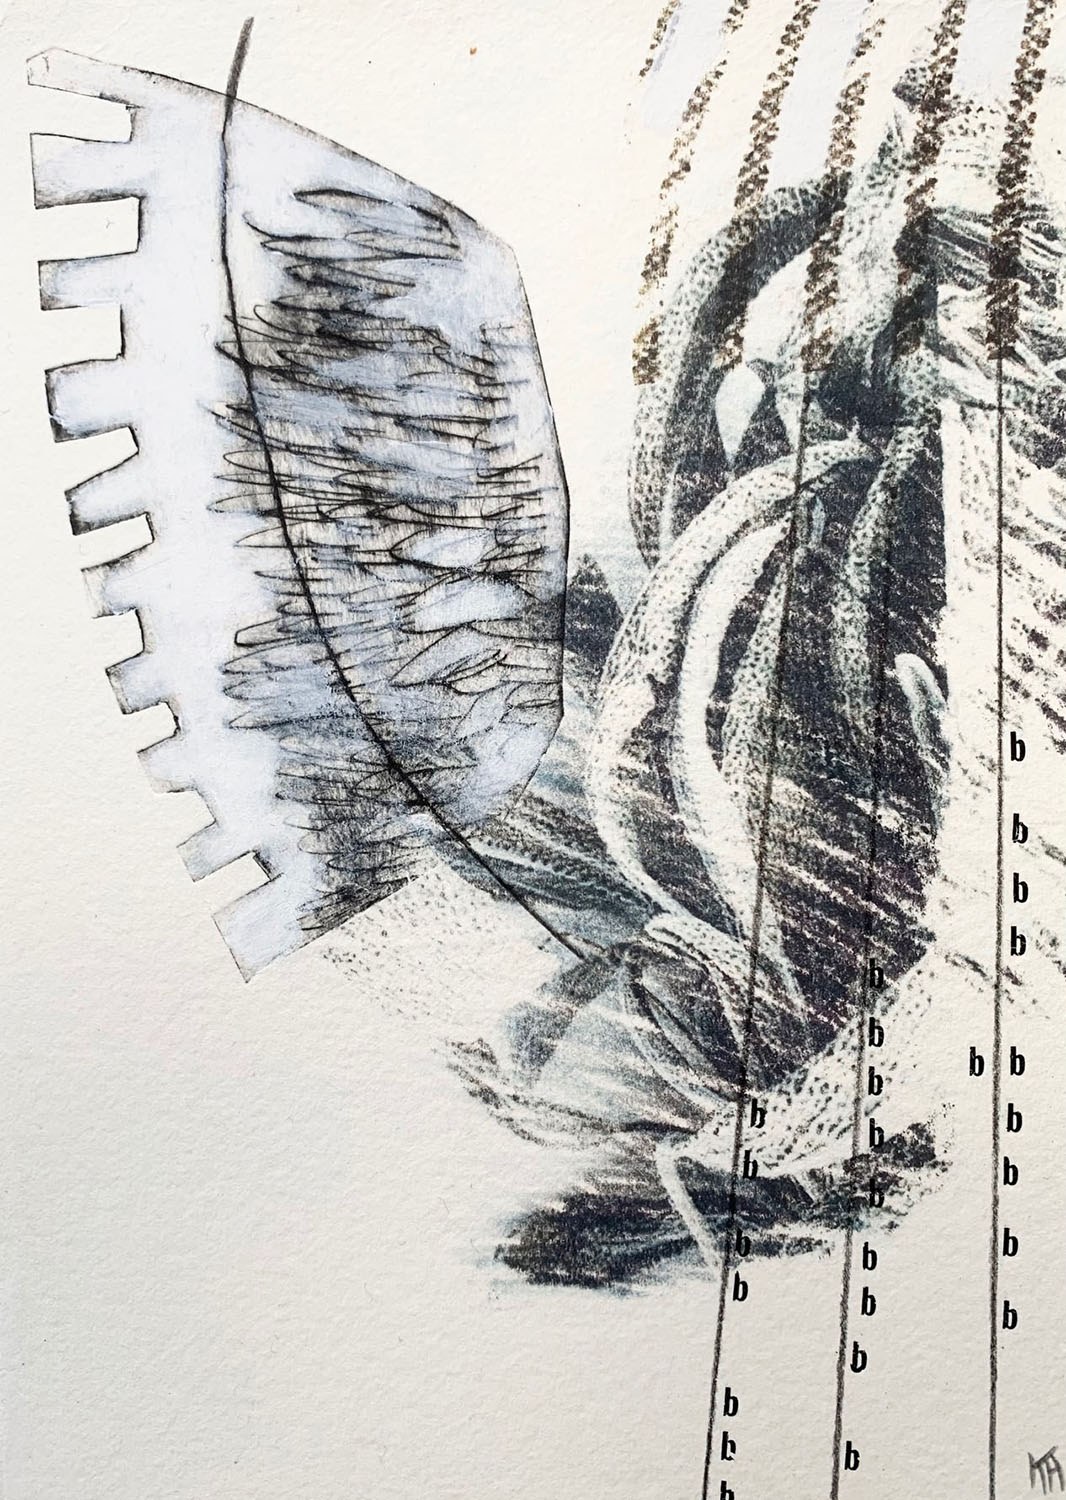
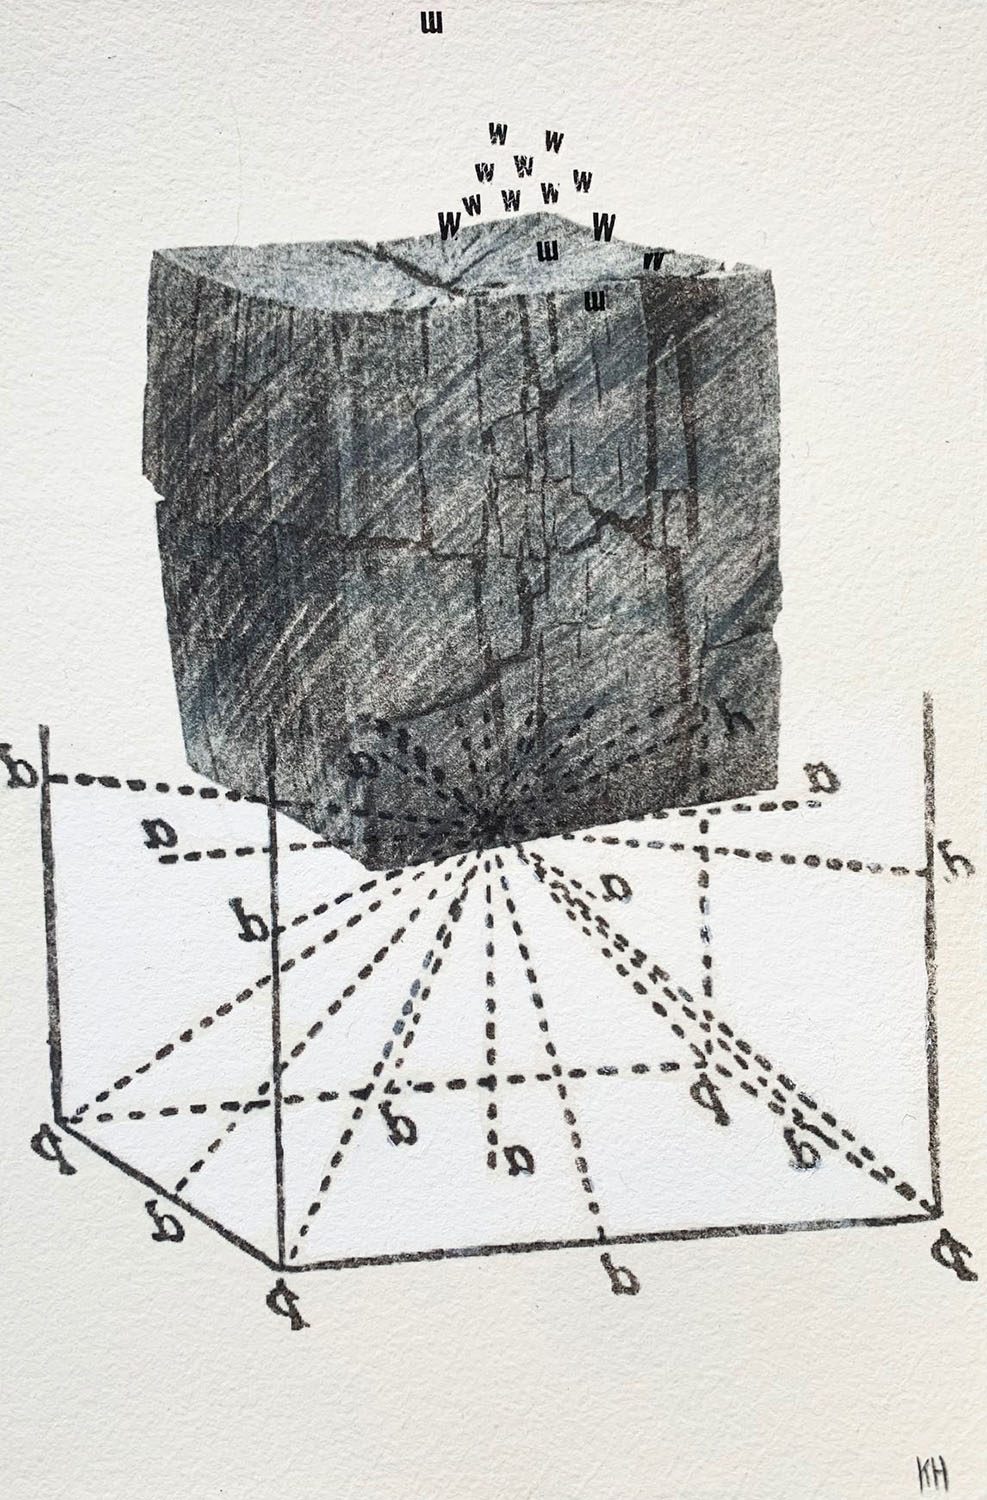
Chart — Kitty Horton 2021
dry point, photographic transfer & mixed media on Hahnemuhle paper
19 x 13.5 cm
$70
 Sold
Sold
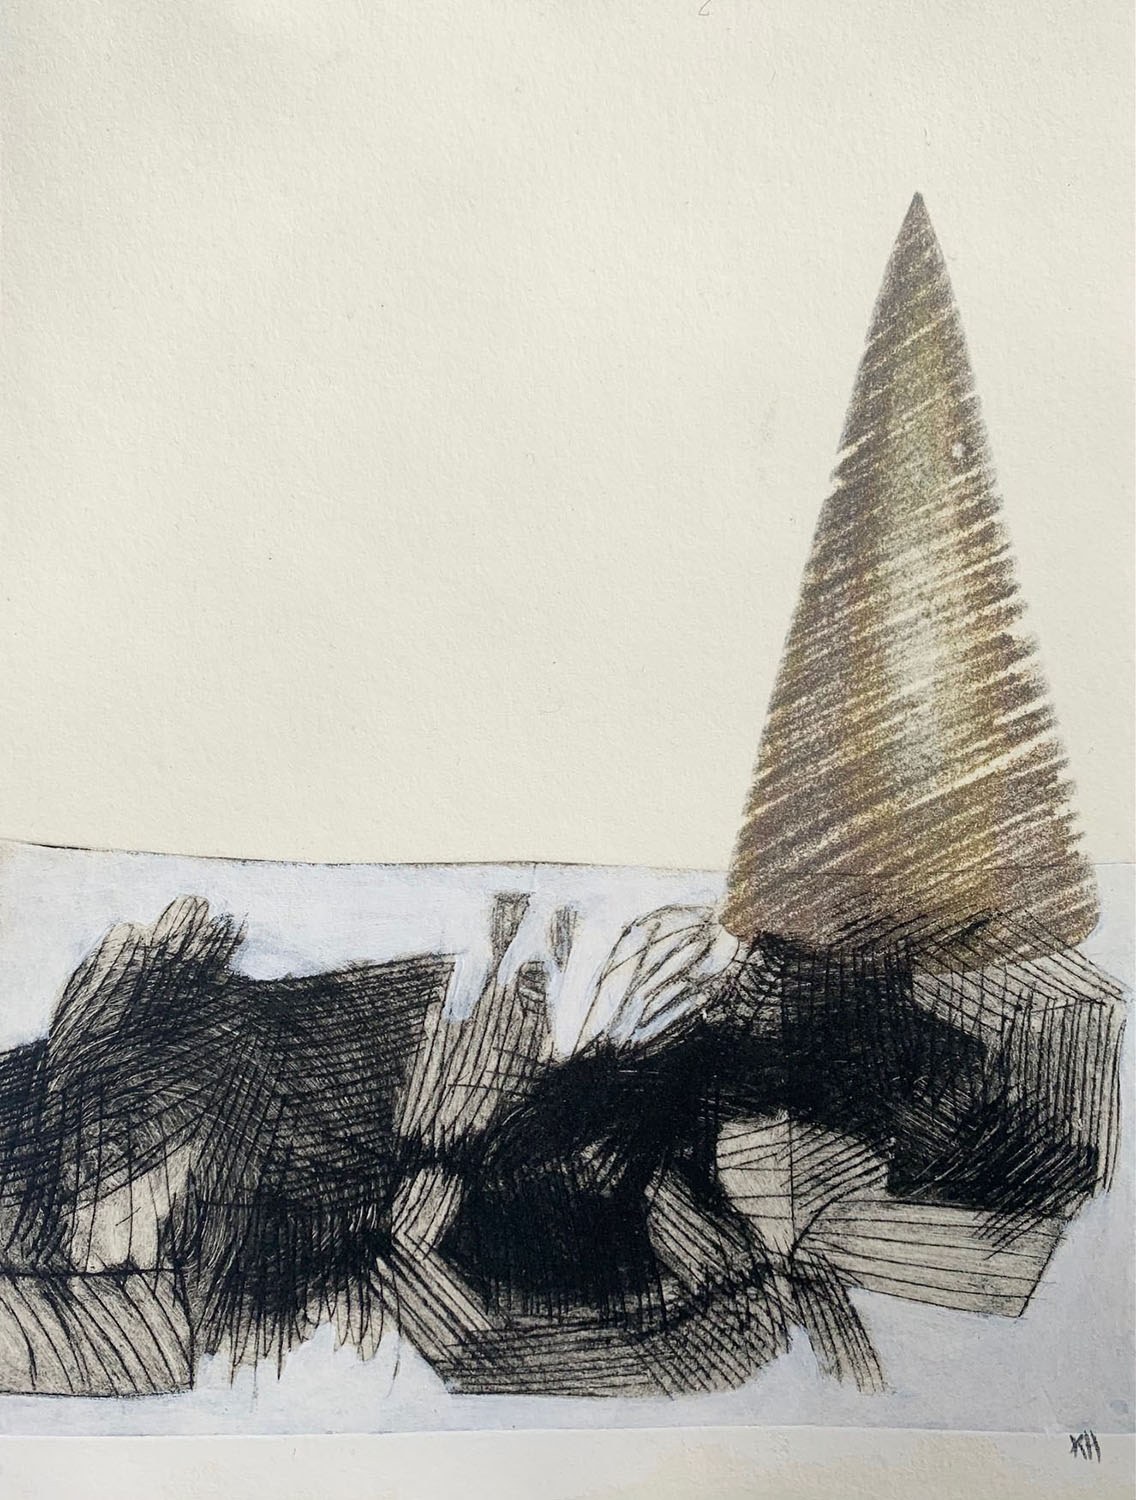
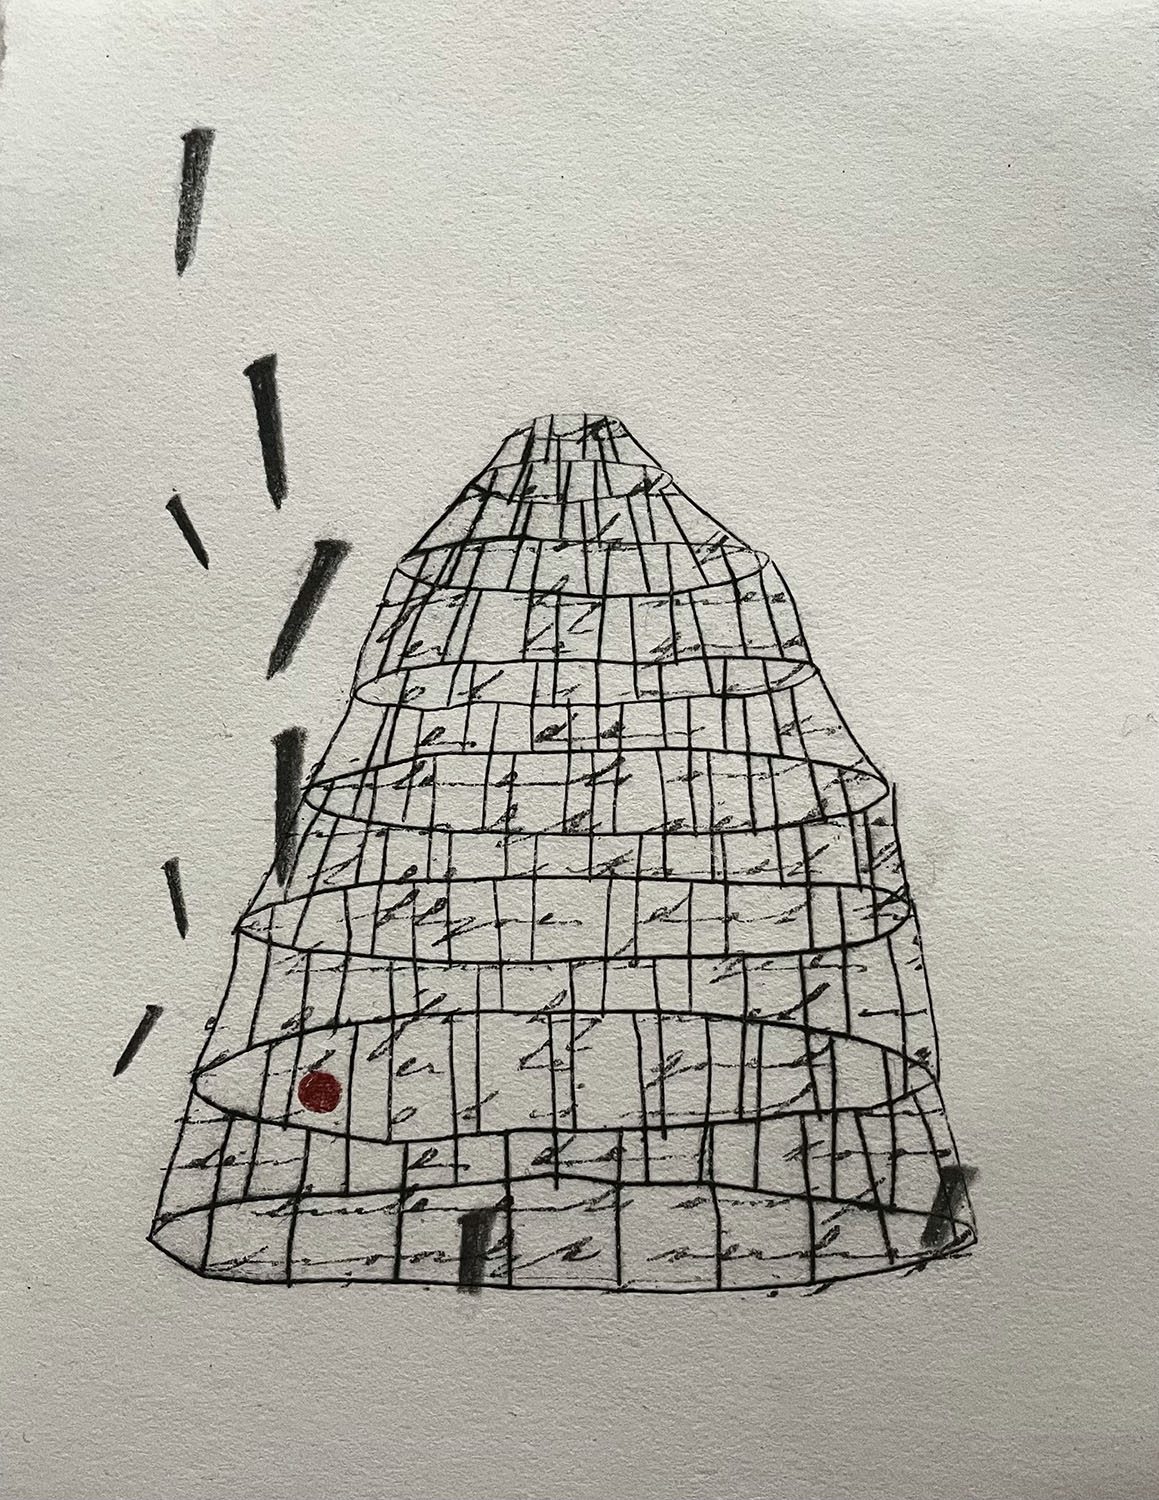
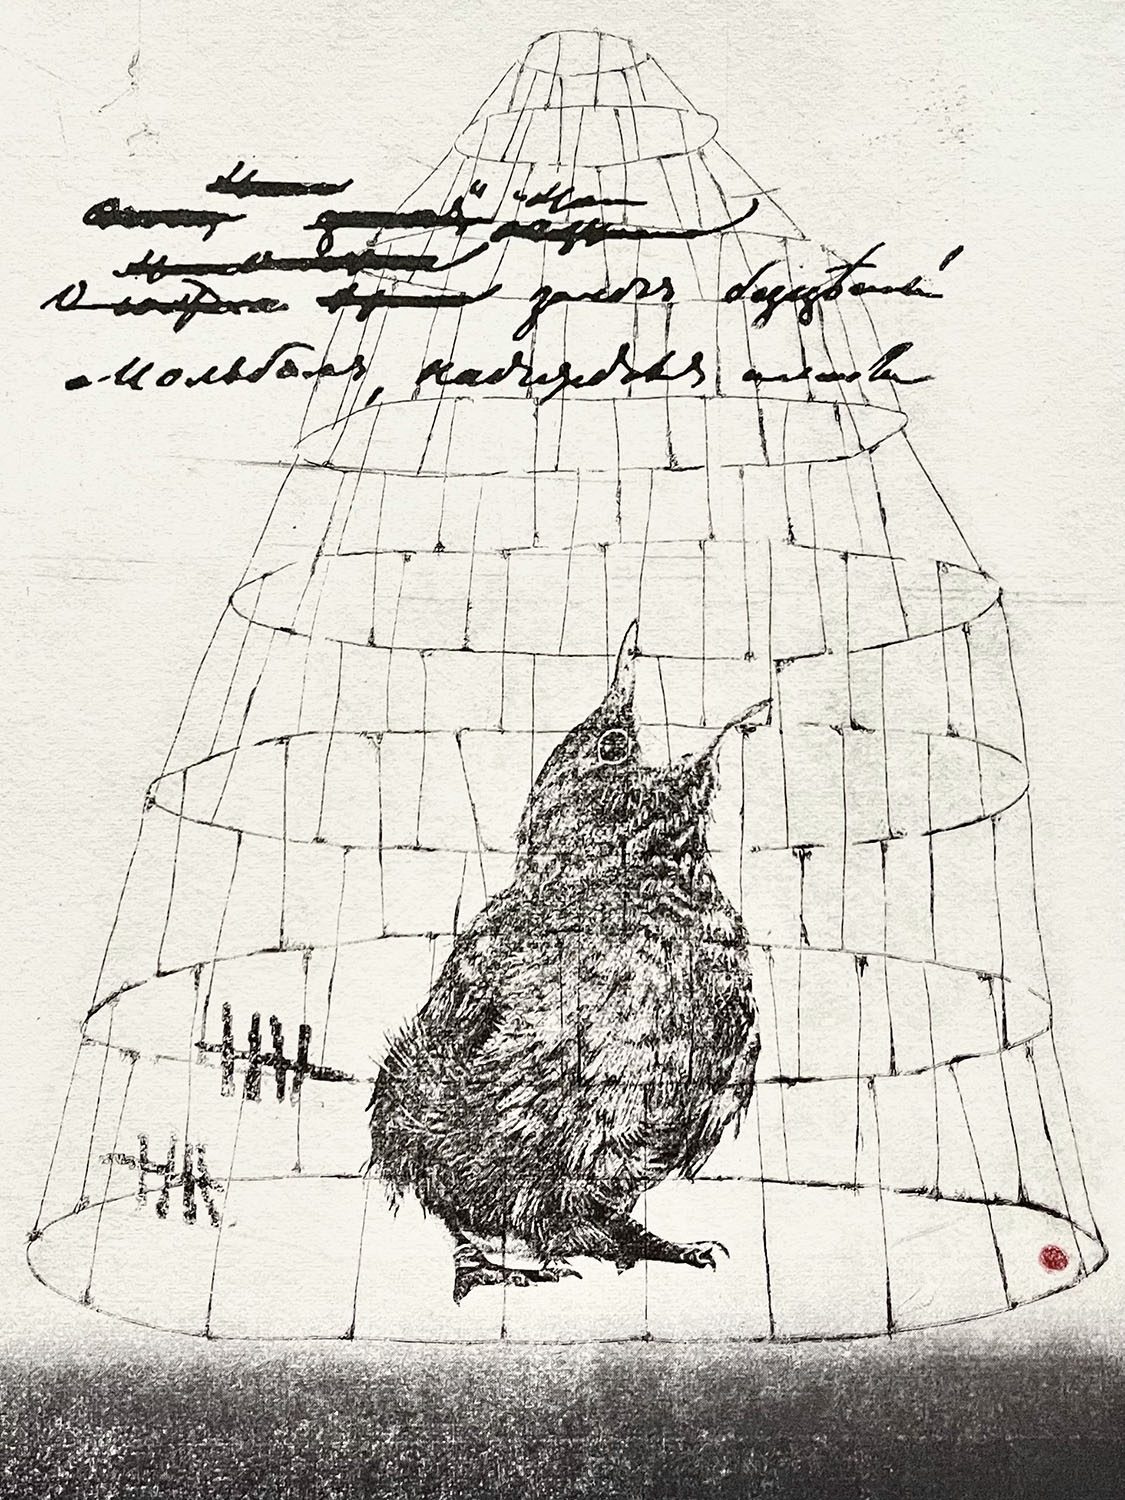
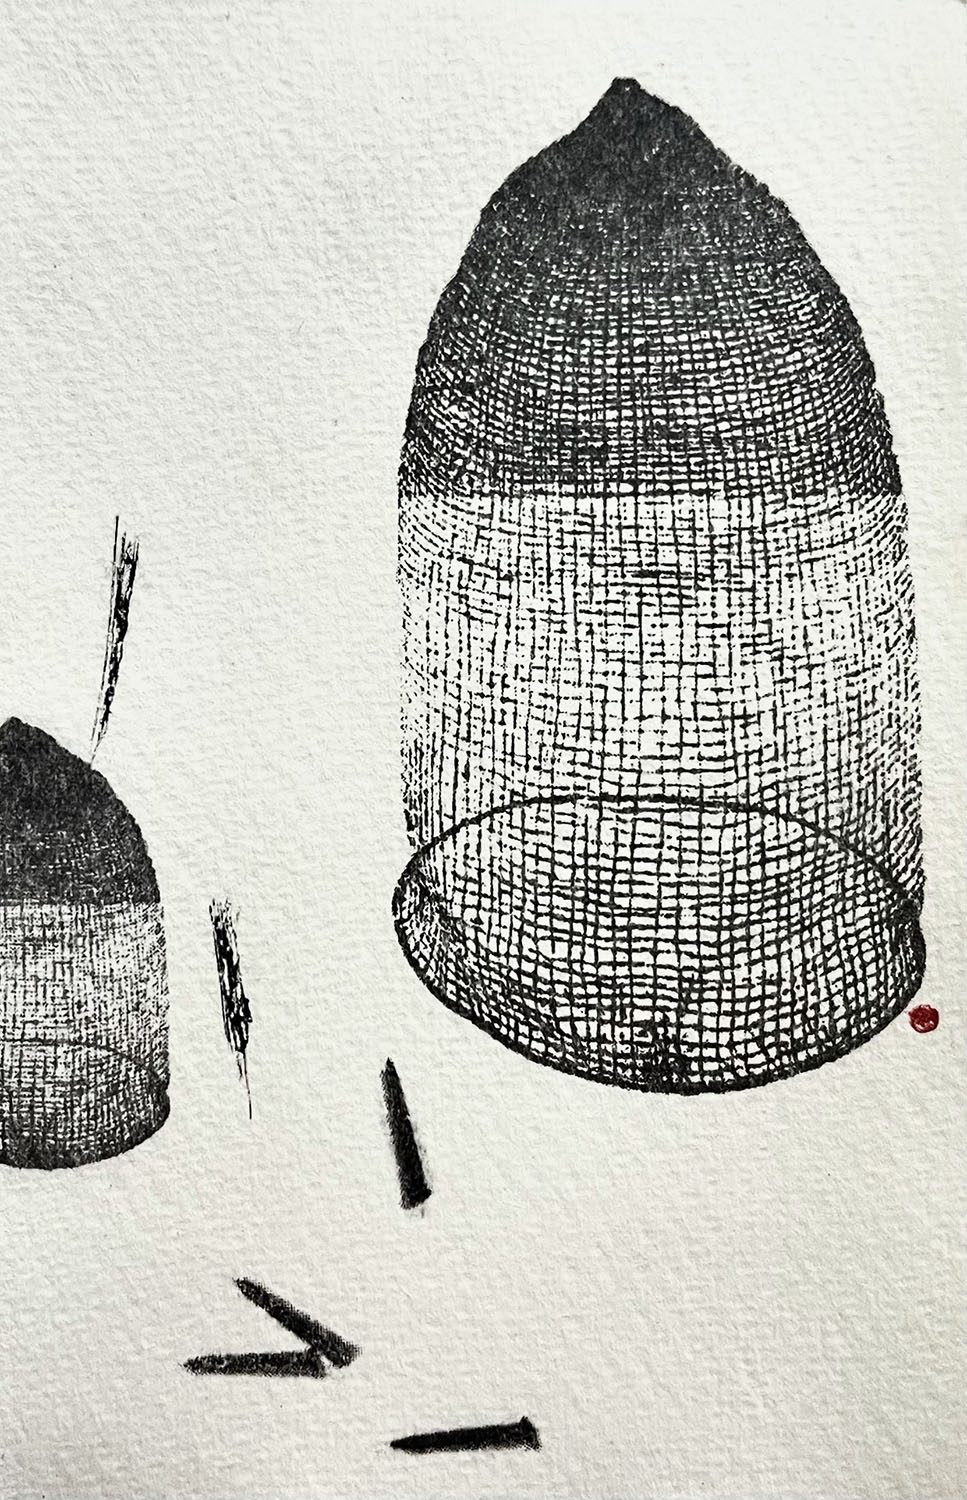
Cone — Kitty Horton 2021
dry point, photographic transfer & mixed media on Stonehenge paper
19 x 14 cm
$70 Sold
 Sold
Sold
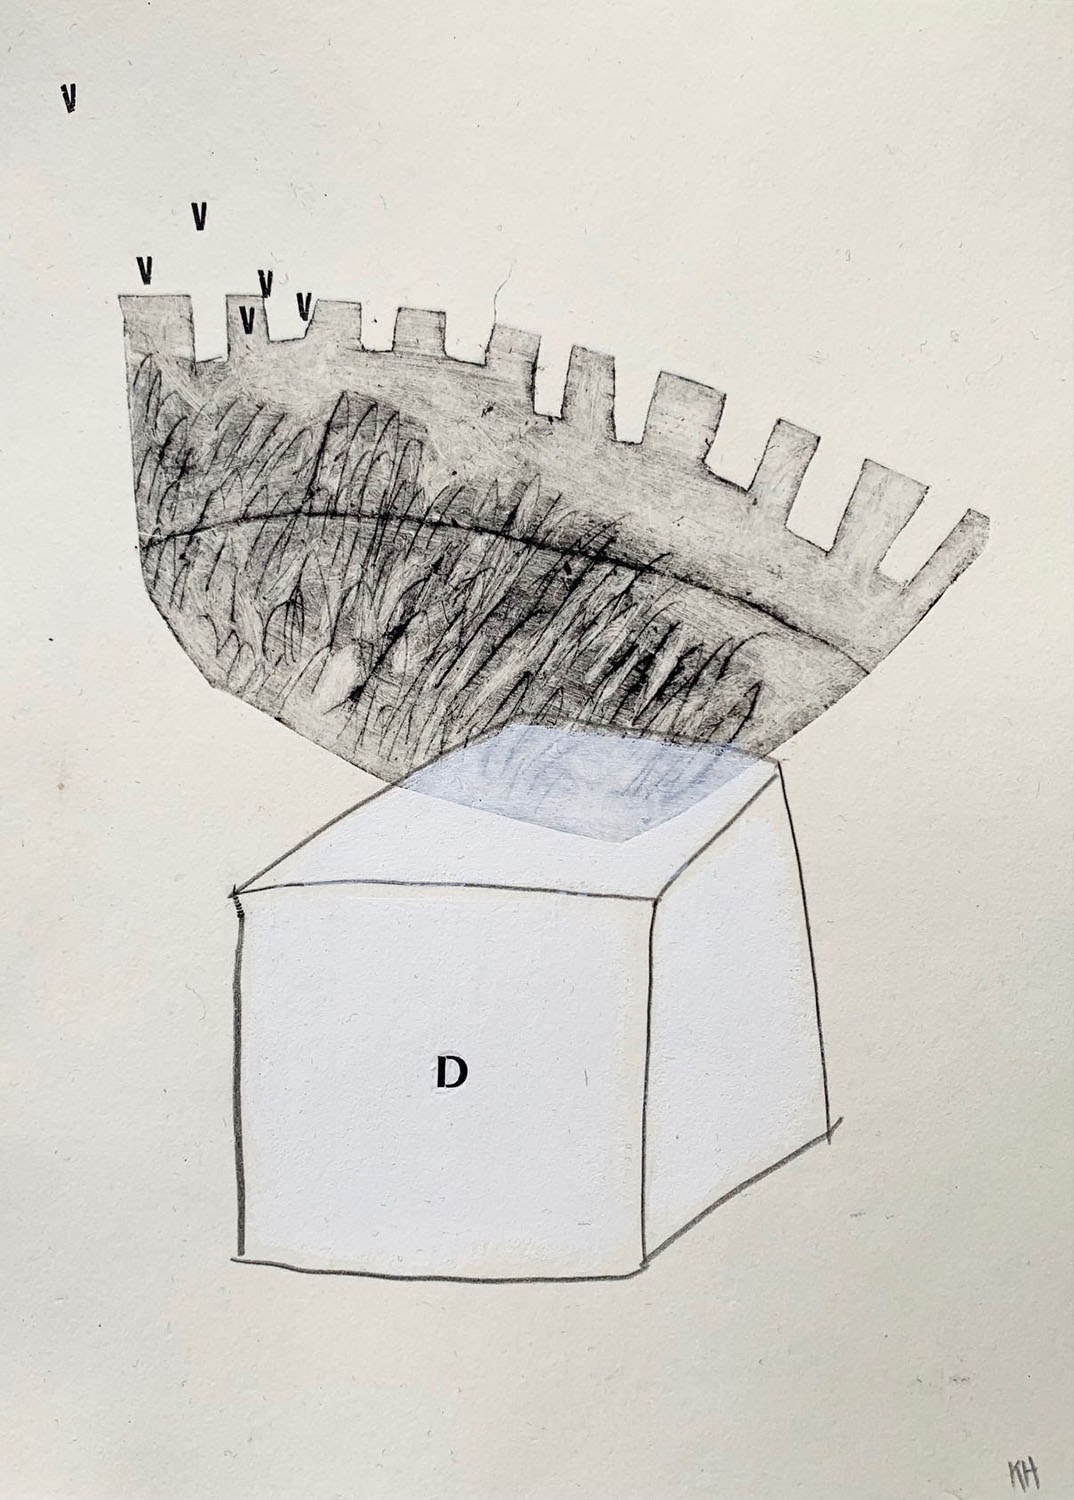
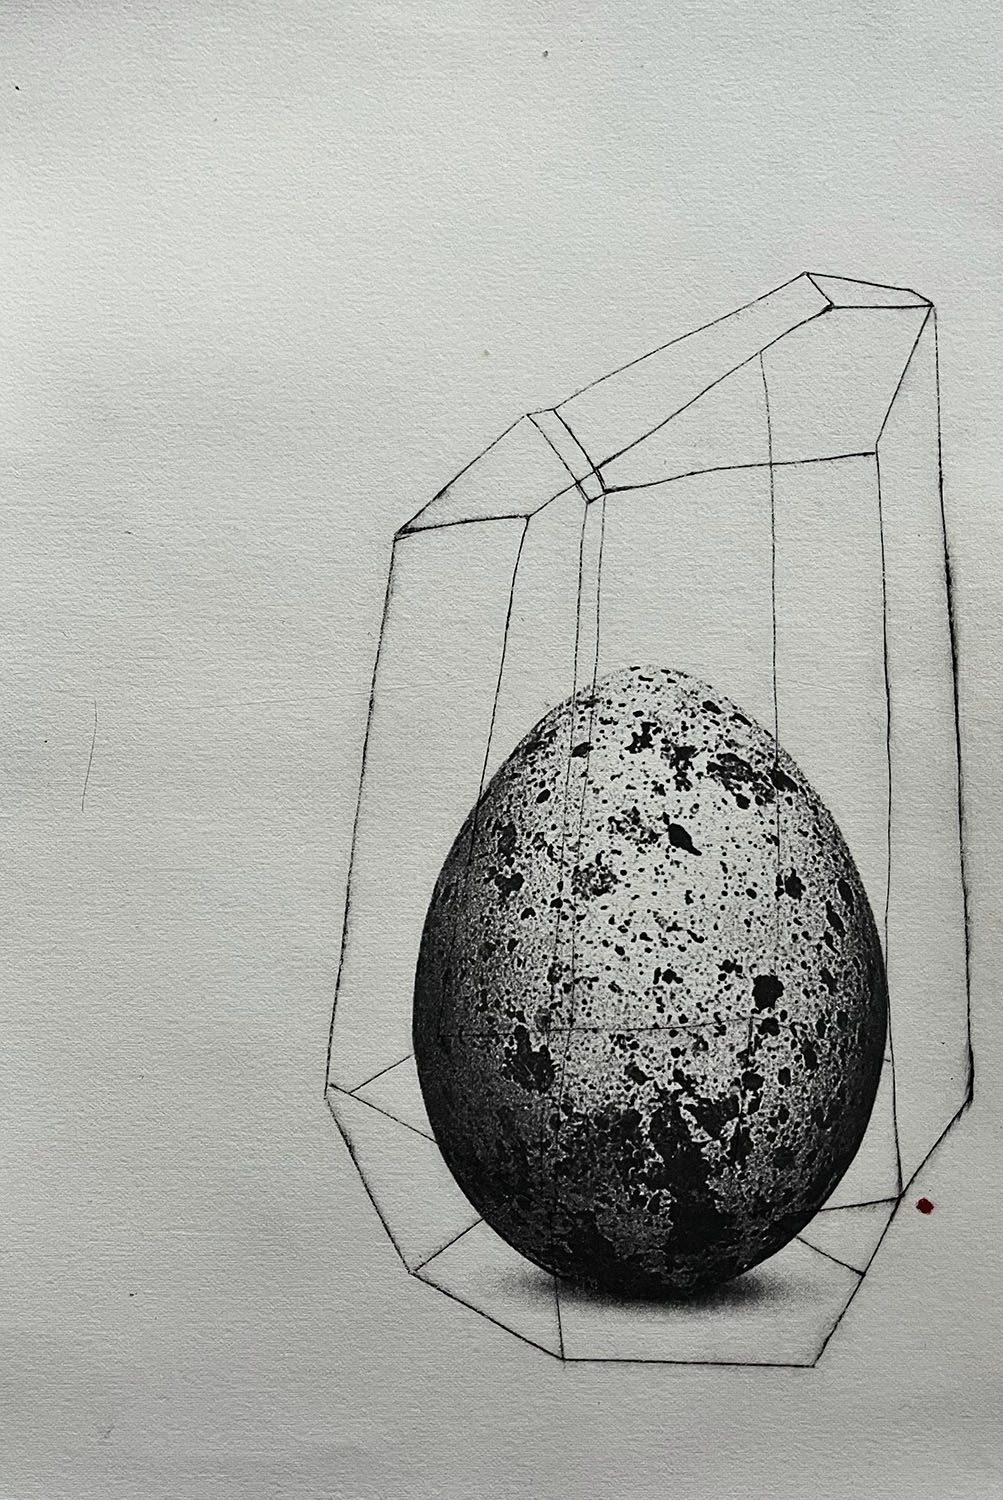
D Box — Kitty Horton 2021
dry point & mixed media on Stonehenge paper
19 x 14 cm
$70 Sold
 Sold
Sold
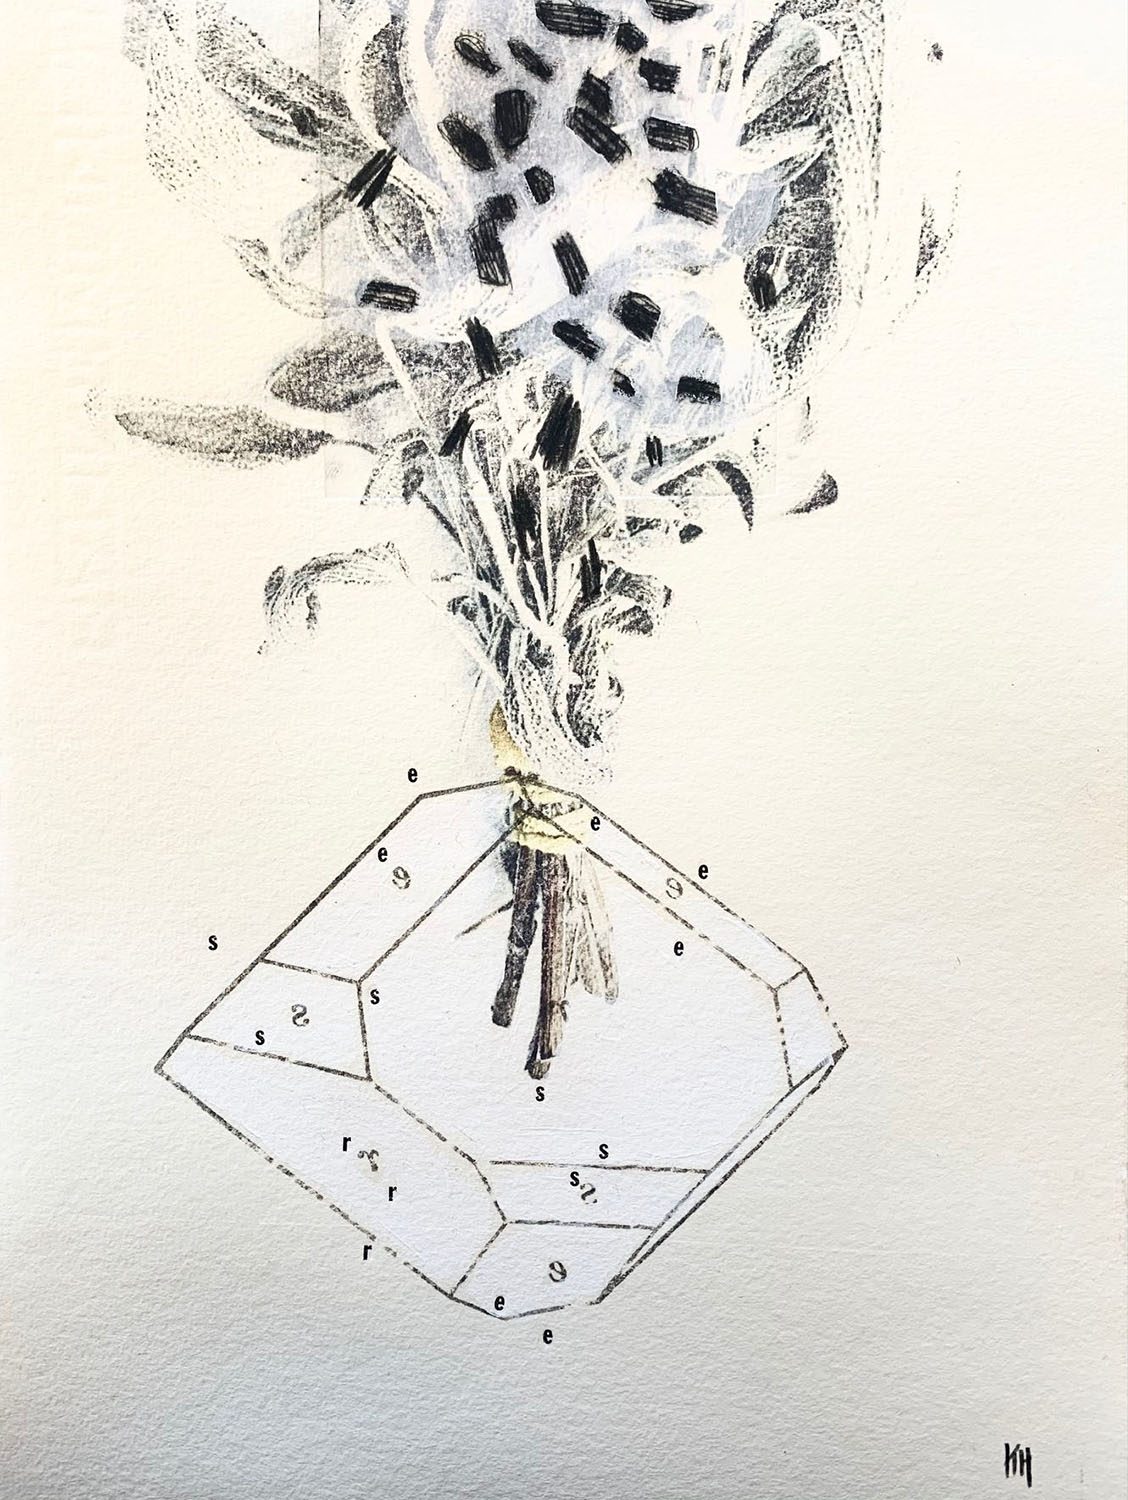
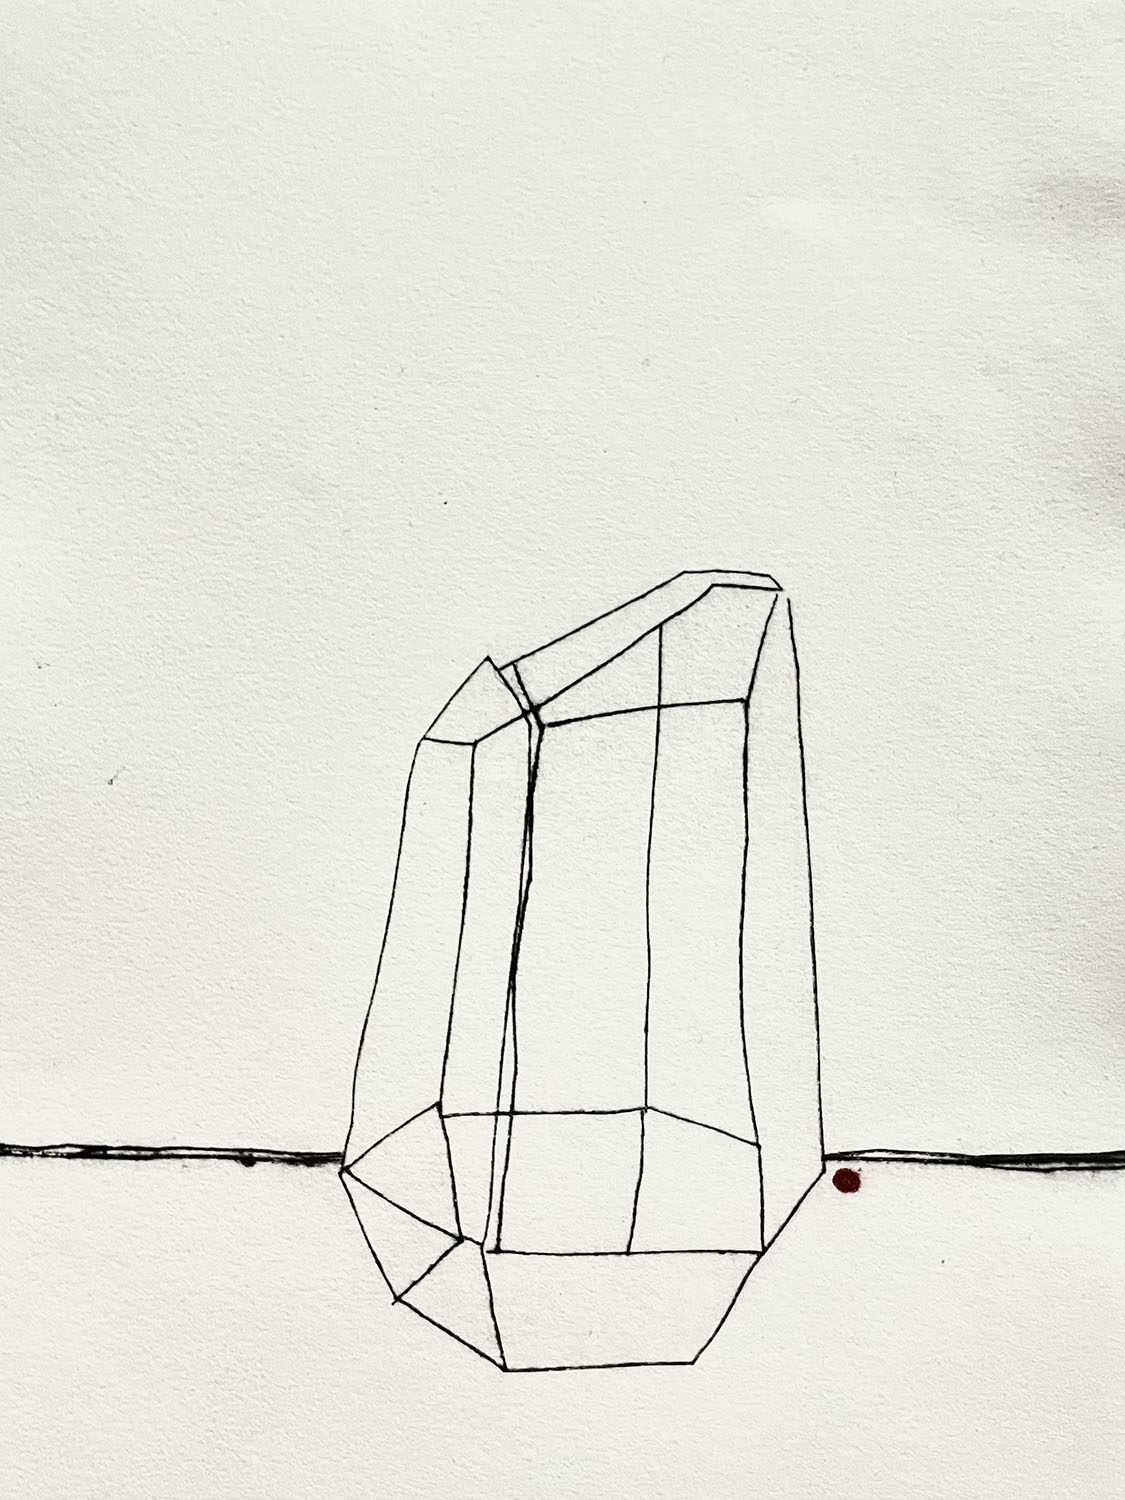
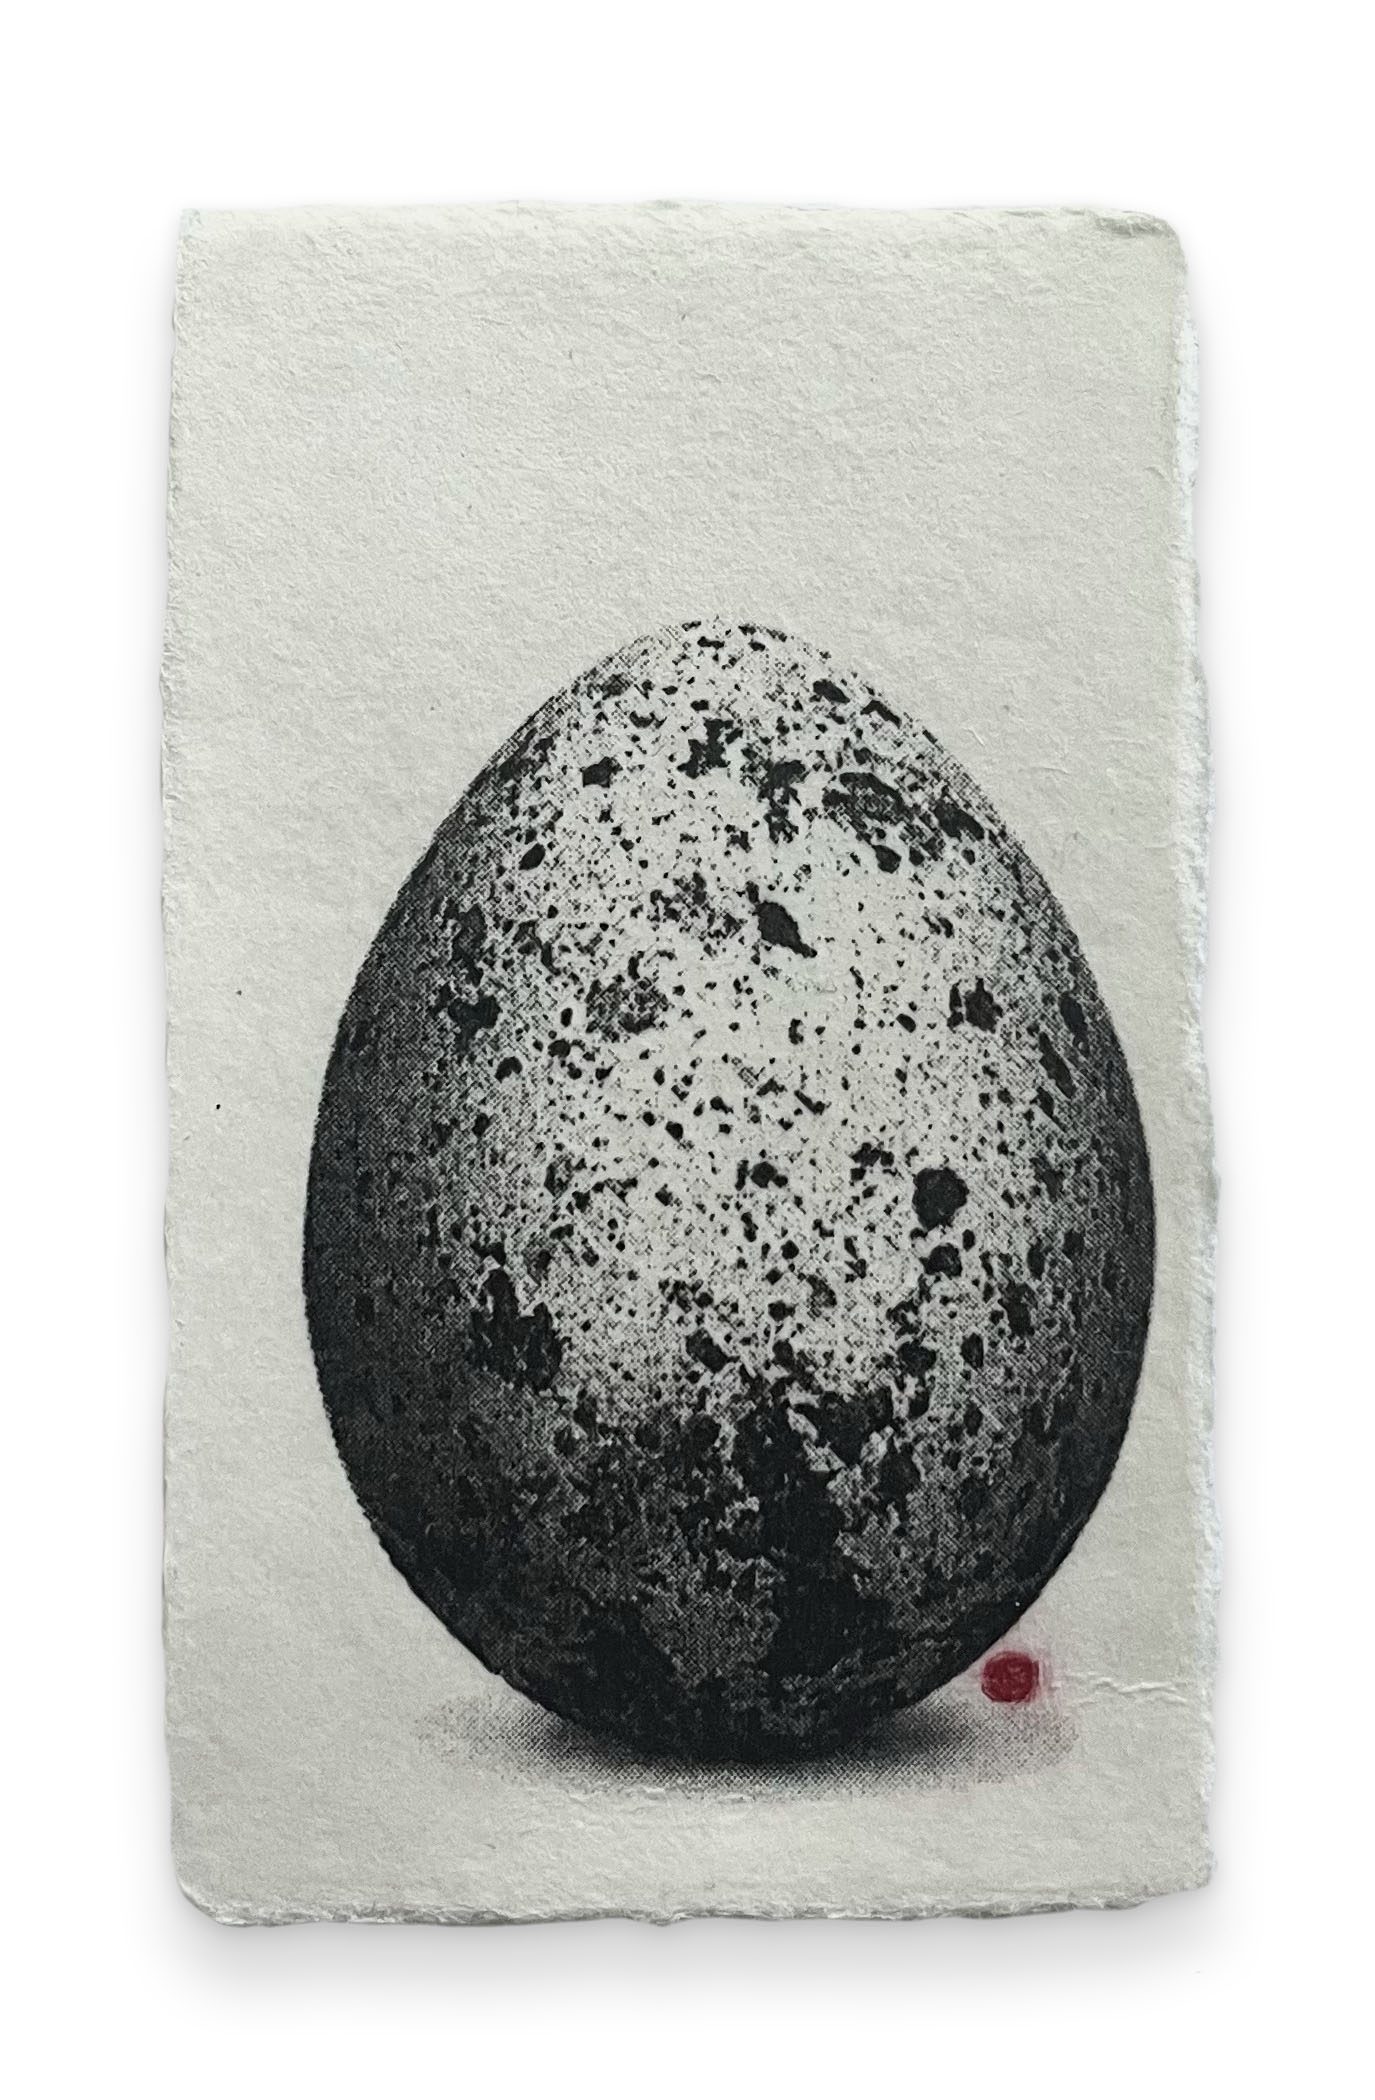
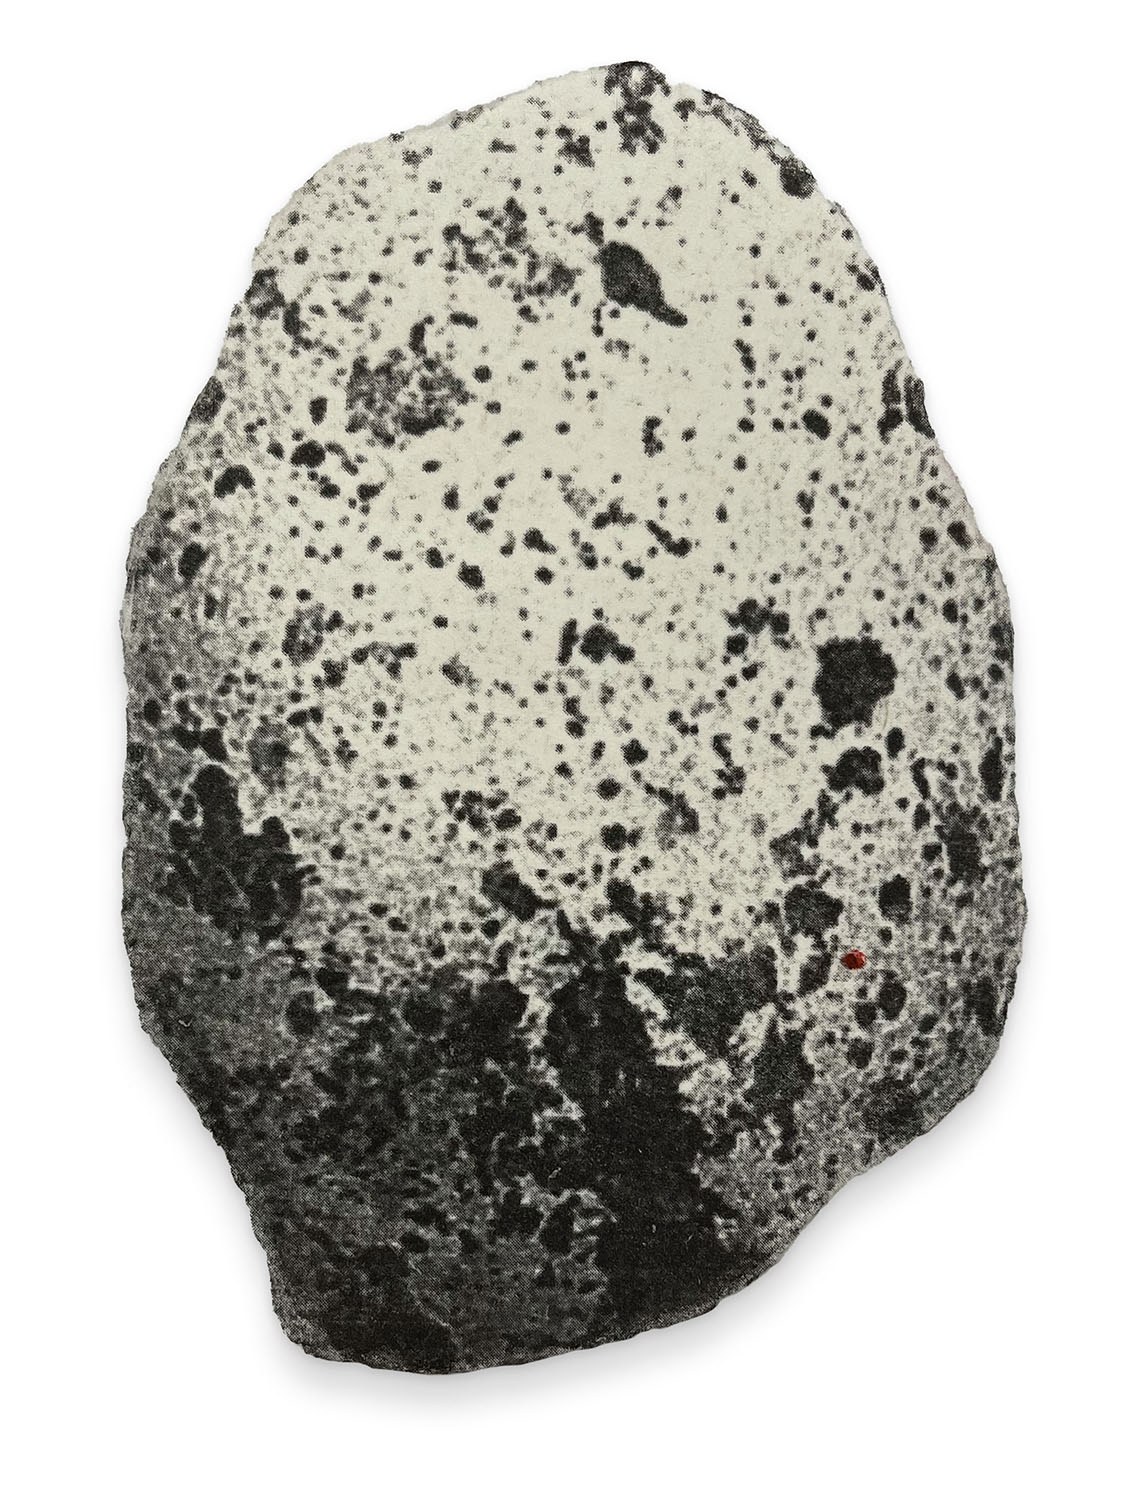
Jasper Stone — Kitty Horton 2021
dry point, photographic transfer & mixed media on Stonehenge paper
19 x 14 cm
$70 Sold
 Sold
Sold
Kiefer — Kitty Horton 2021
dry point, photographic transfer & mixed media on Hahnemuhle paper
26 x 20 cm
$120 Sold
Projection — Kitty Horton 2021
dry point, photographic transfer & mixed media on Hahnemuhle paper
26 x 20 cm
$120
 Sold
Sold
Puzzle Box — Kitty Horton 2021
dry point, photographic transfer & mixed media on Hahnemuhle paper
19 x 13.5 cm
$70 Sold
 Sold
Sold
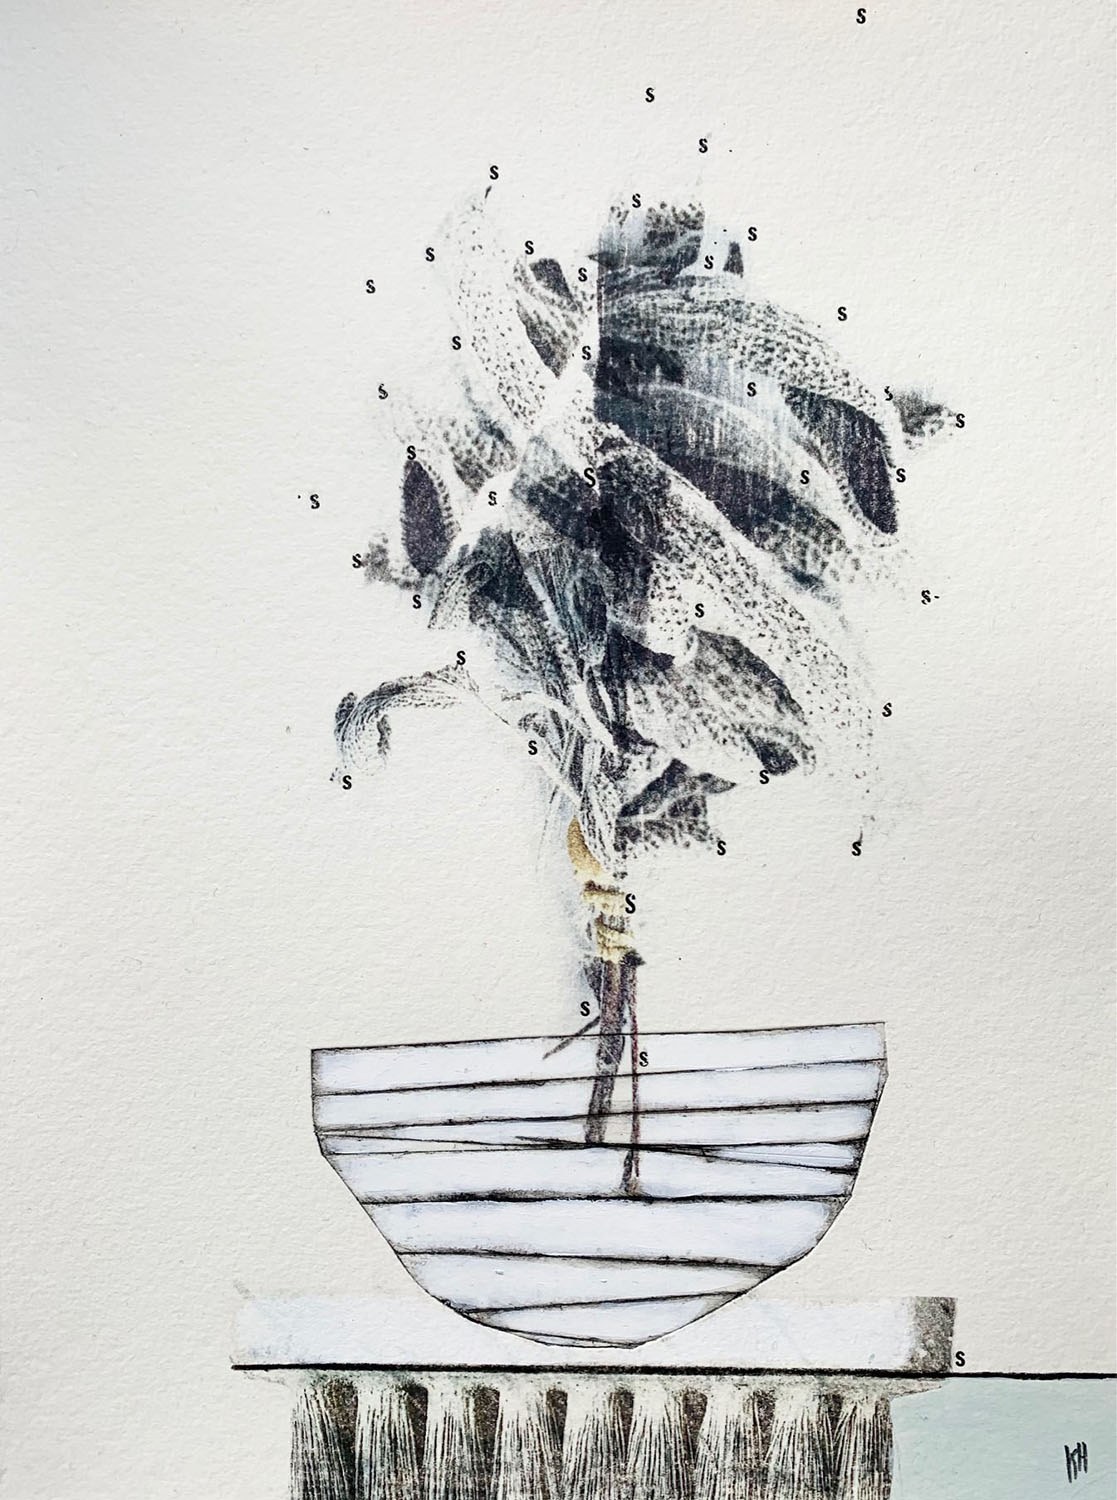
Sage Bowl Brush — Kitty Horton 2021
dry point, photographic transfer & mixed media on Hahnemuhle paper
26 x 20 cm
$120 Sold
 Sold
Sold
Sage Stone — Kitty Horton 2021
dry point, photographic transfer & mixed media on Hahnemuhle paper
26 x 20 cm
$120 Sold
 Sold
Sold
Ss — Kitty Horton 2021
dry point, photographic transfer & mixed media on Hahnemuhle Paper
19 x 13.5 cm
$70 Sold
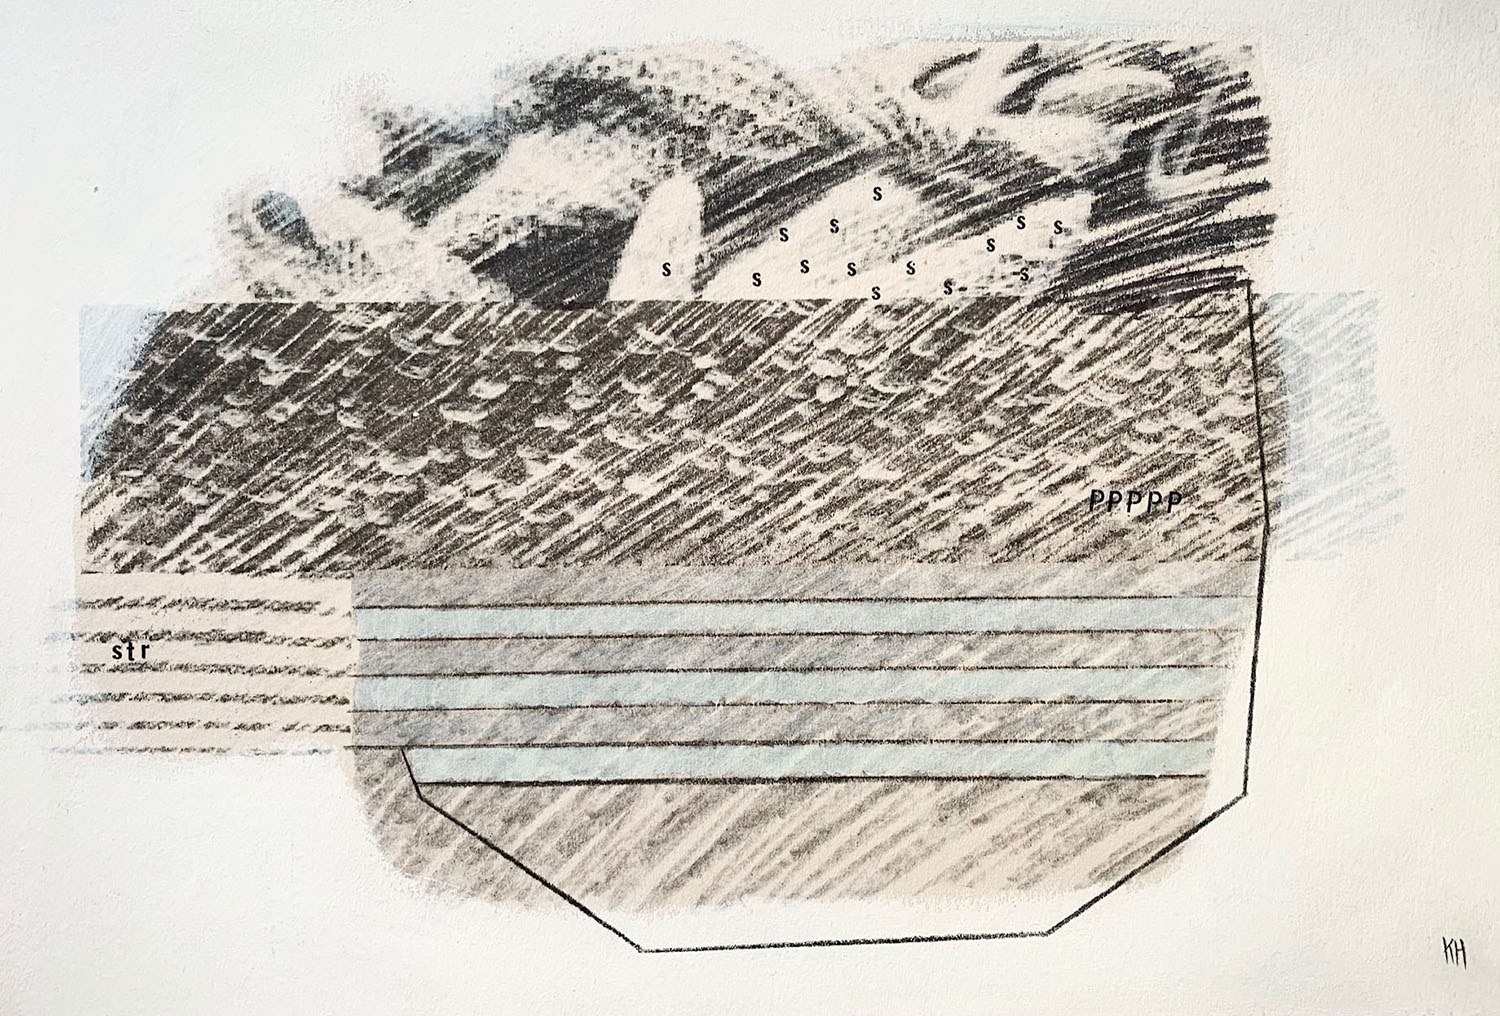
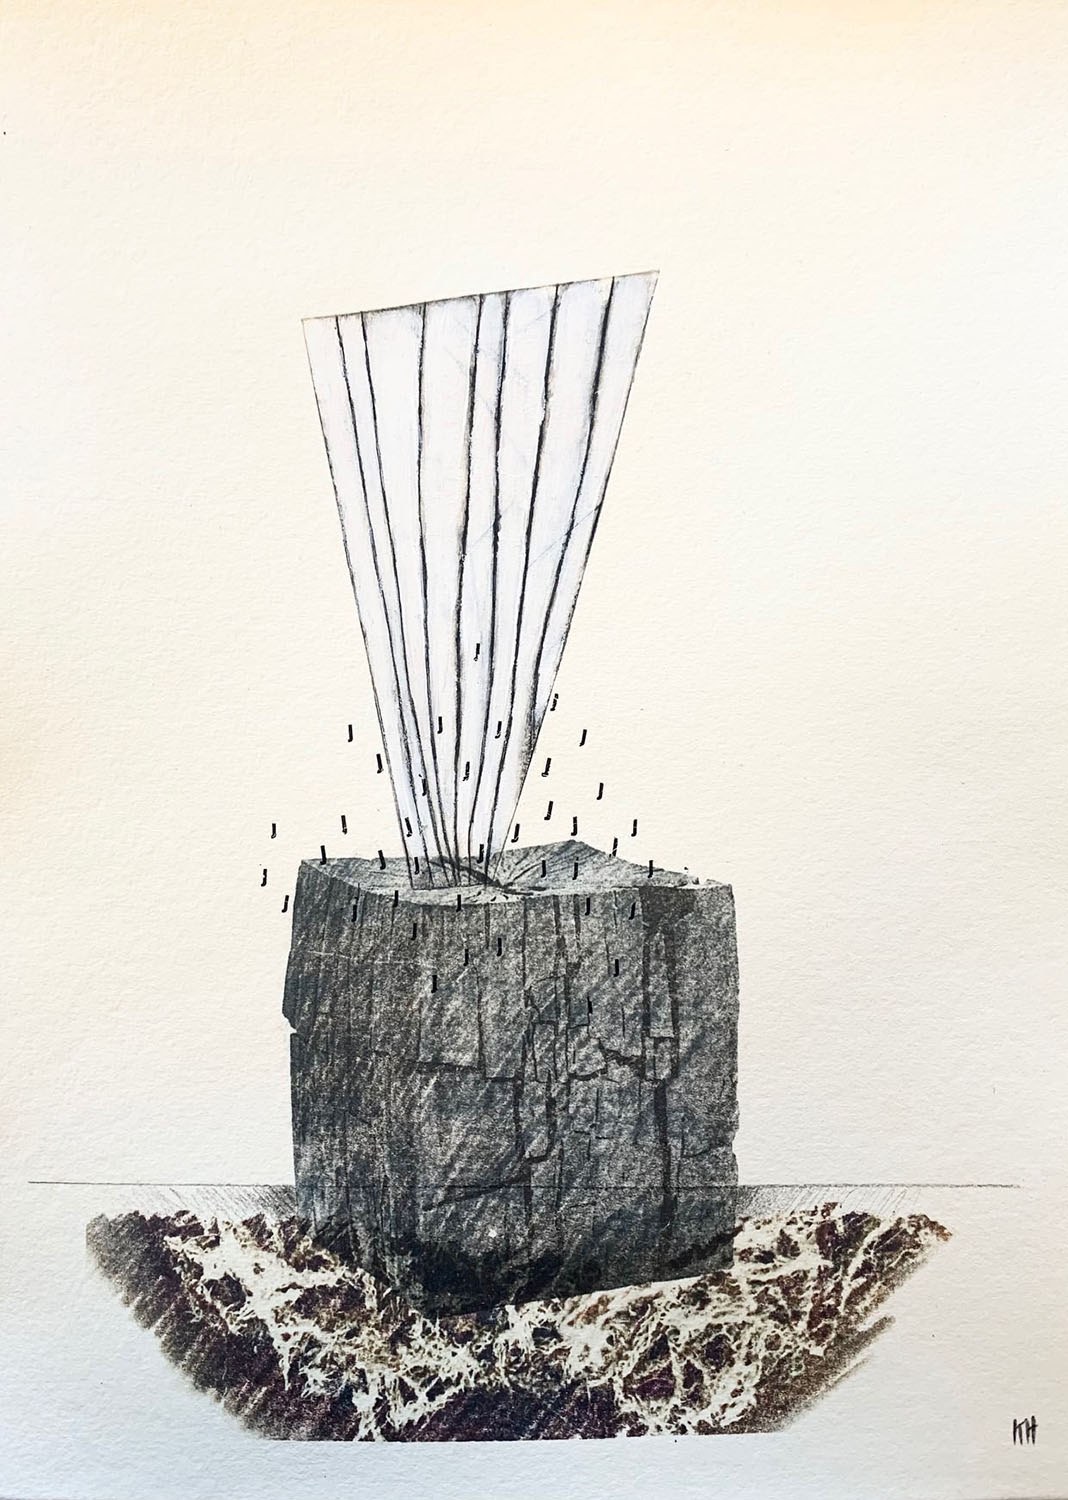
STR-P — Kitty Horton 2021
dry point, photographic transfer & mixed media on Stonehenge paper
28 x 19 cm
$130
 Sold
Sold
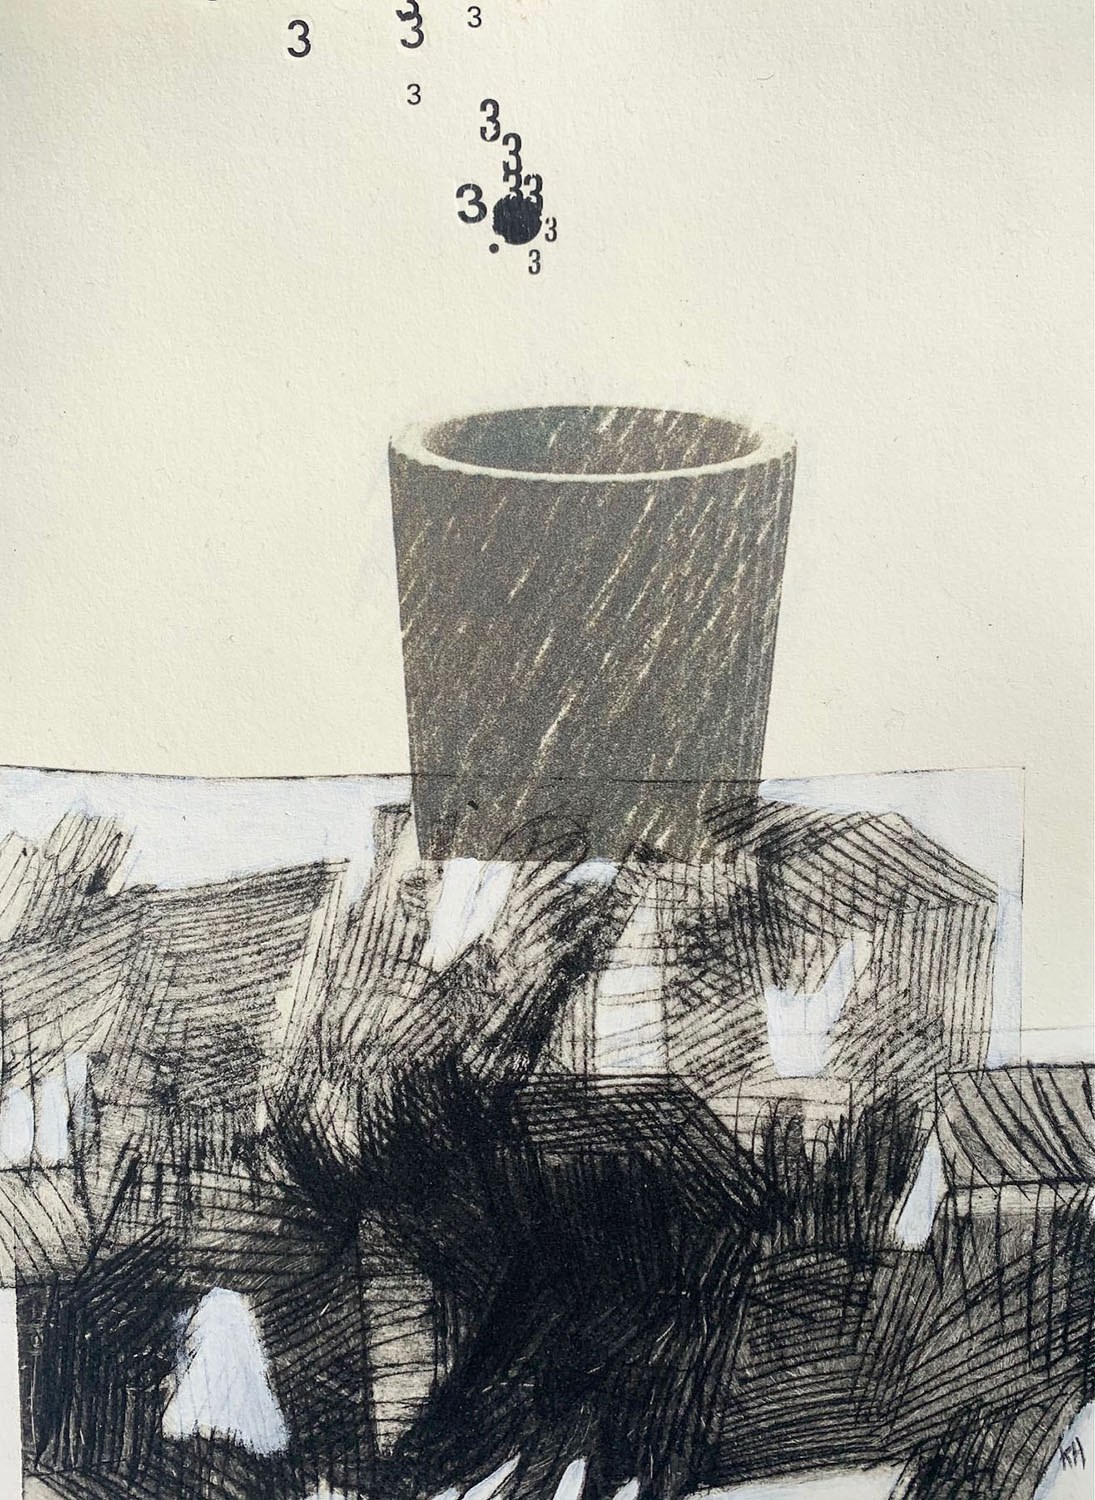
Three — Kitty Horton 2021
dry point, photographic transfer & mixed media on Stonehenge paper
19 x 14 cm
$70 Sold
 Sold
Sold
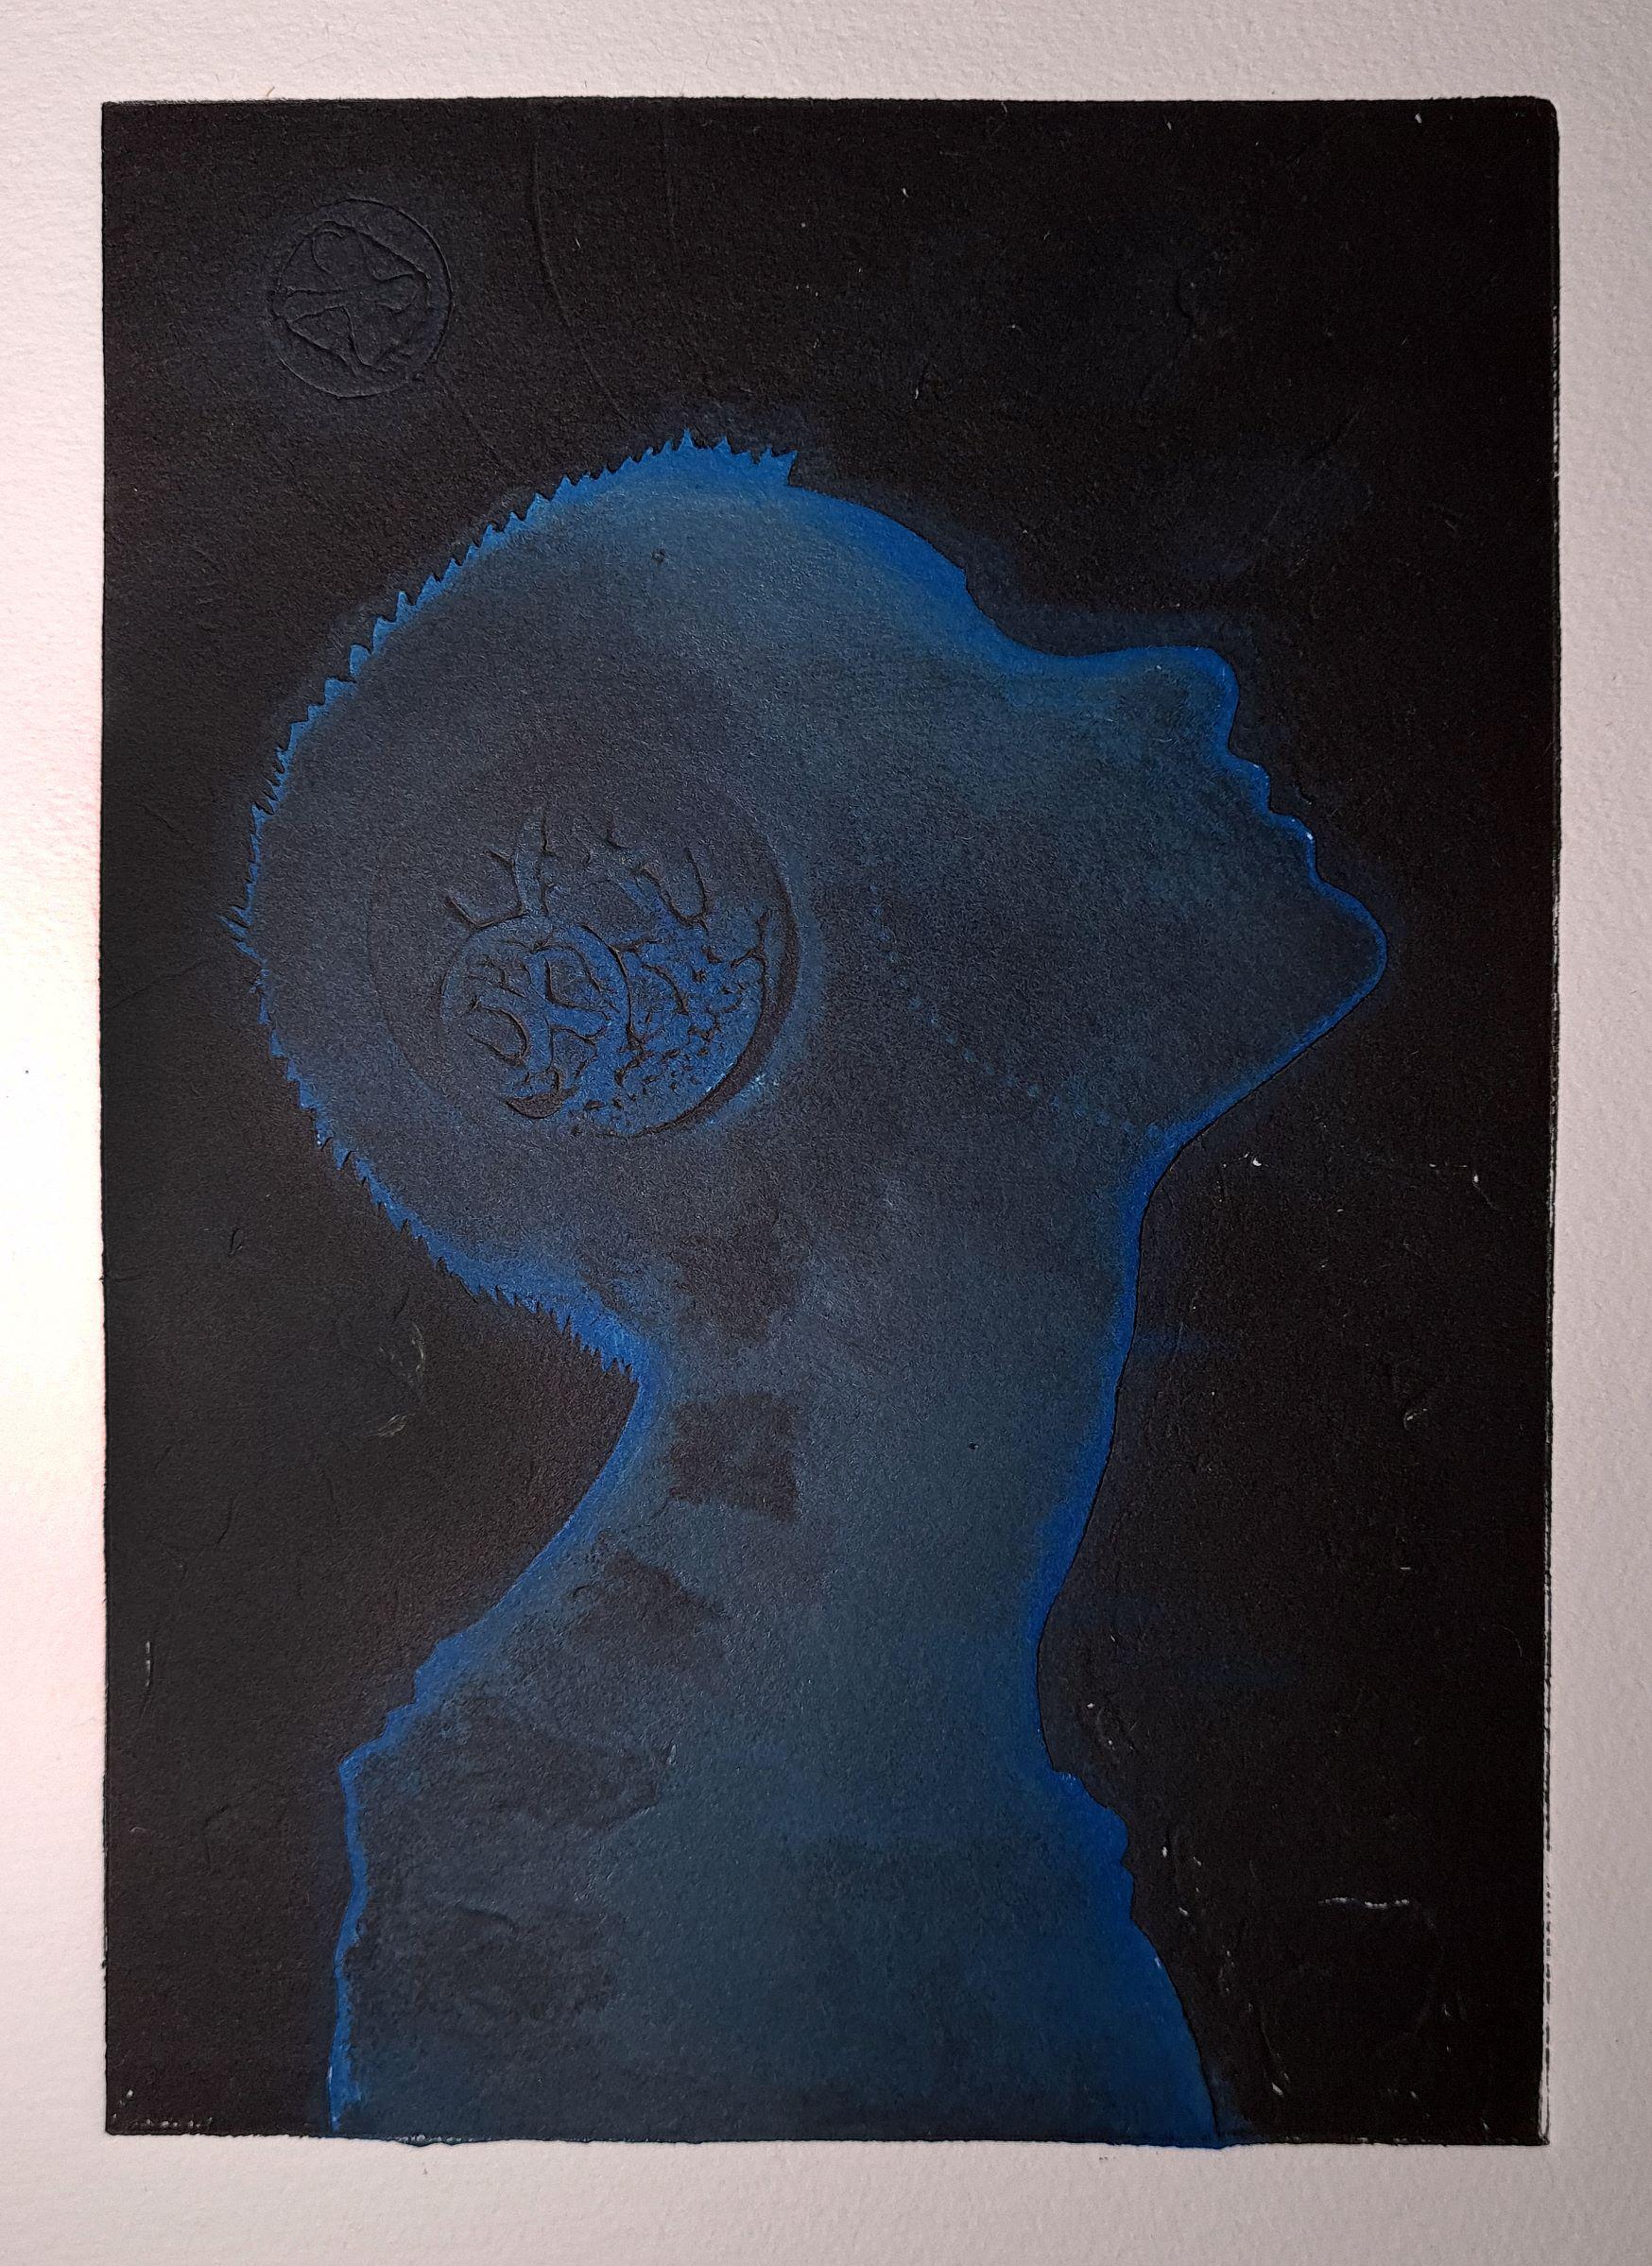
A Mind Of Information Ve1 7 2021
Collagraph on Hahnemuhle 300 gsm
29 x 21 cm
$85 Sold

A Mind of Information Ve2 7 — Simon Roots 2021
Collagraph on Hahnemuhle 300 gsm
29 x 21 cm
$85
A Mind of Information Ve3 7 — Simon Roots 2021
Collagraph on Hahnemuhle 300 gsm
40 x 29 cm
$125
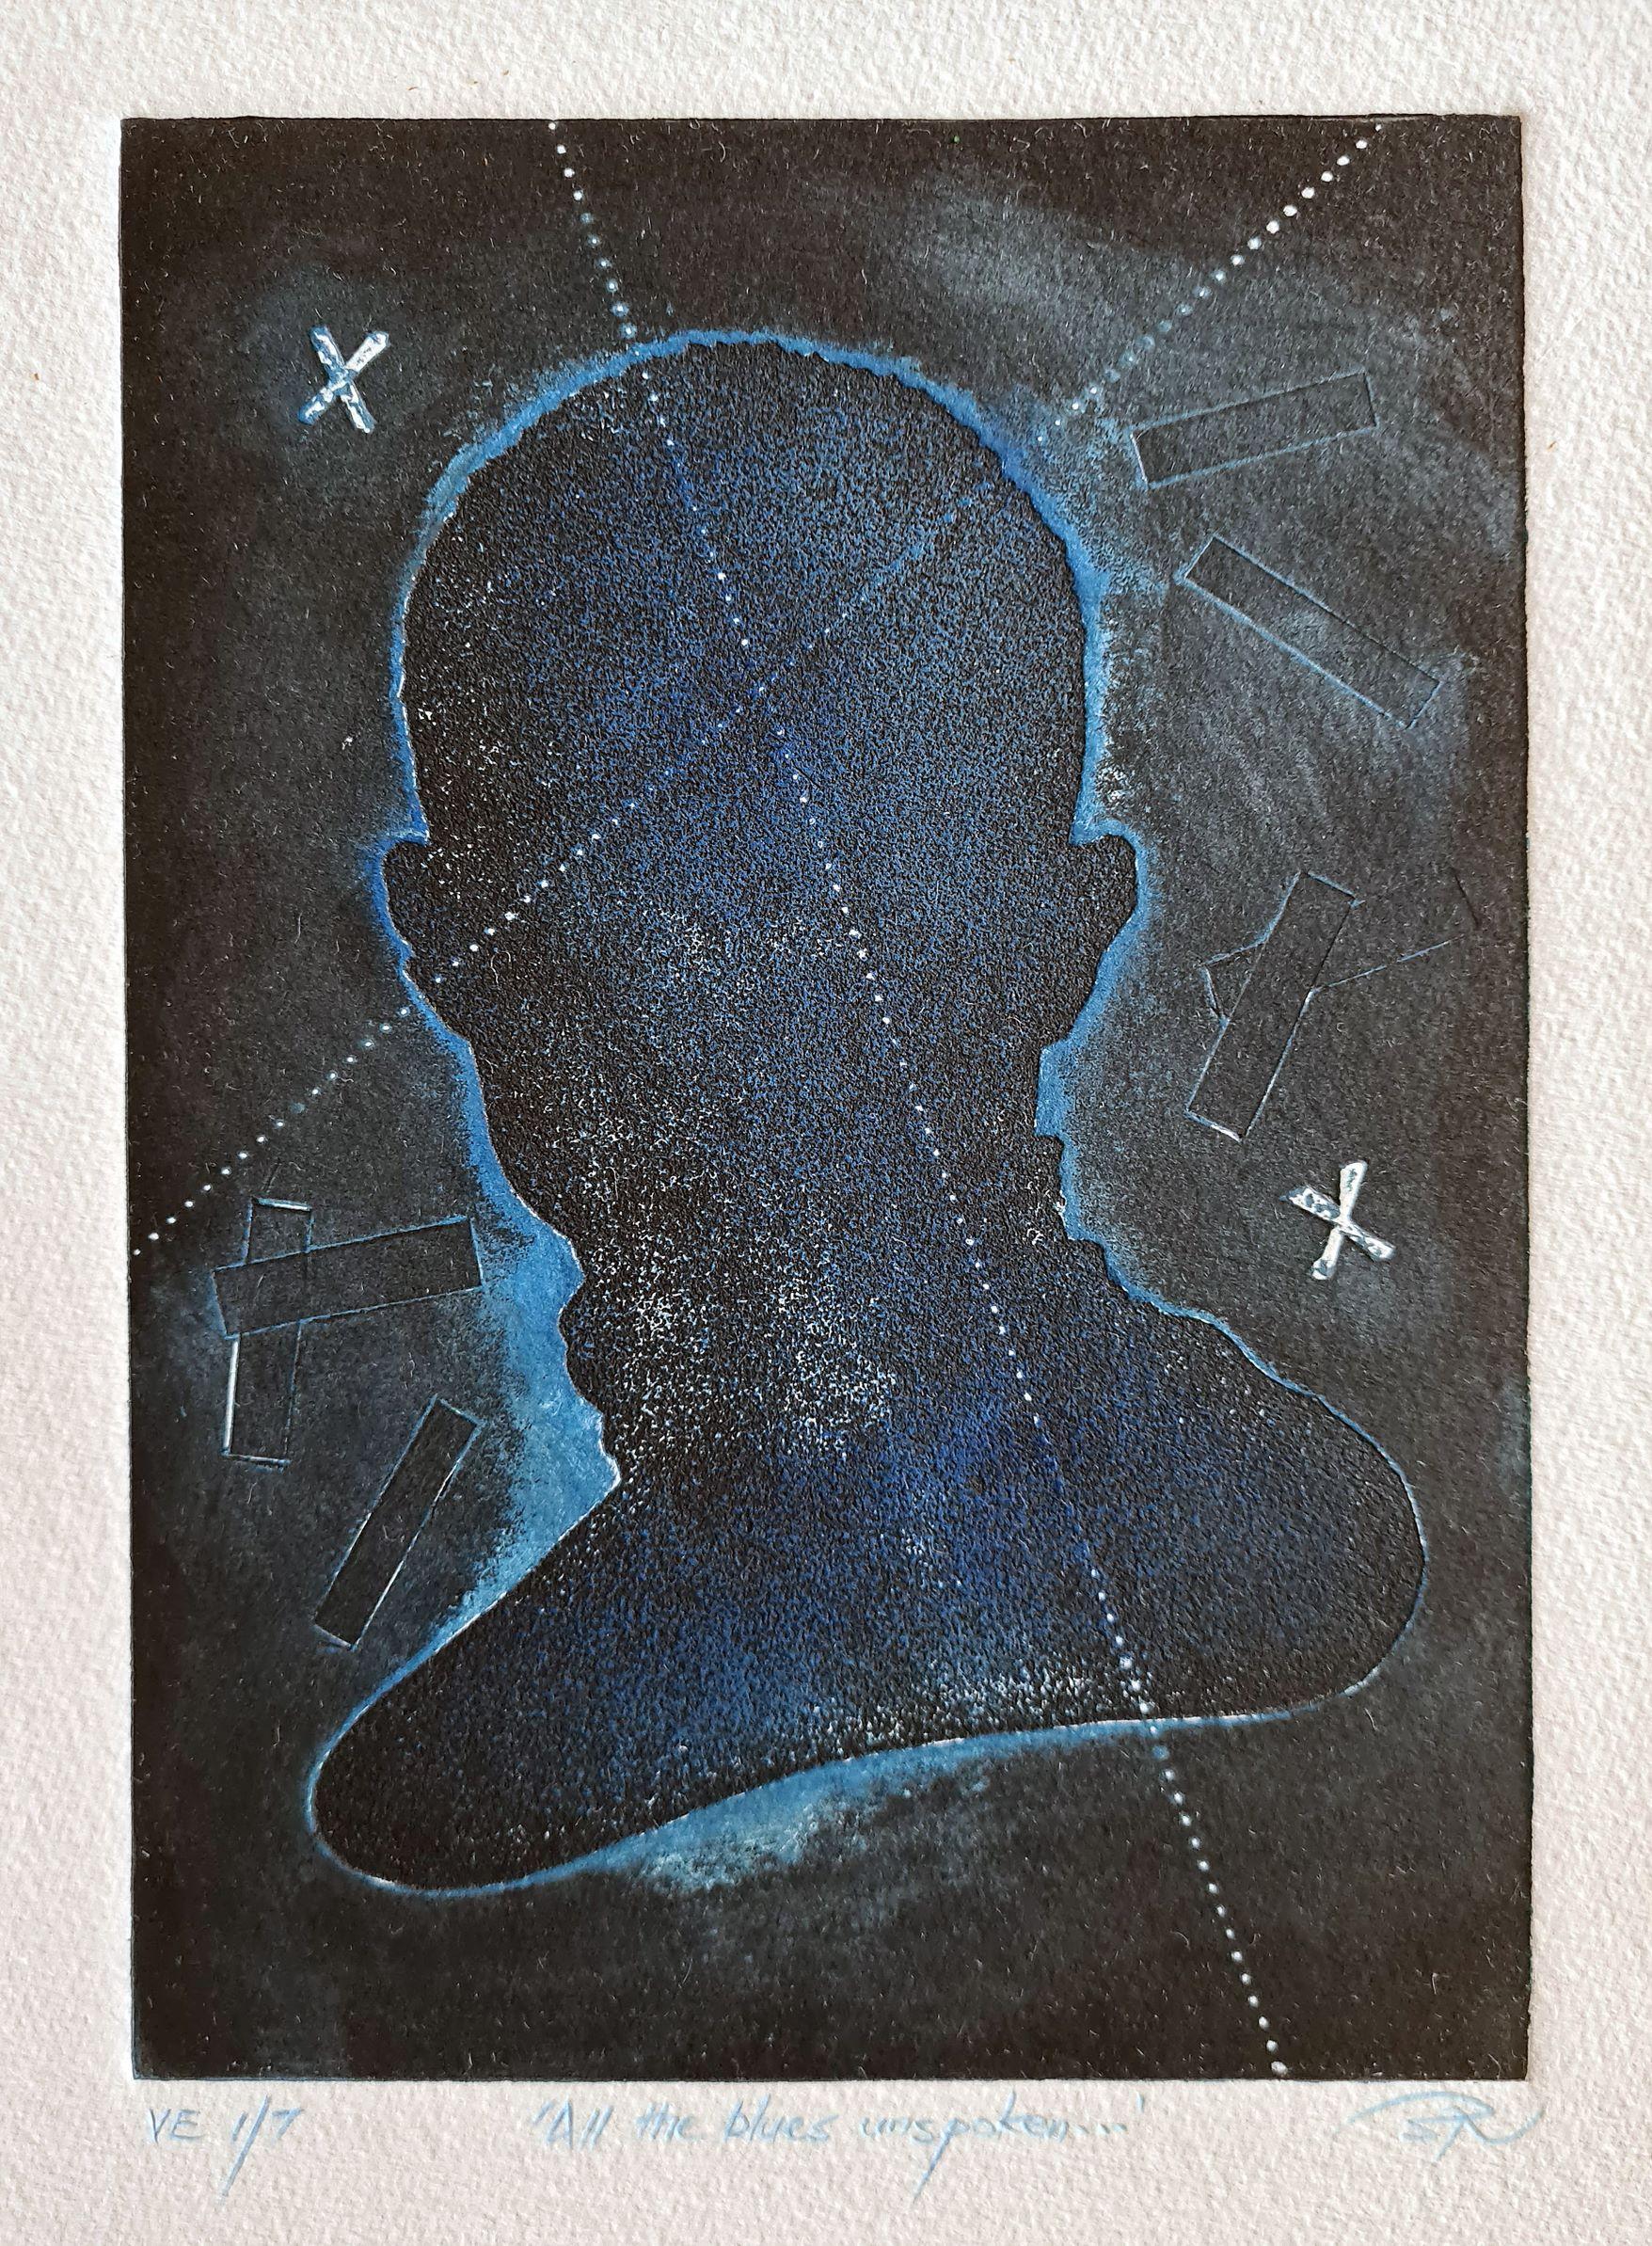
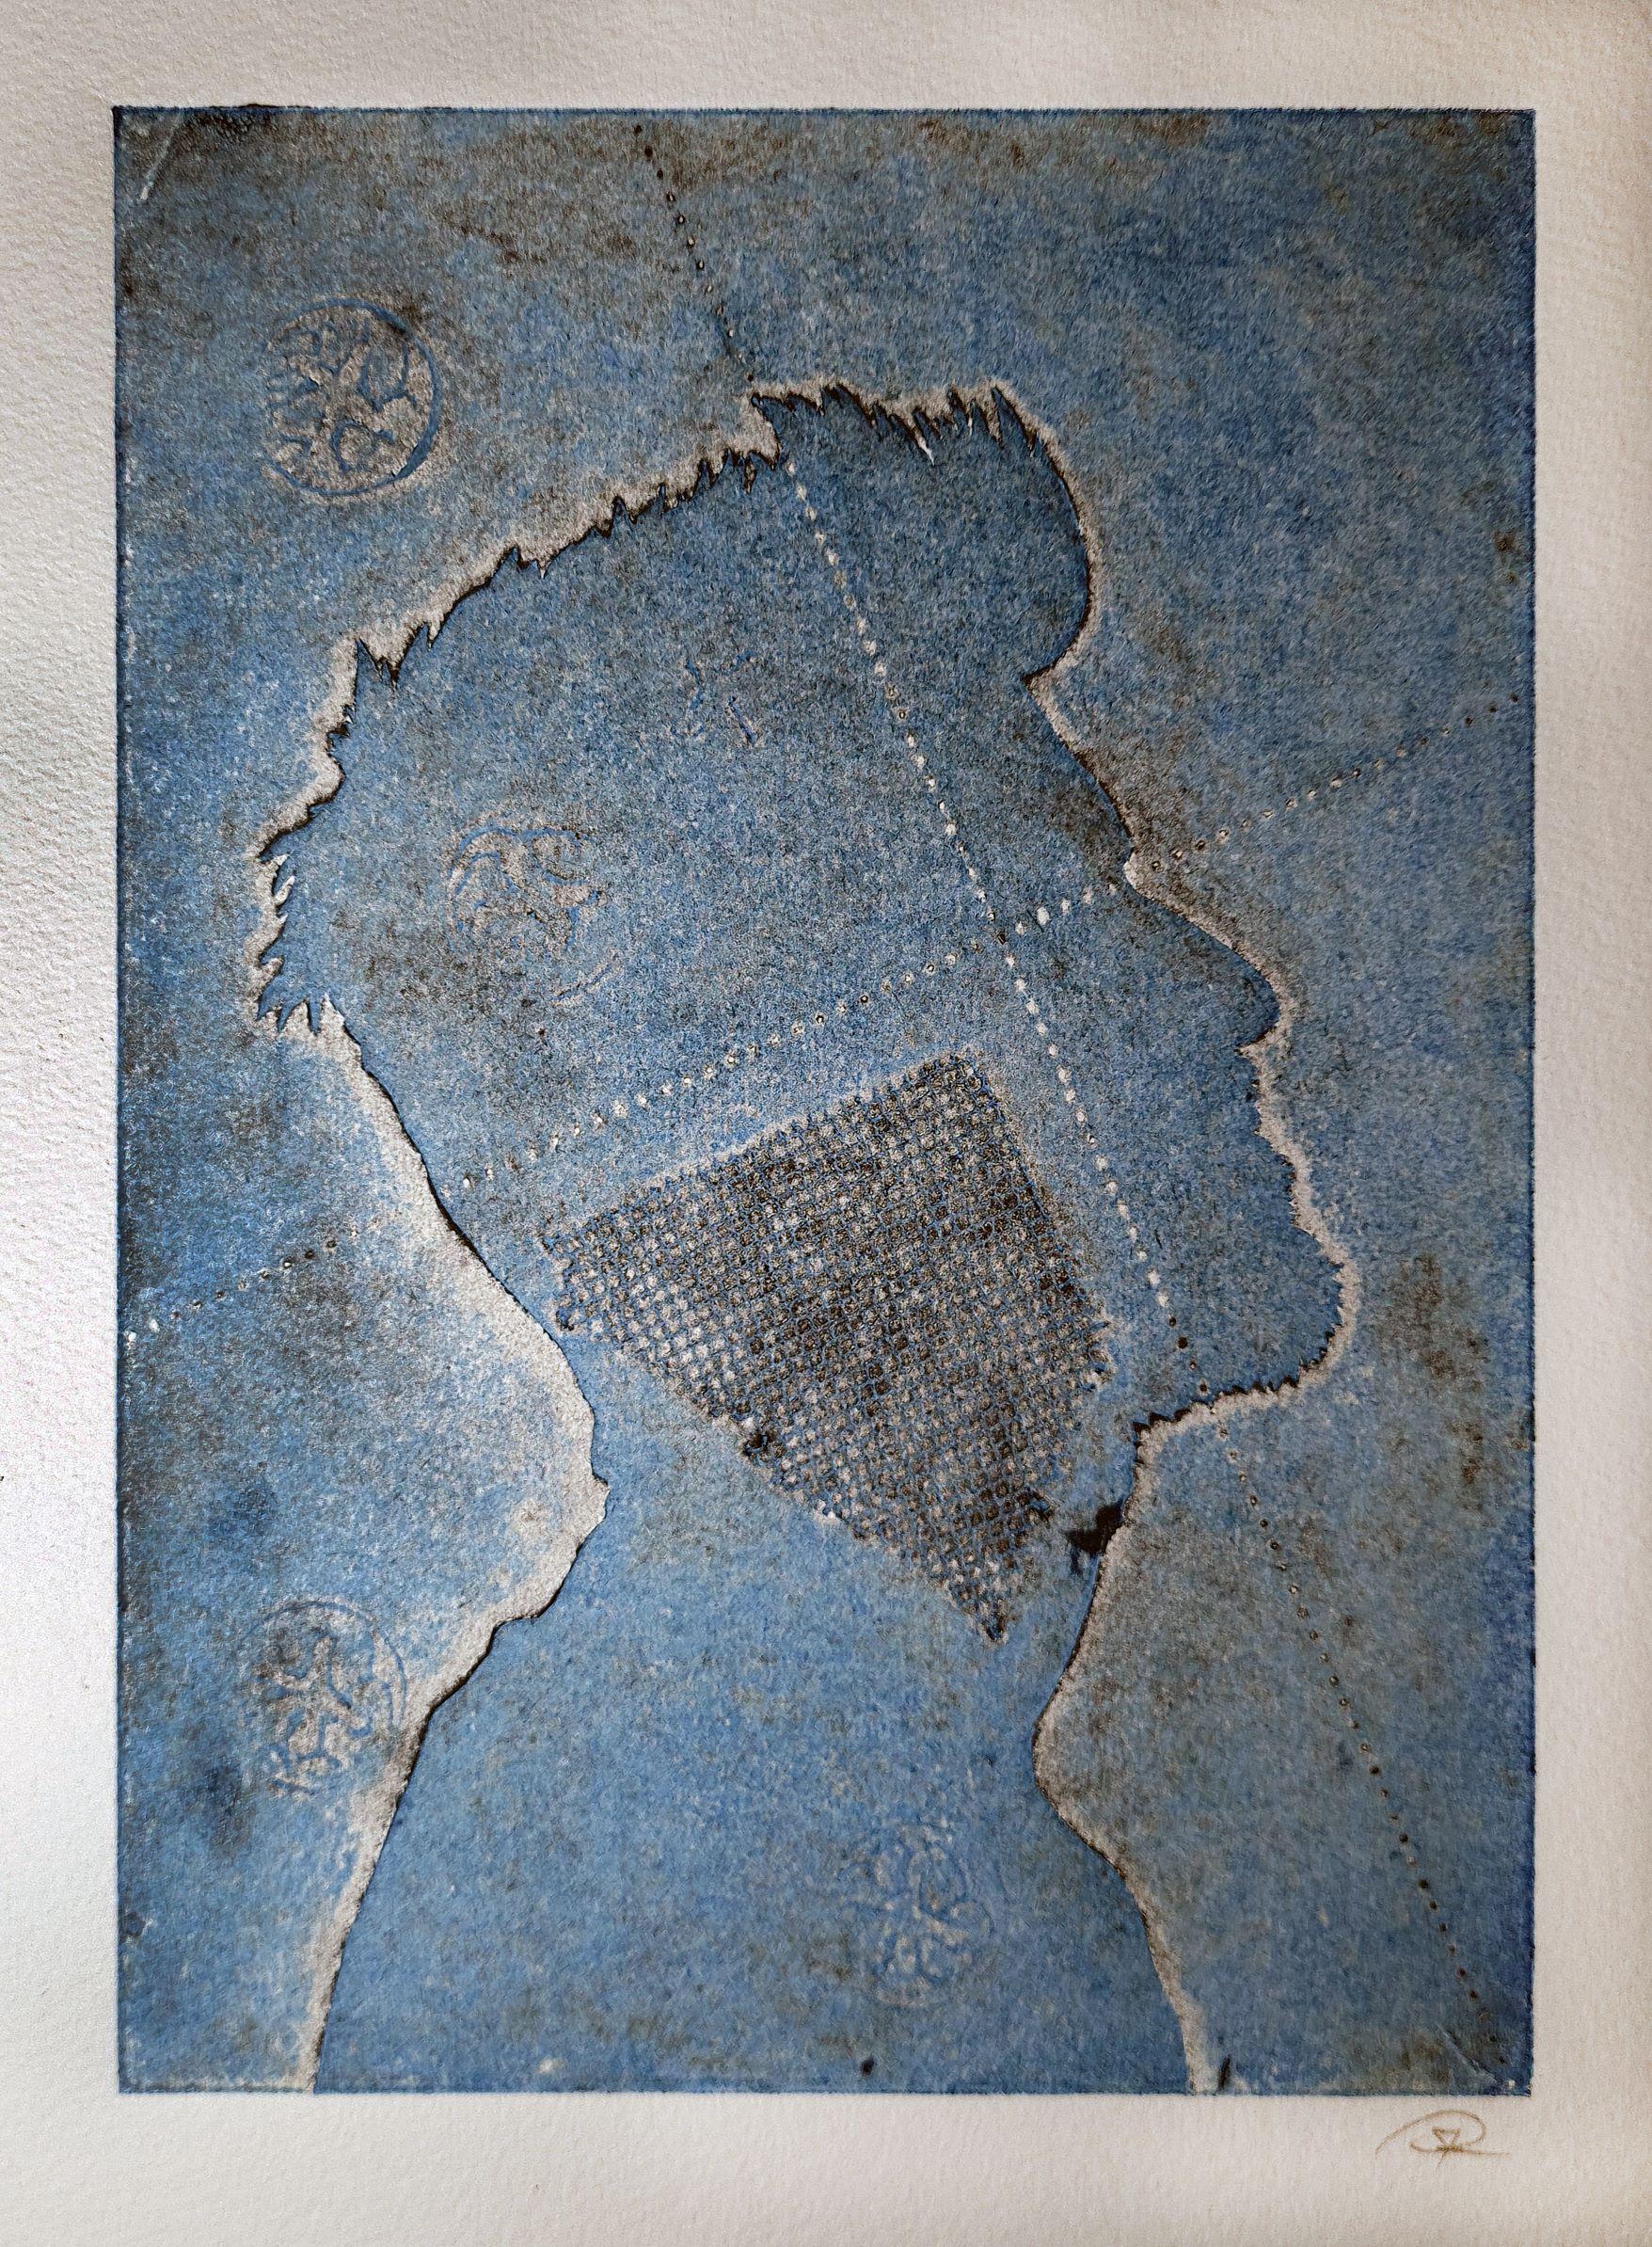
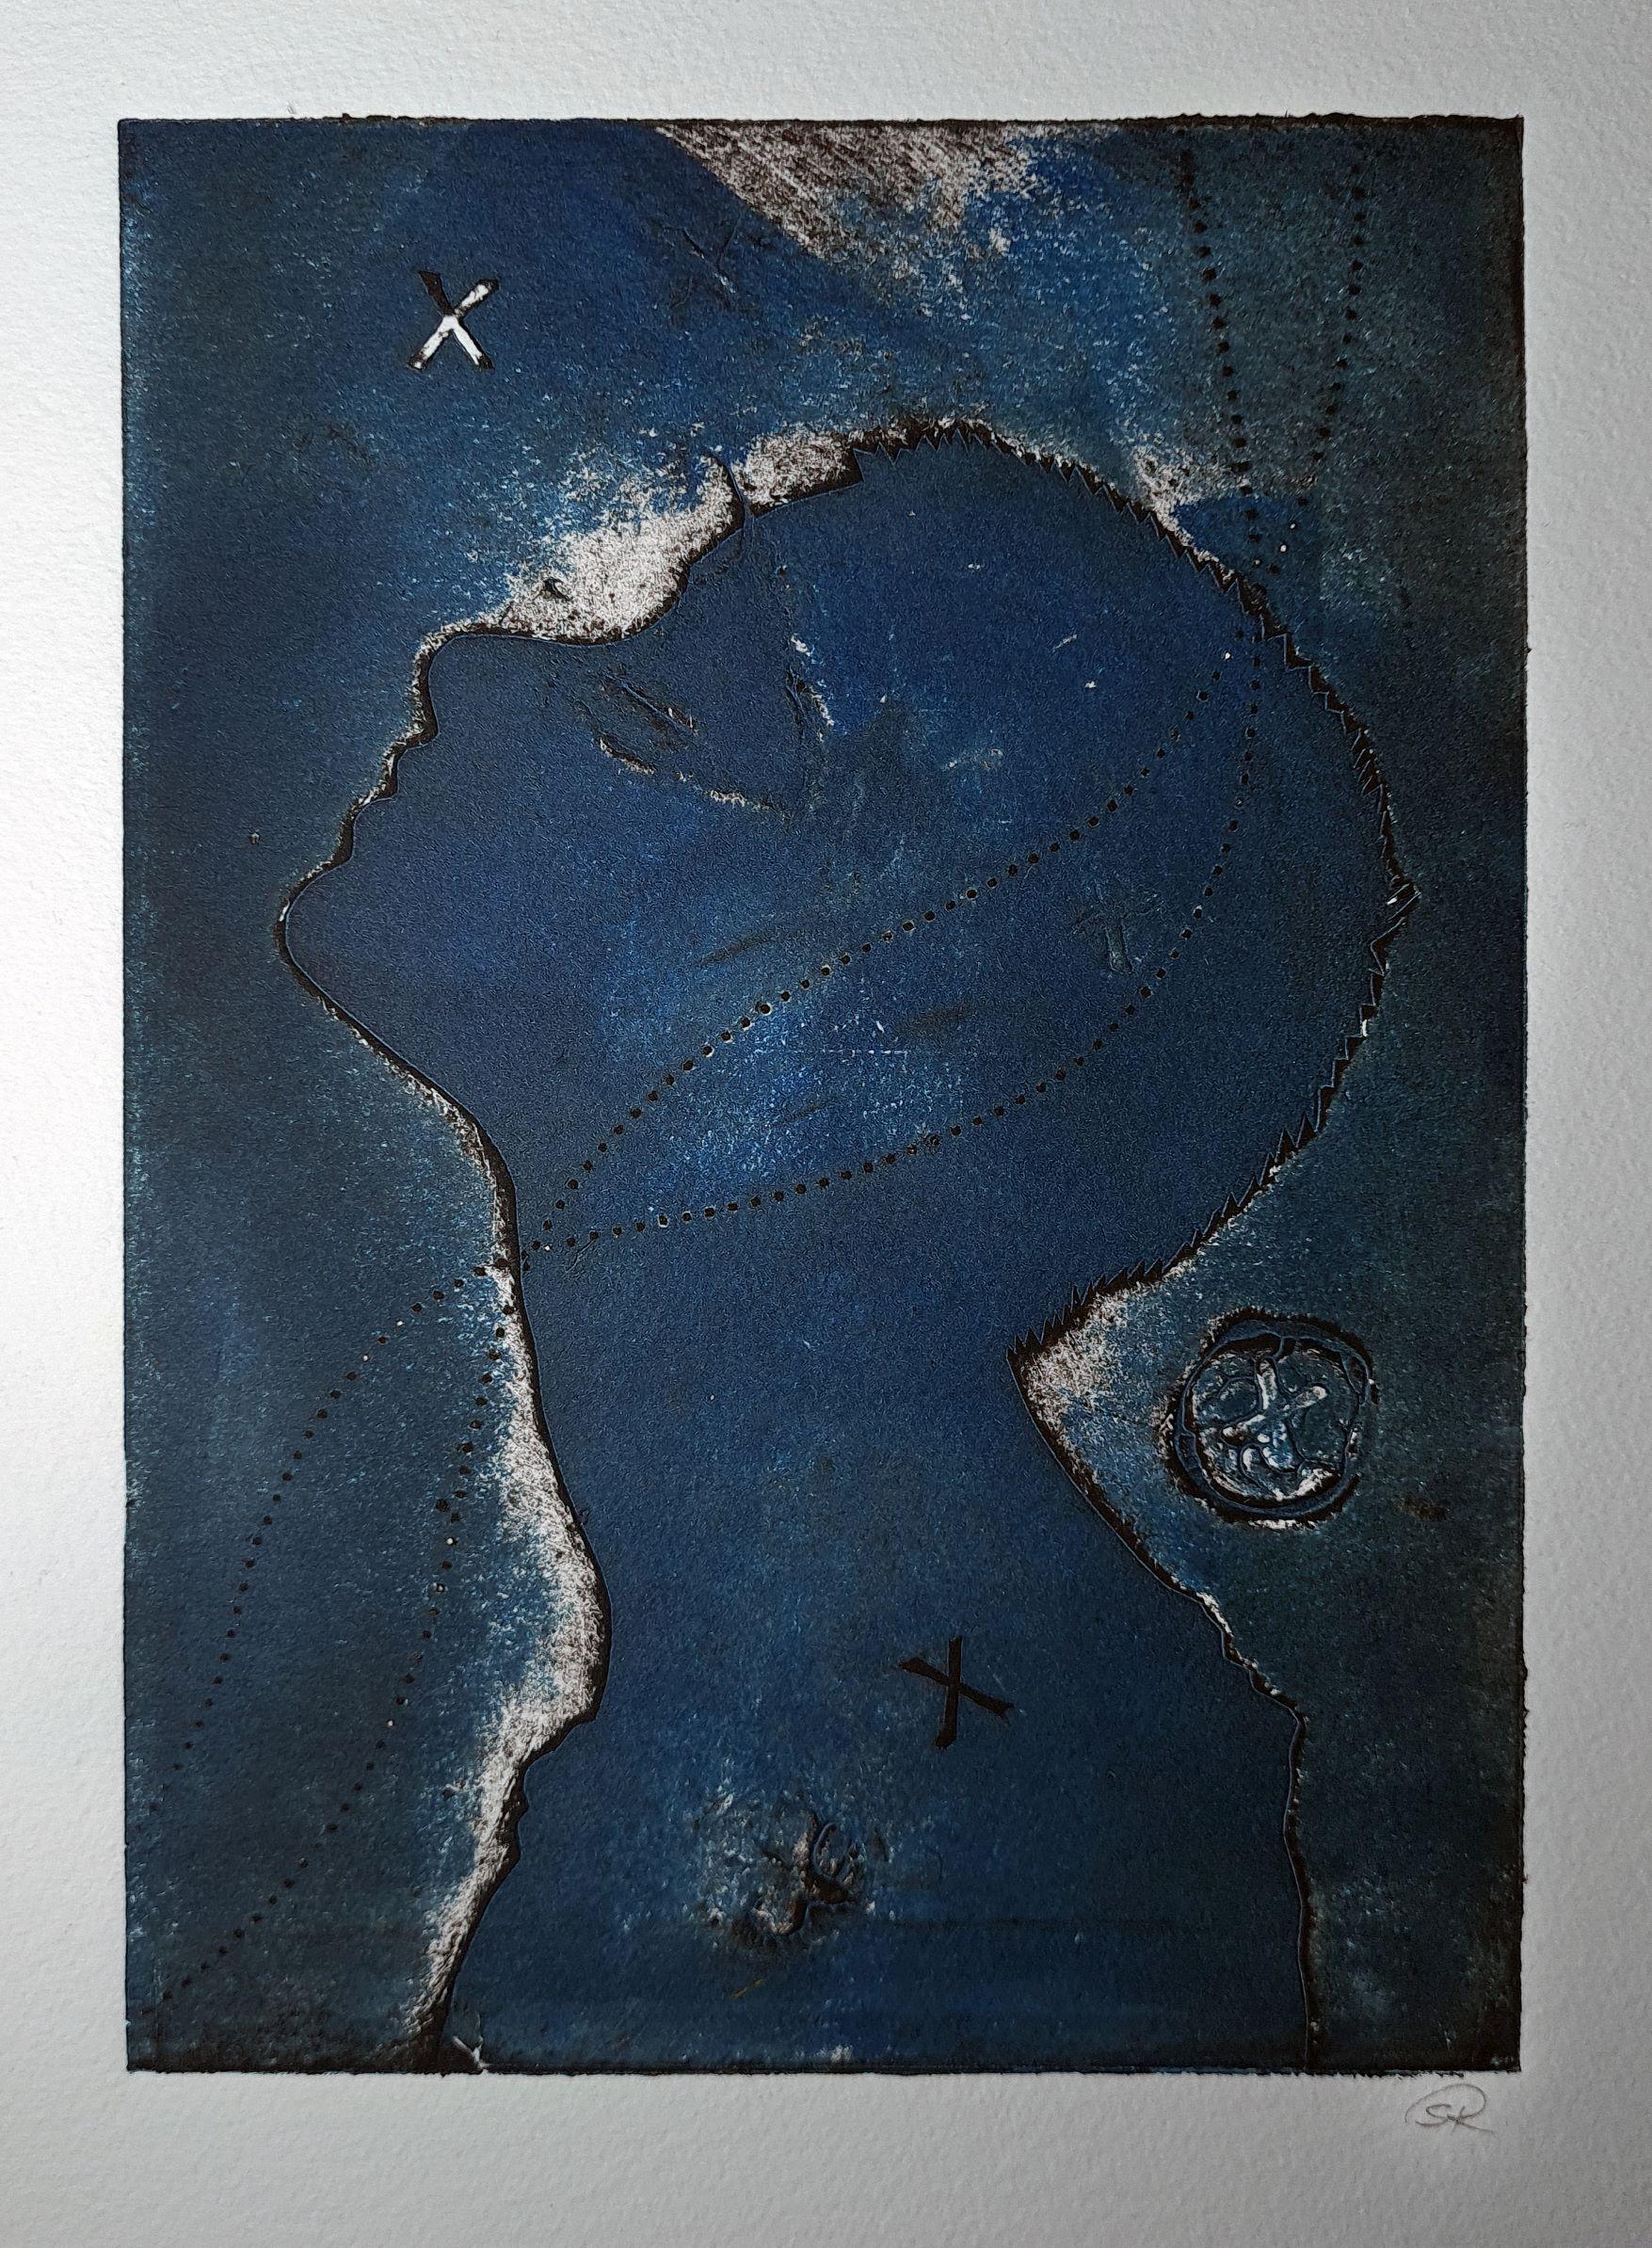
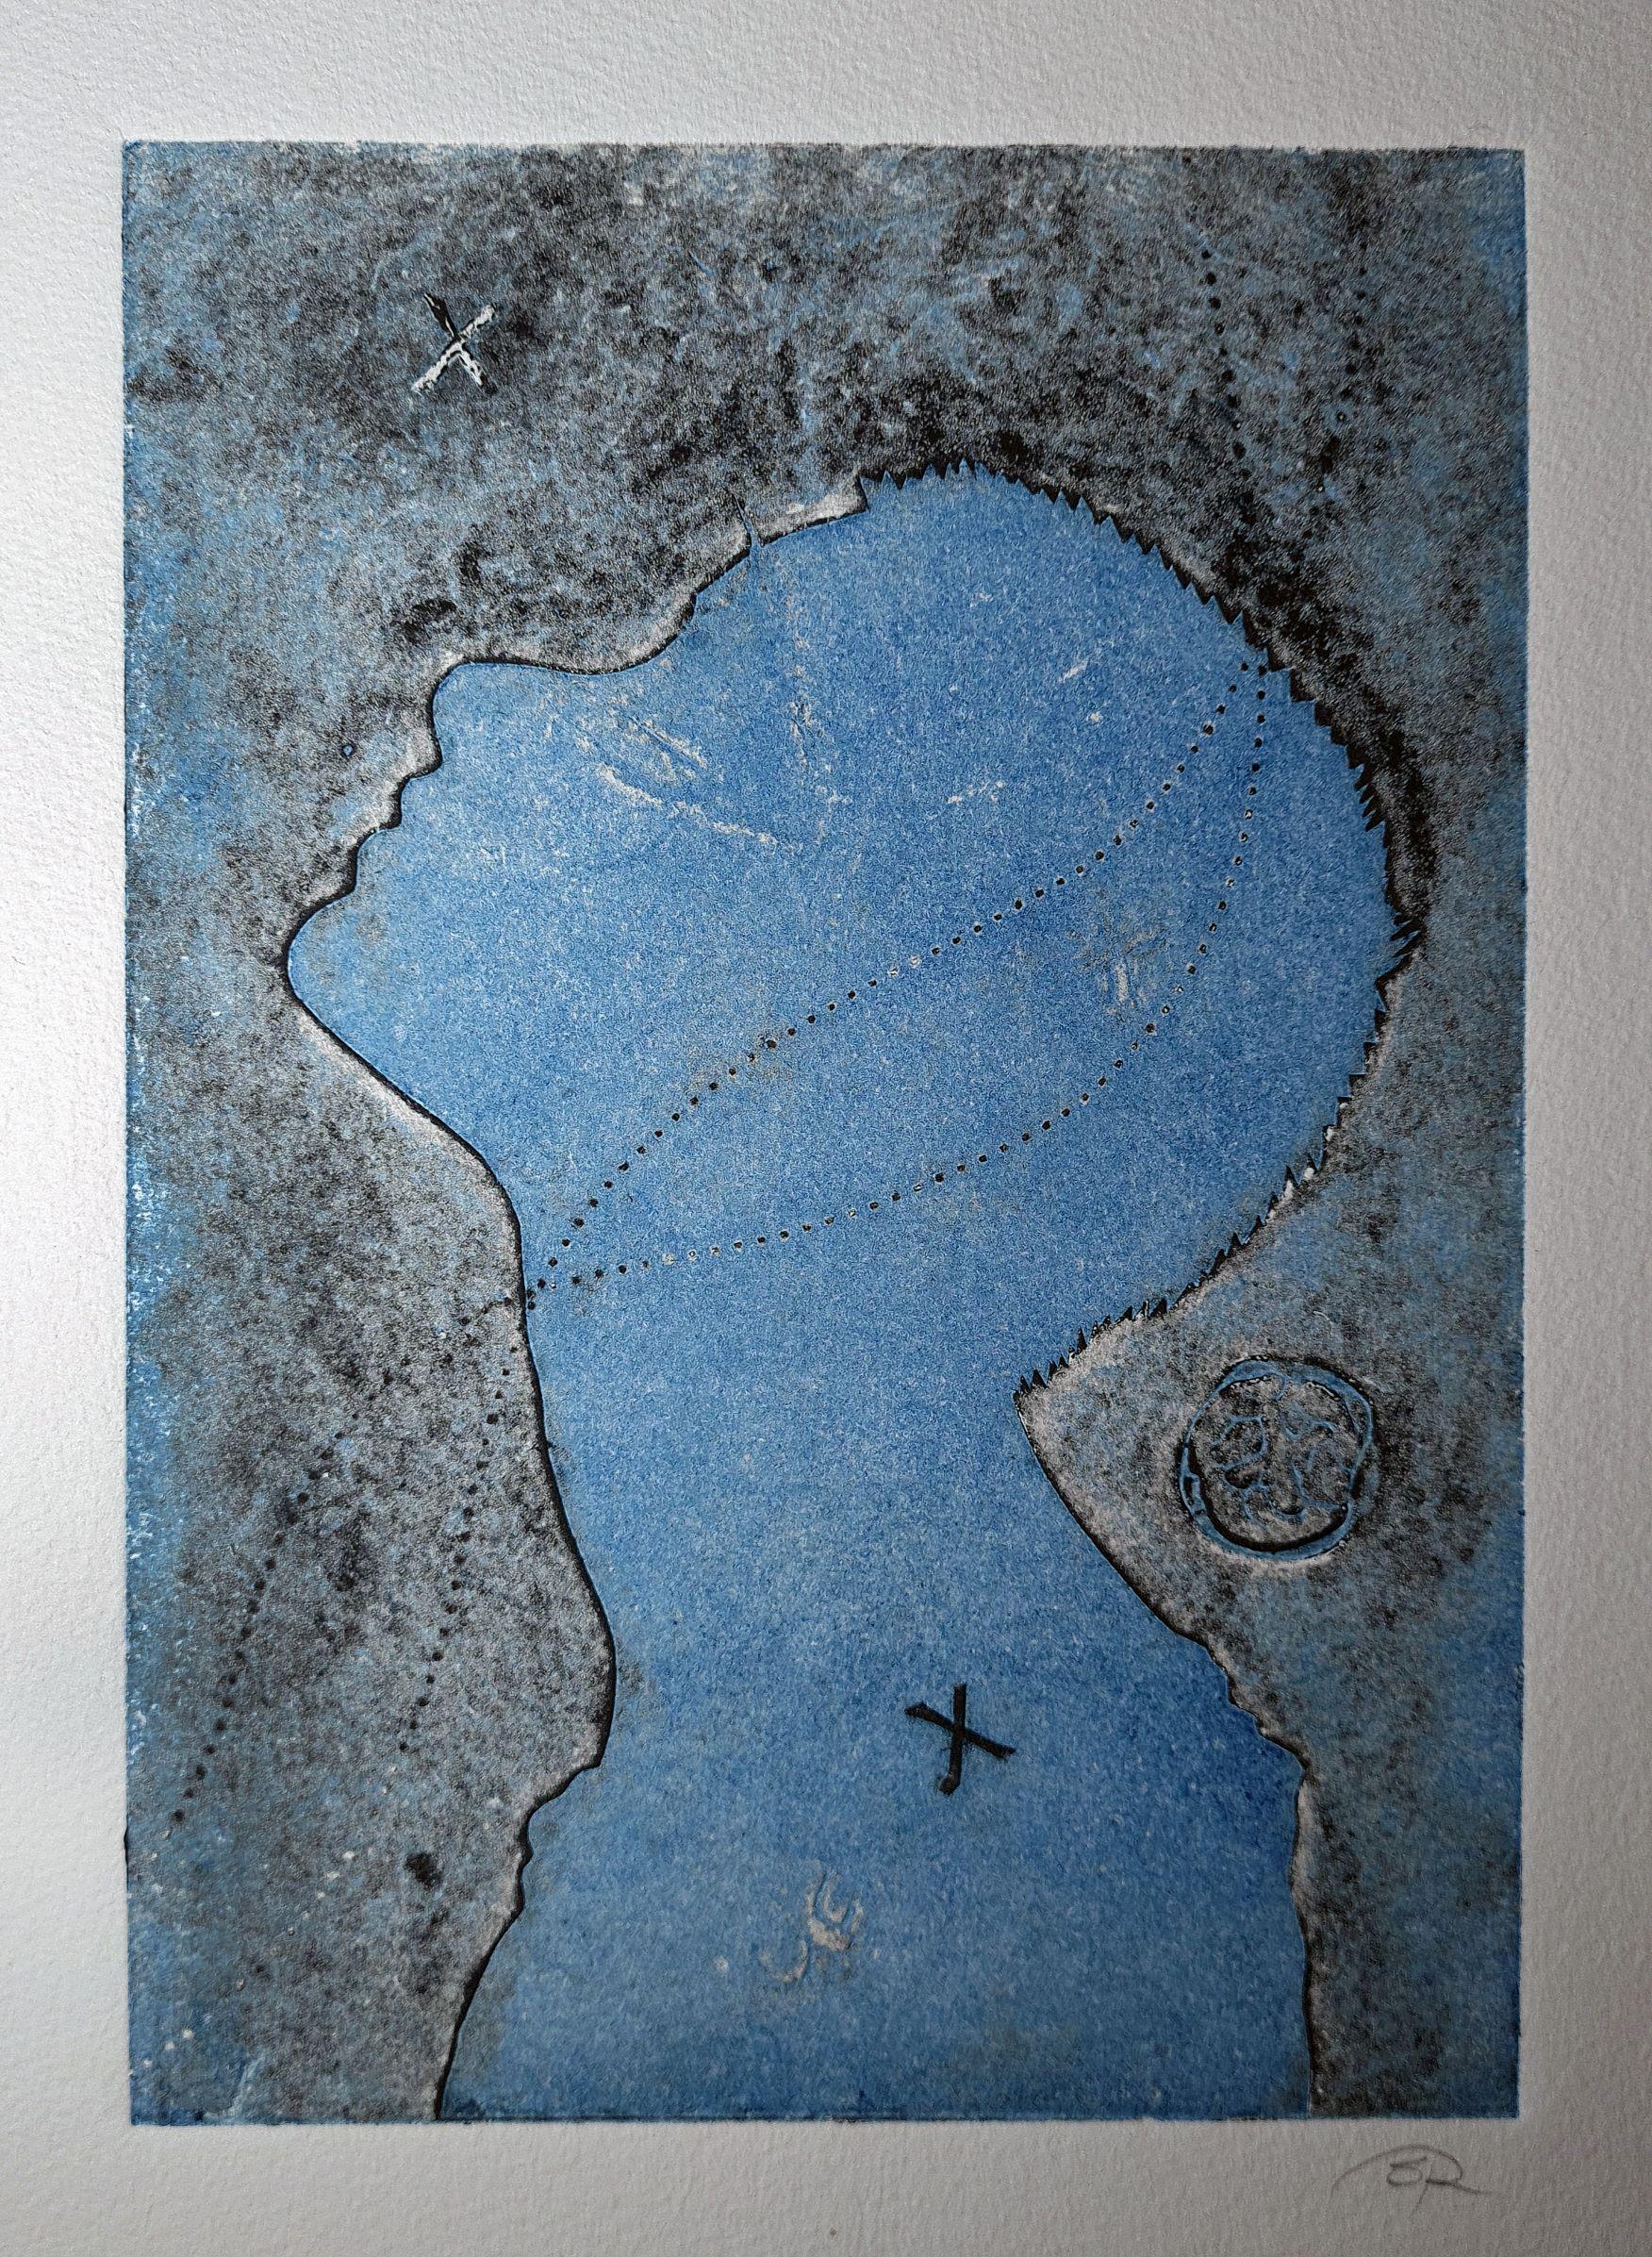
All the Blues Unspoken Ve1 7 — Simon Roots 2021
Collagraph on Hahnemuhle 300 gsm
29 x 21 cm
$85
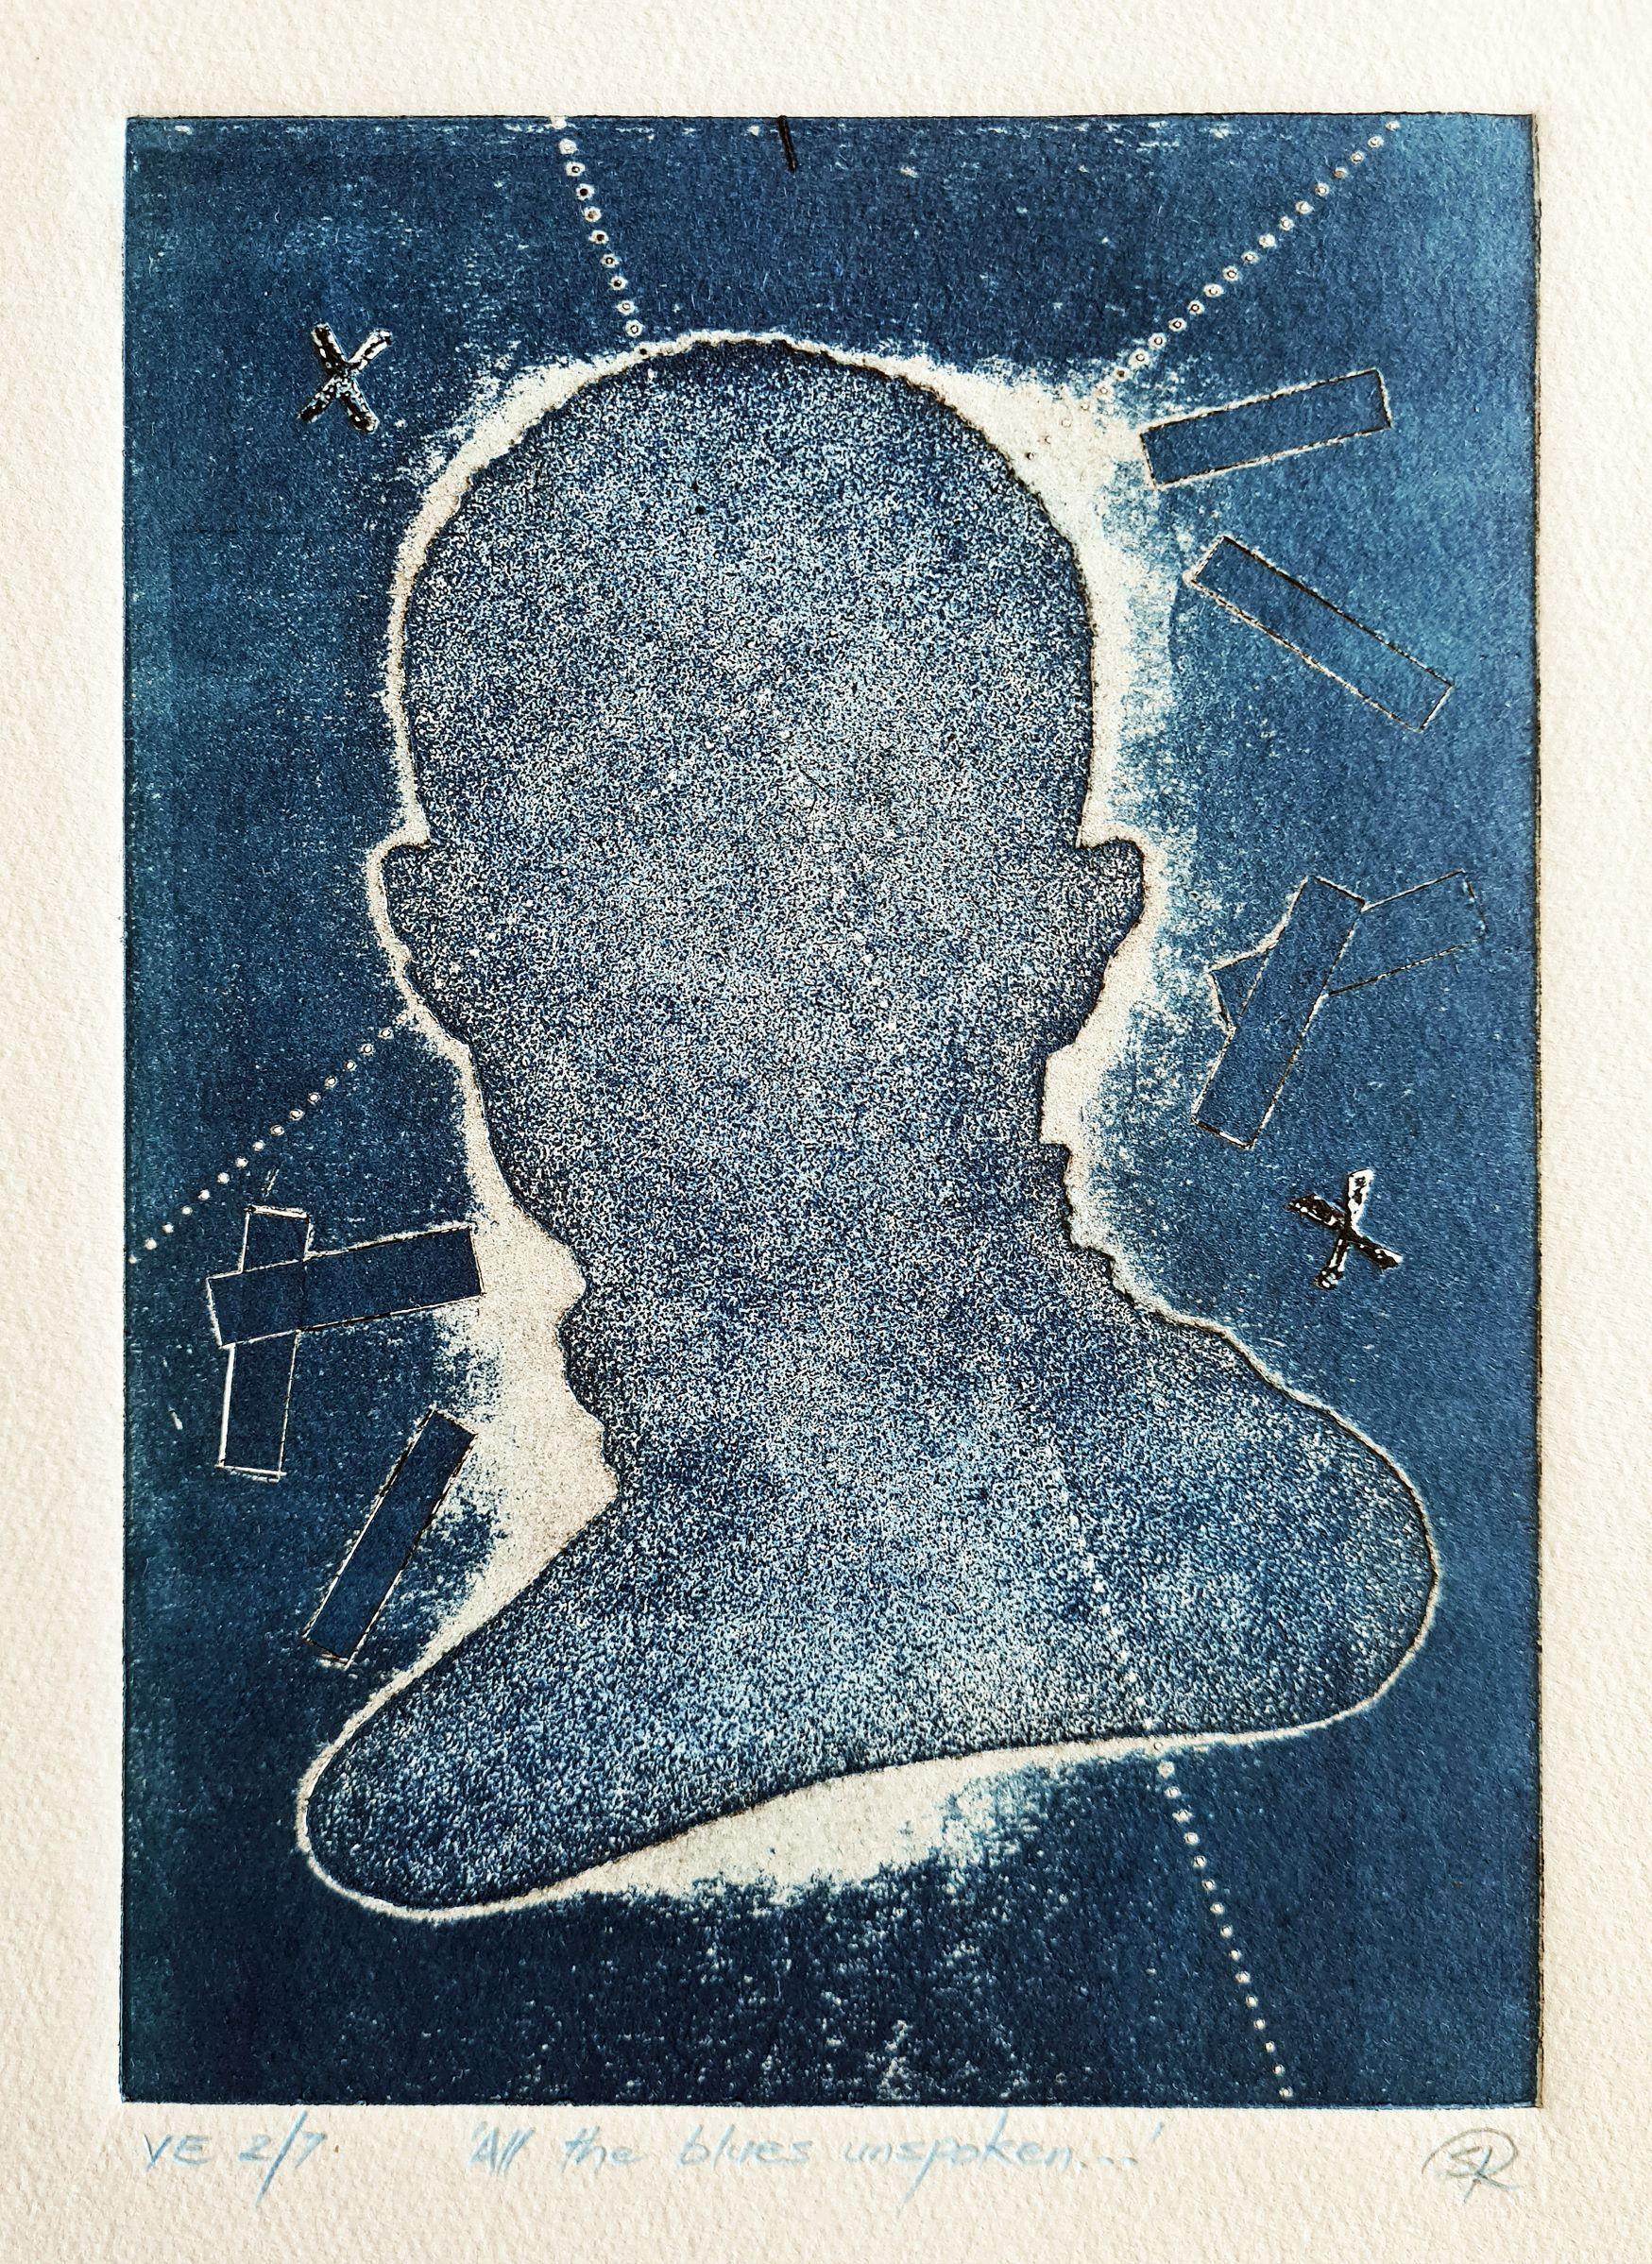
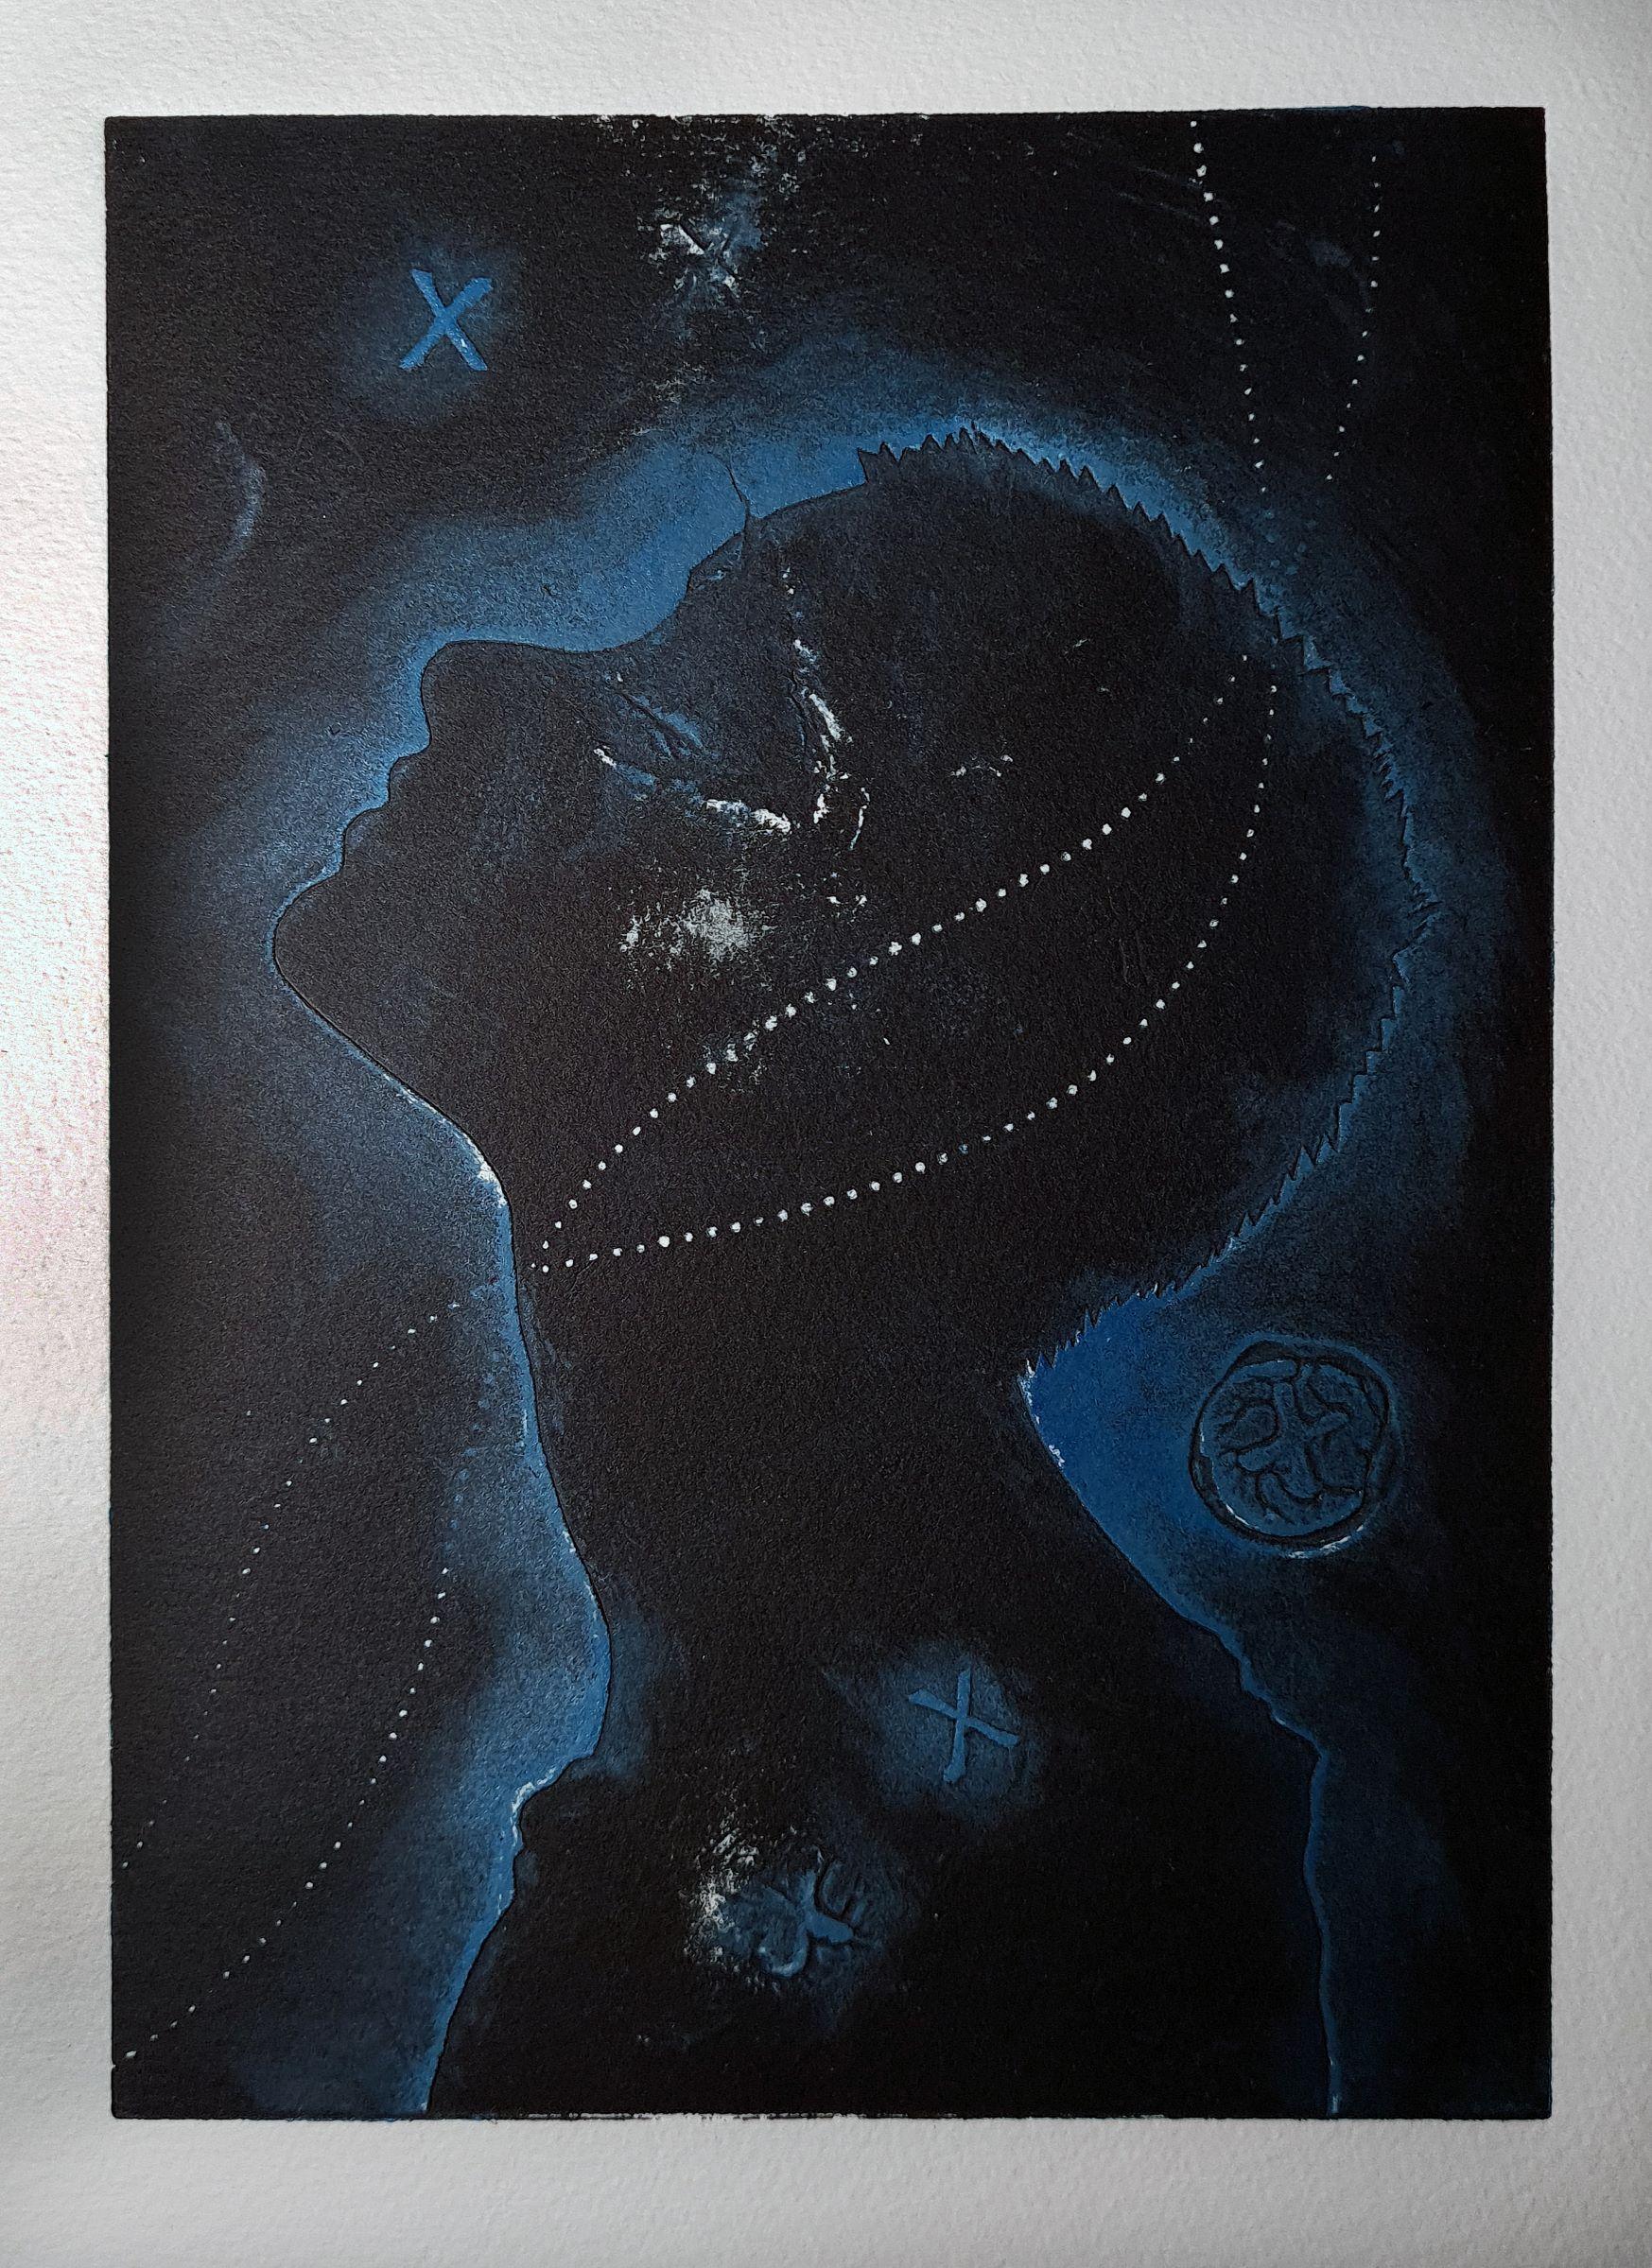
All the Blues Unspoken Ve2 7 — Simon Roots 2021
Collagraph on Hahnemuhle 300 gsm
29 x 21 cm
$85
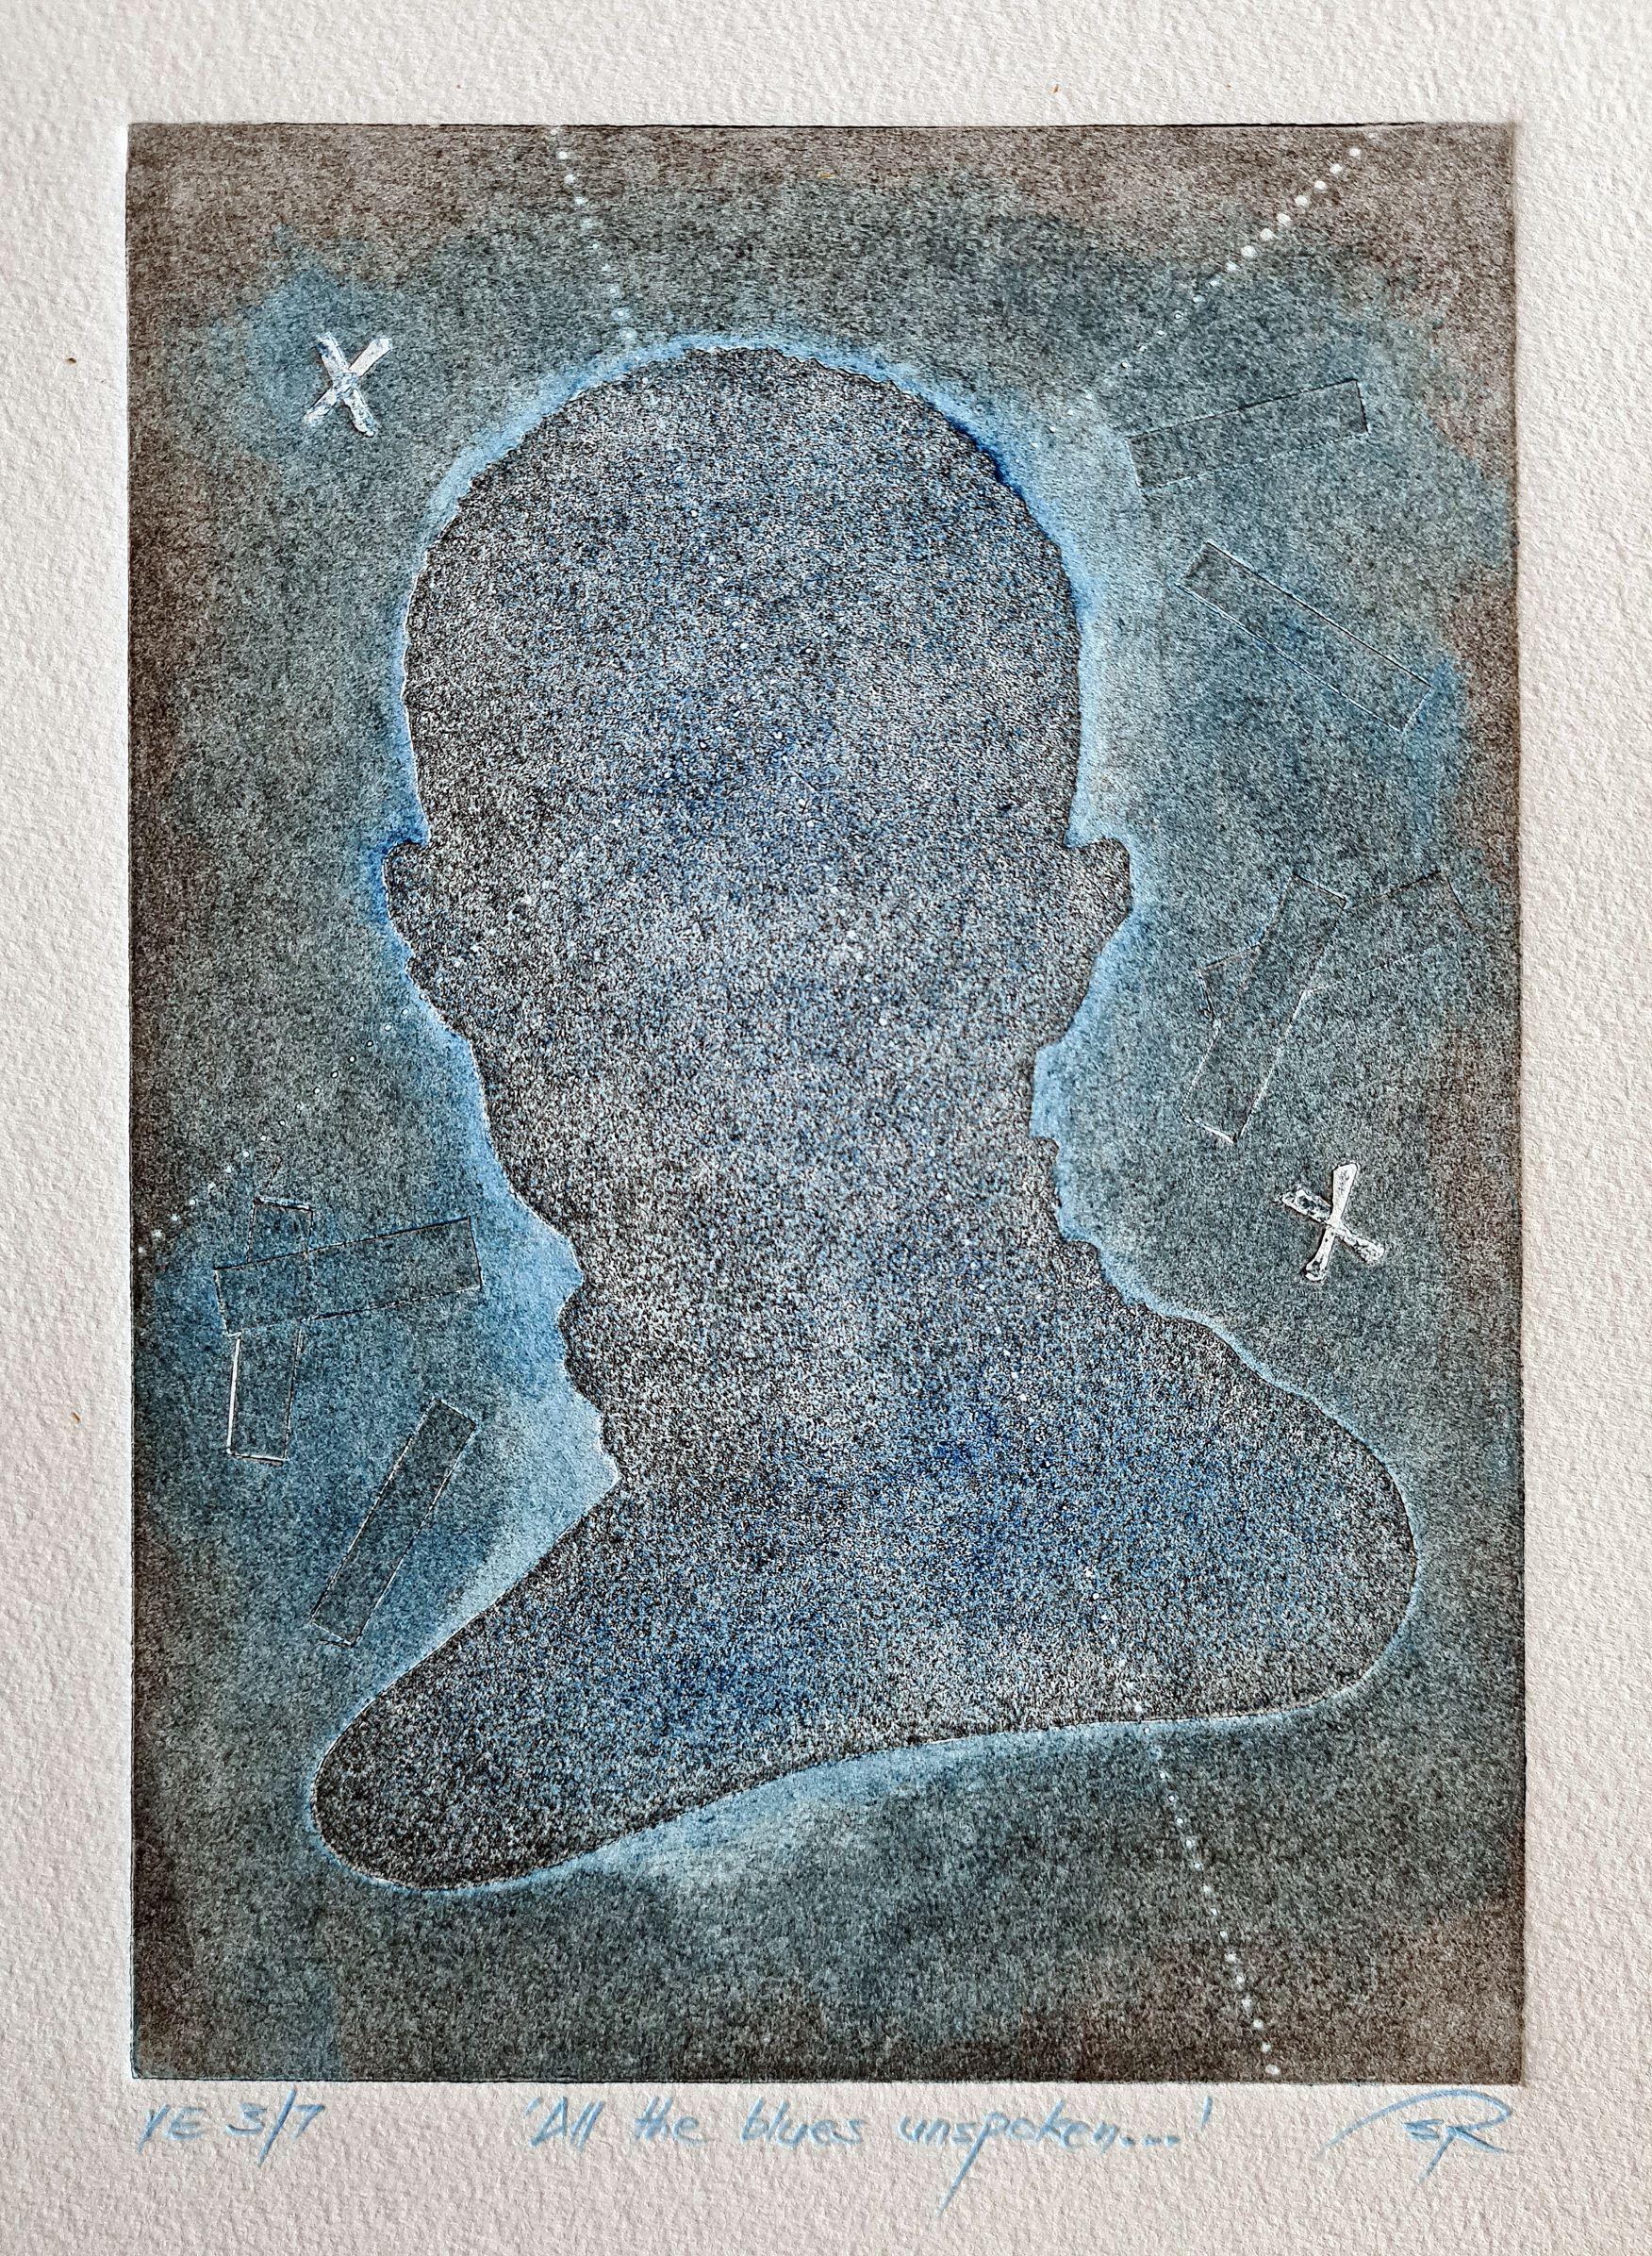
All the Blues Unspoken Ve3 7 — Simon Roots 2021
Collagraph on Hahnemuhle 300 gsm
29 x 21 cm
$85
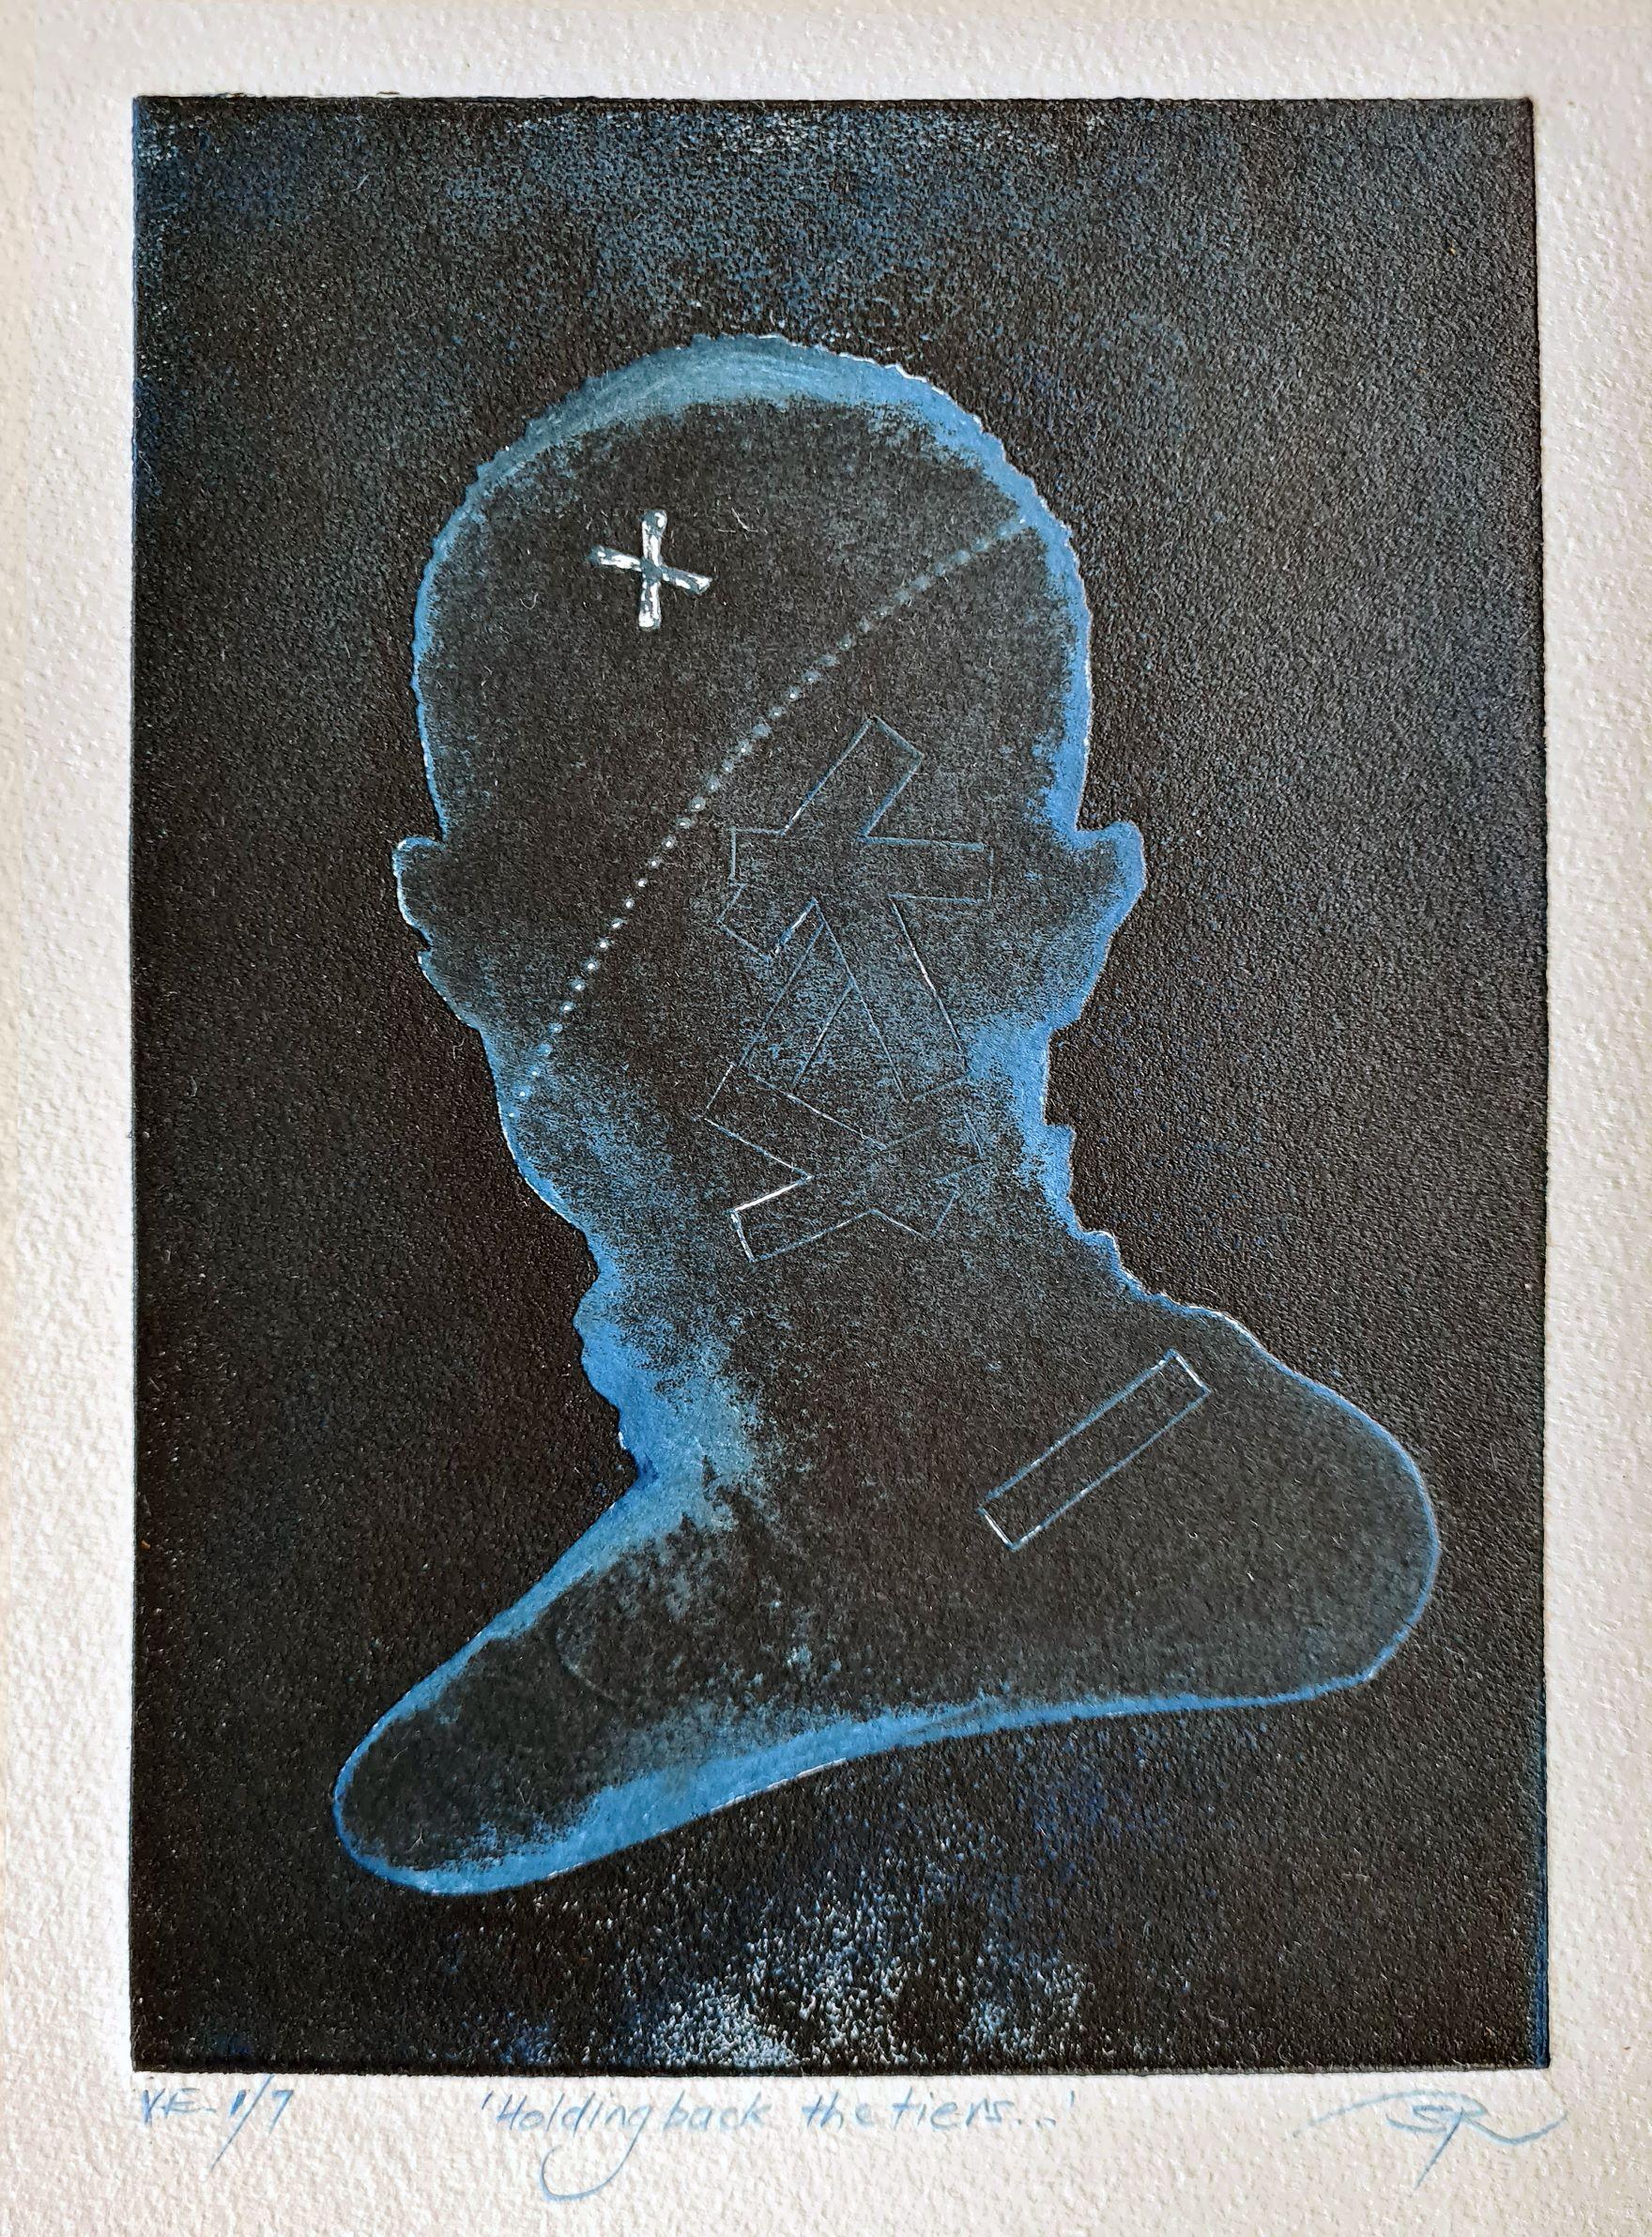
Holding Back The Tiers Ve1 7 — Simon Roots 2021
Collagraph on Hahnemuhle 300 gsm
29 x 21 cm
$85
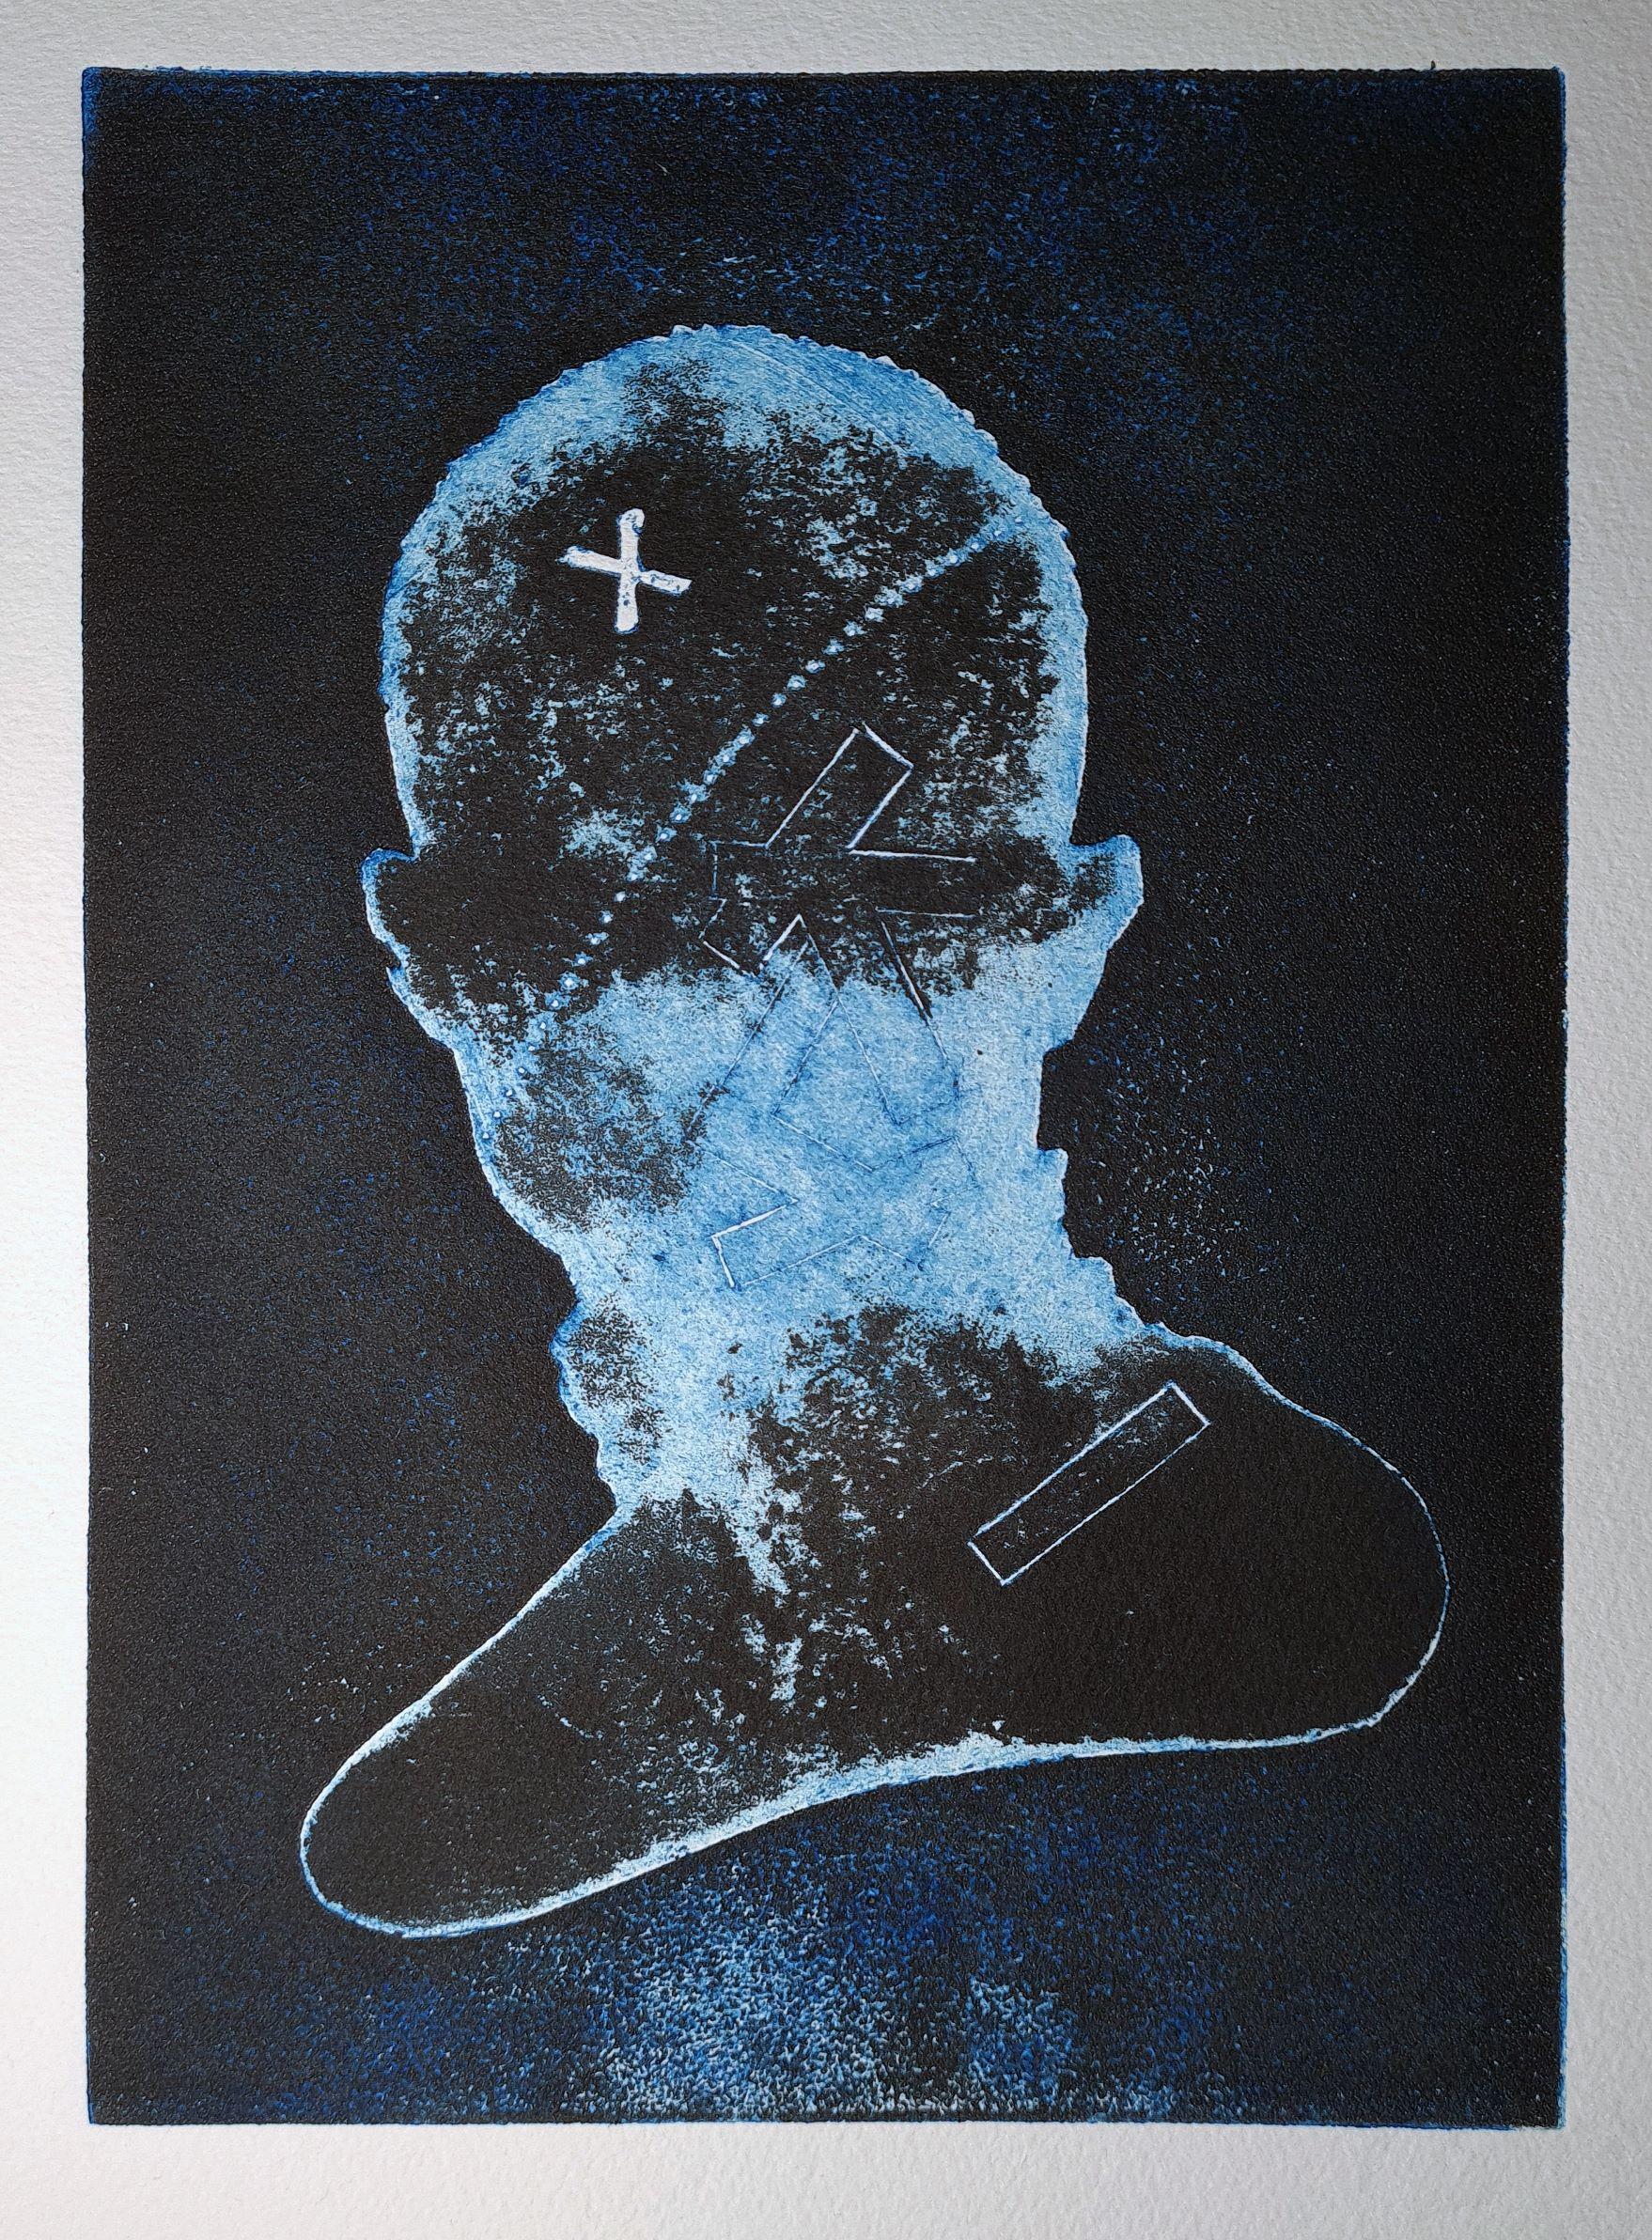
Holding Back The Tiers Ve2 7 — Simon Roots 2021
Collagraph on Hahnemuhle 300 gsm
29 x 21 cm
$85

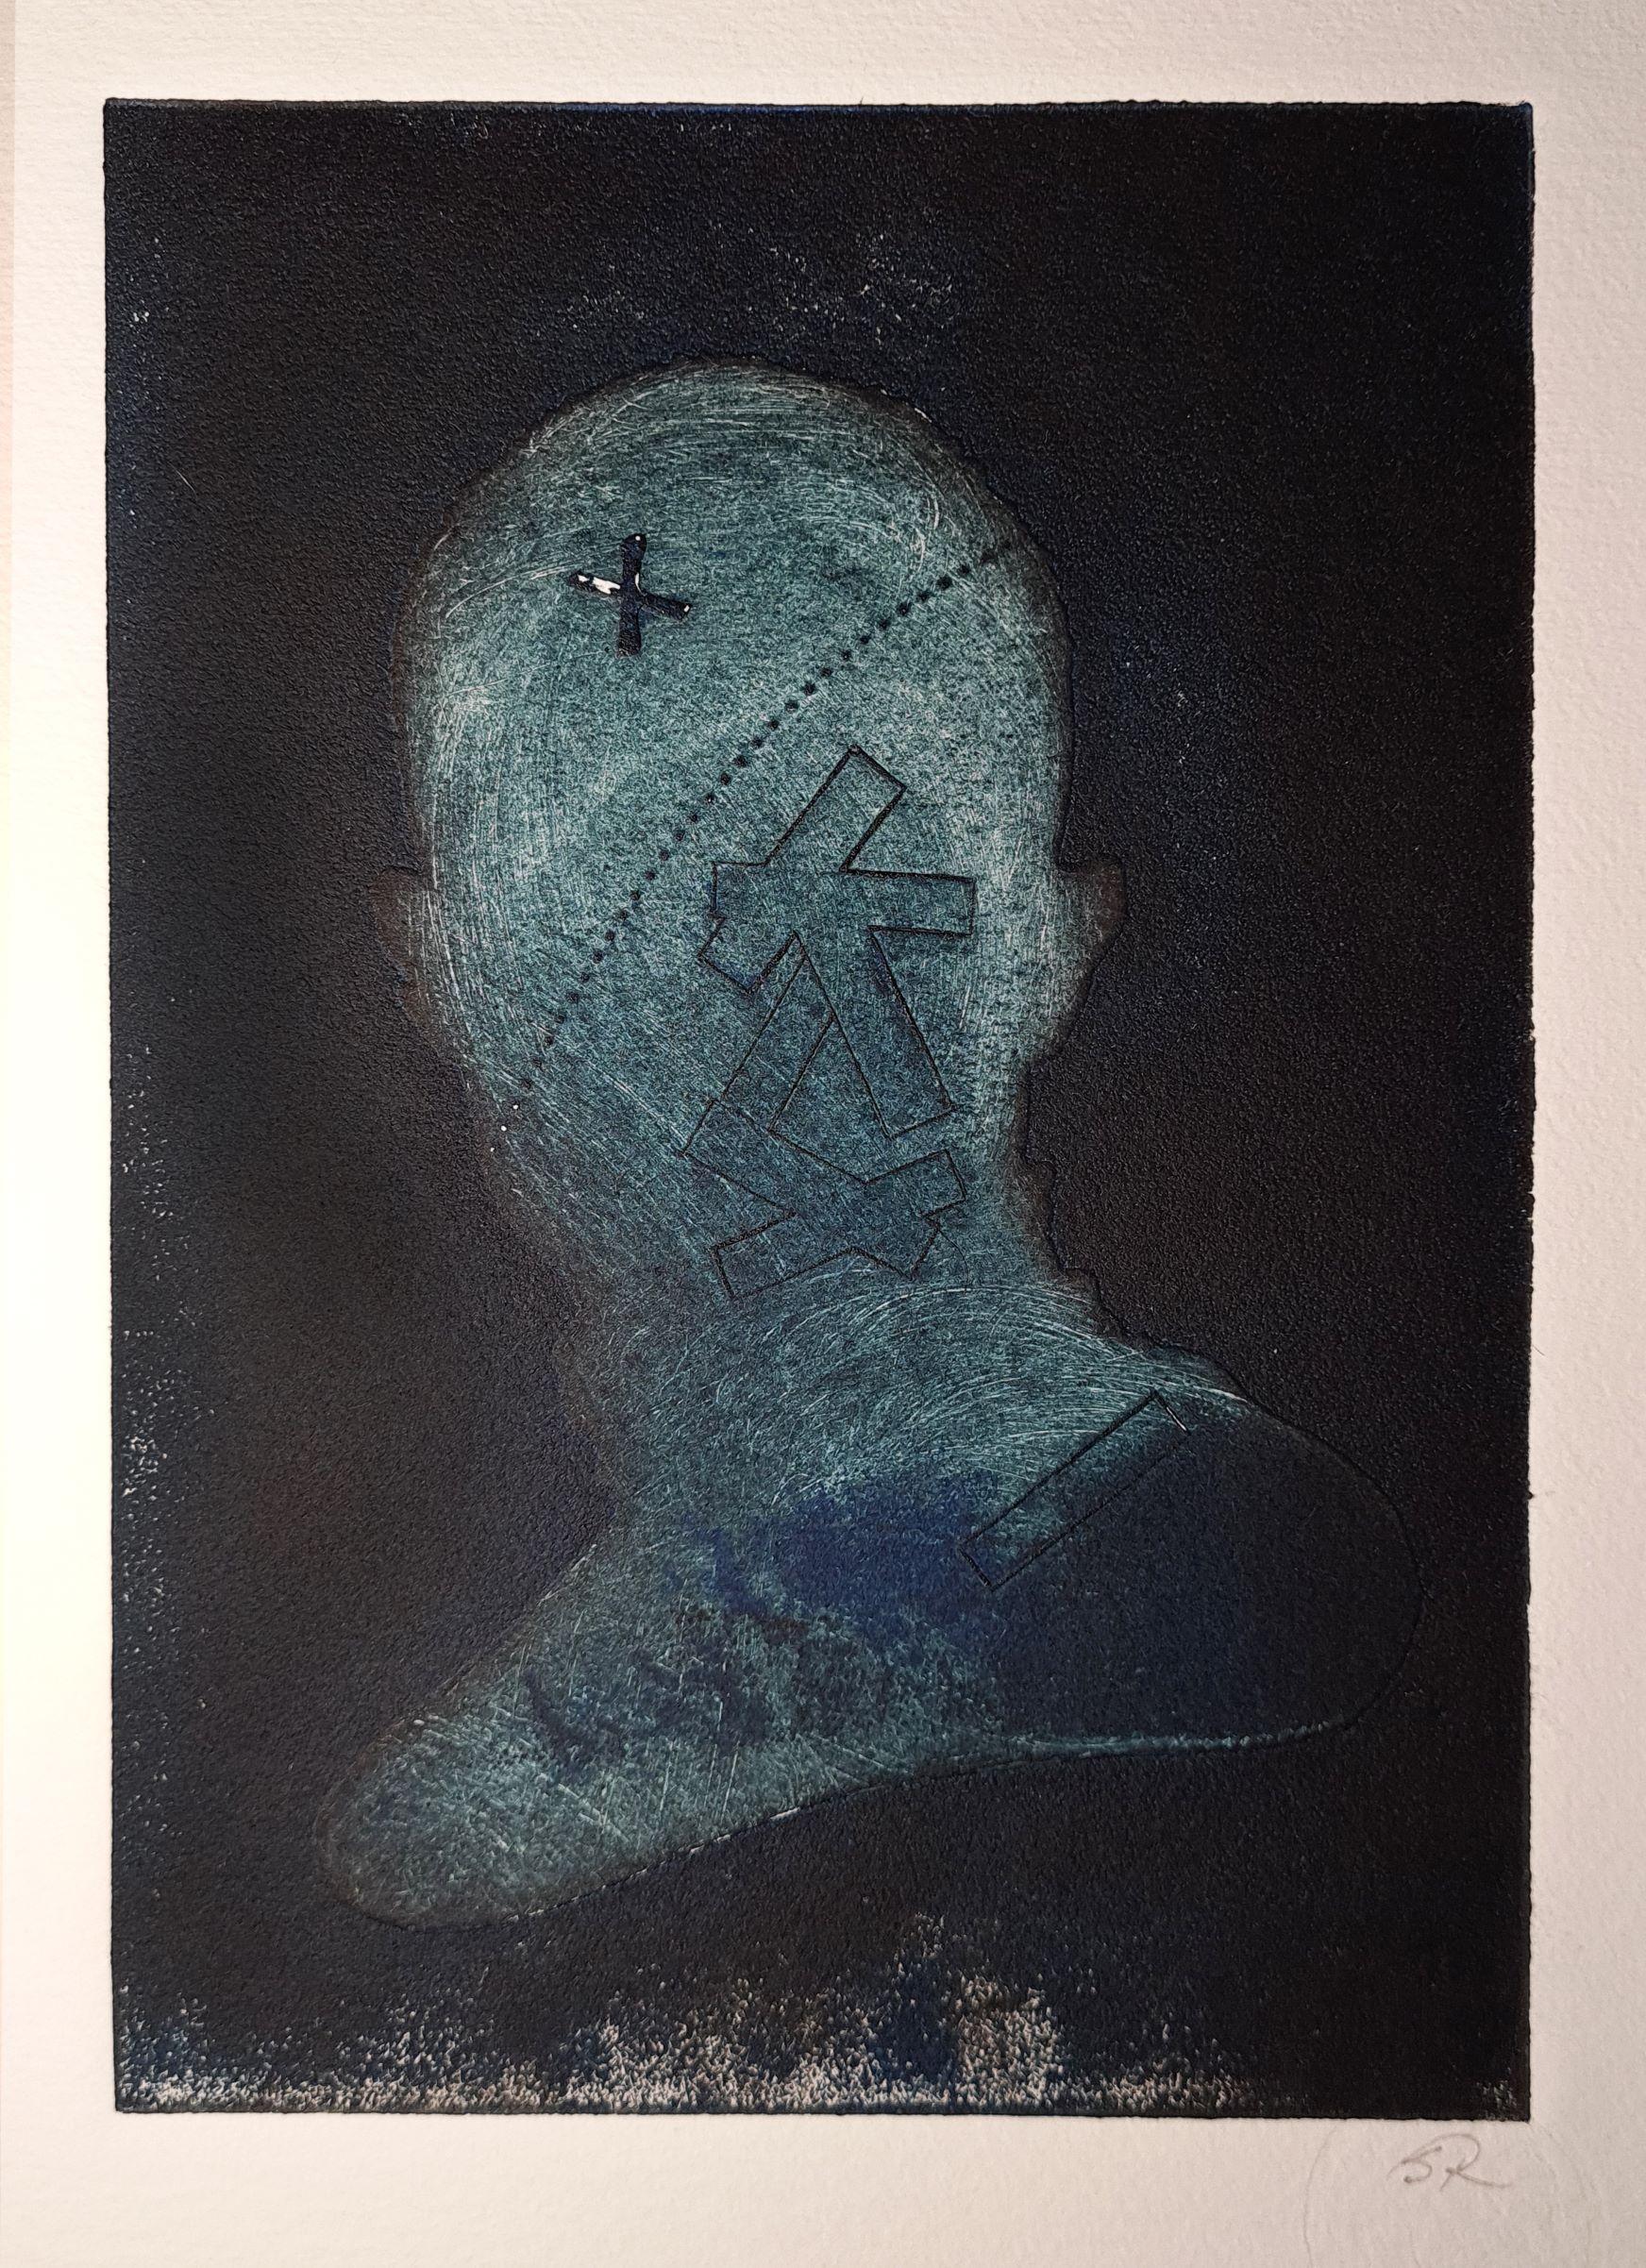
Holding Back The Tiers Ve3 7 — Simon Roots 2021
Collagraph on Hahnemuhle 300 gsm
29 x 21 cm
$85
Holding Back The Tiers Ve4 7 — Simon Roots 2021
Collagraph on Hahnemuhle 300 gsm
29 x 21 cm
$85

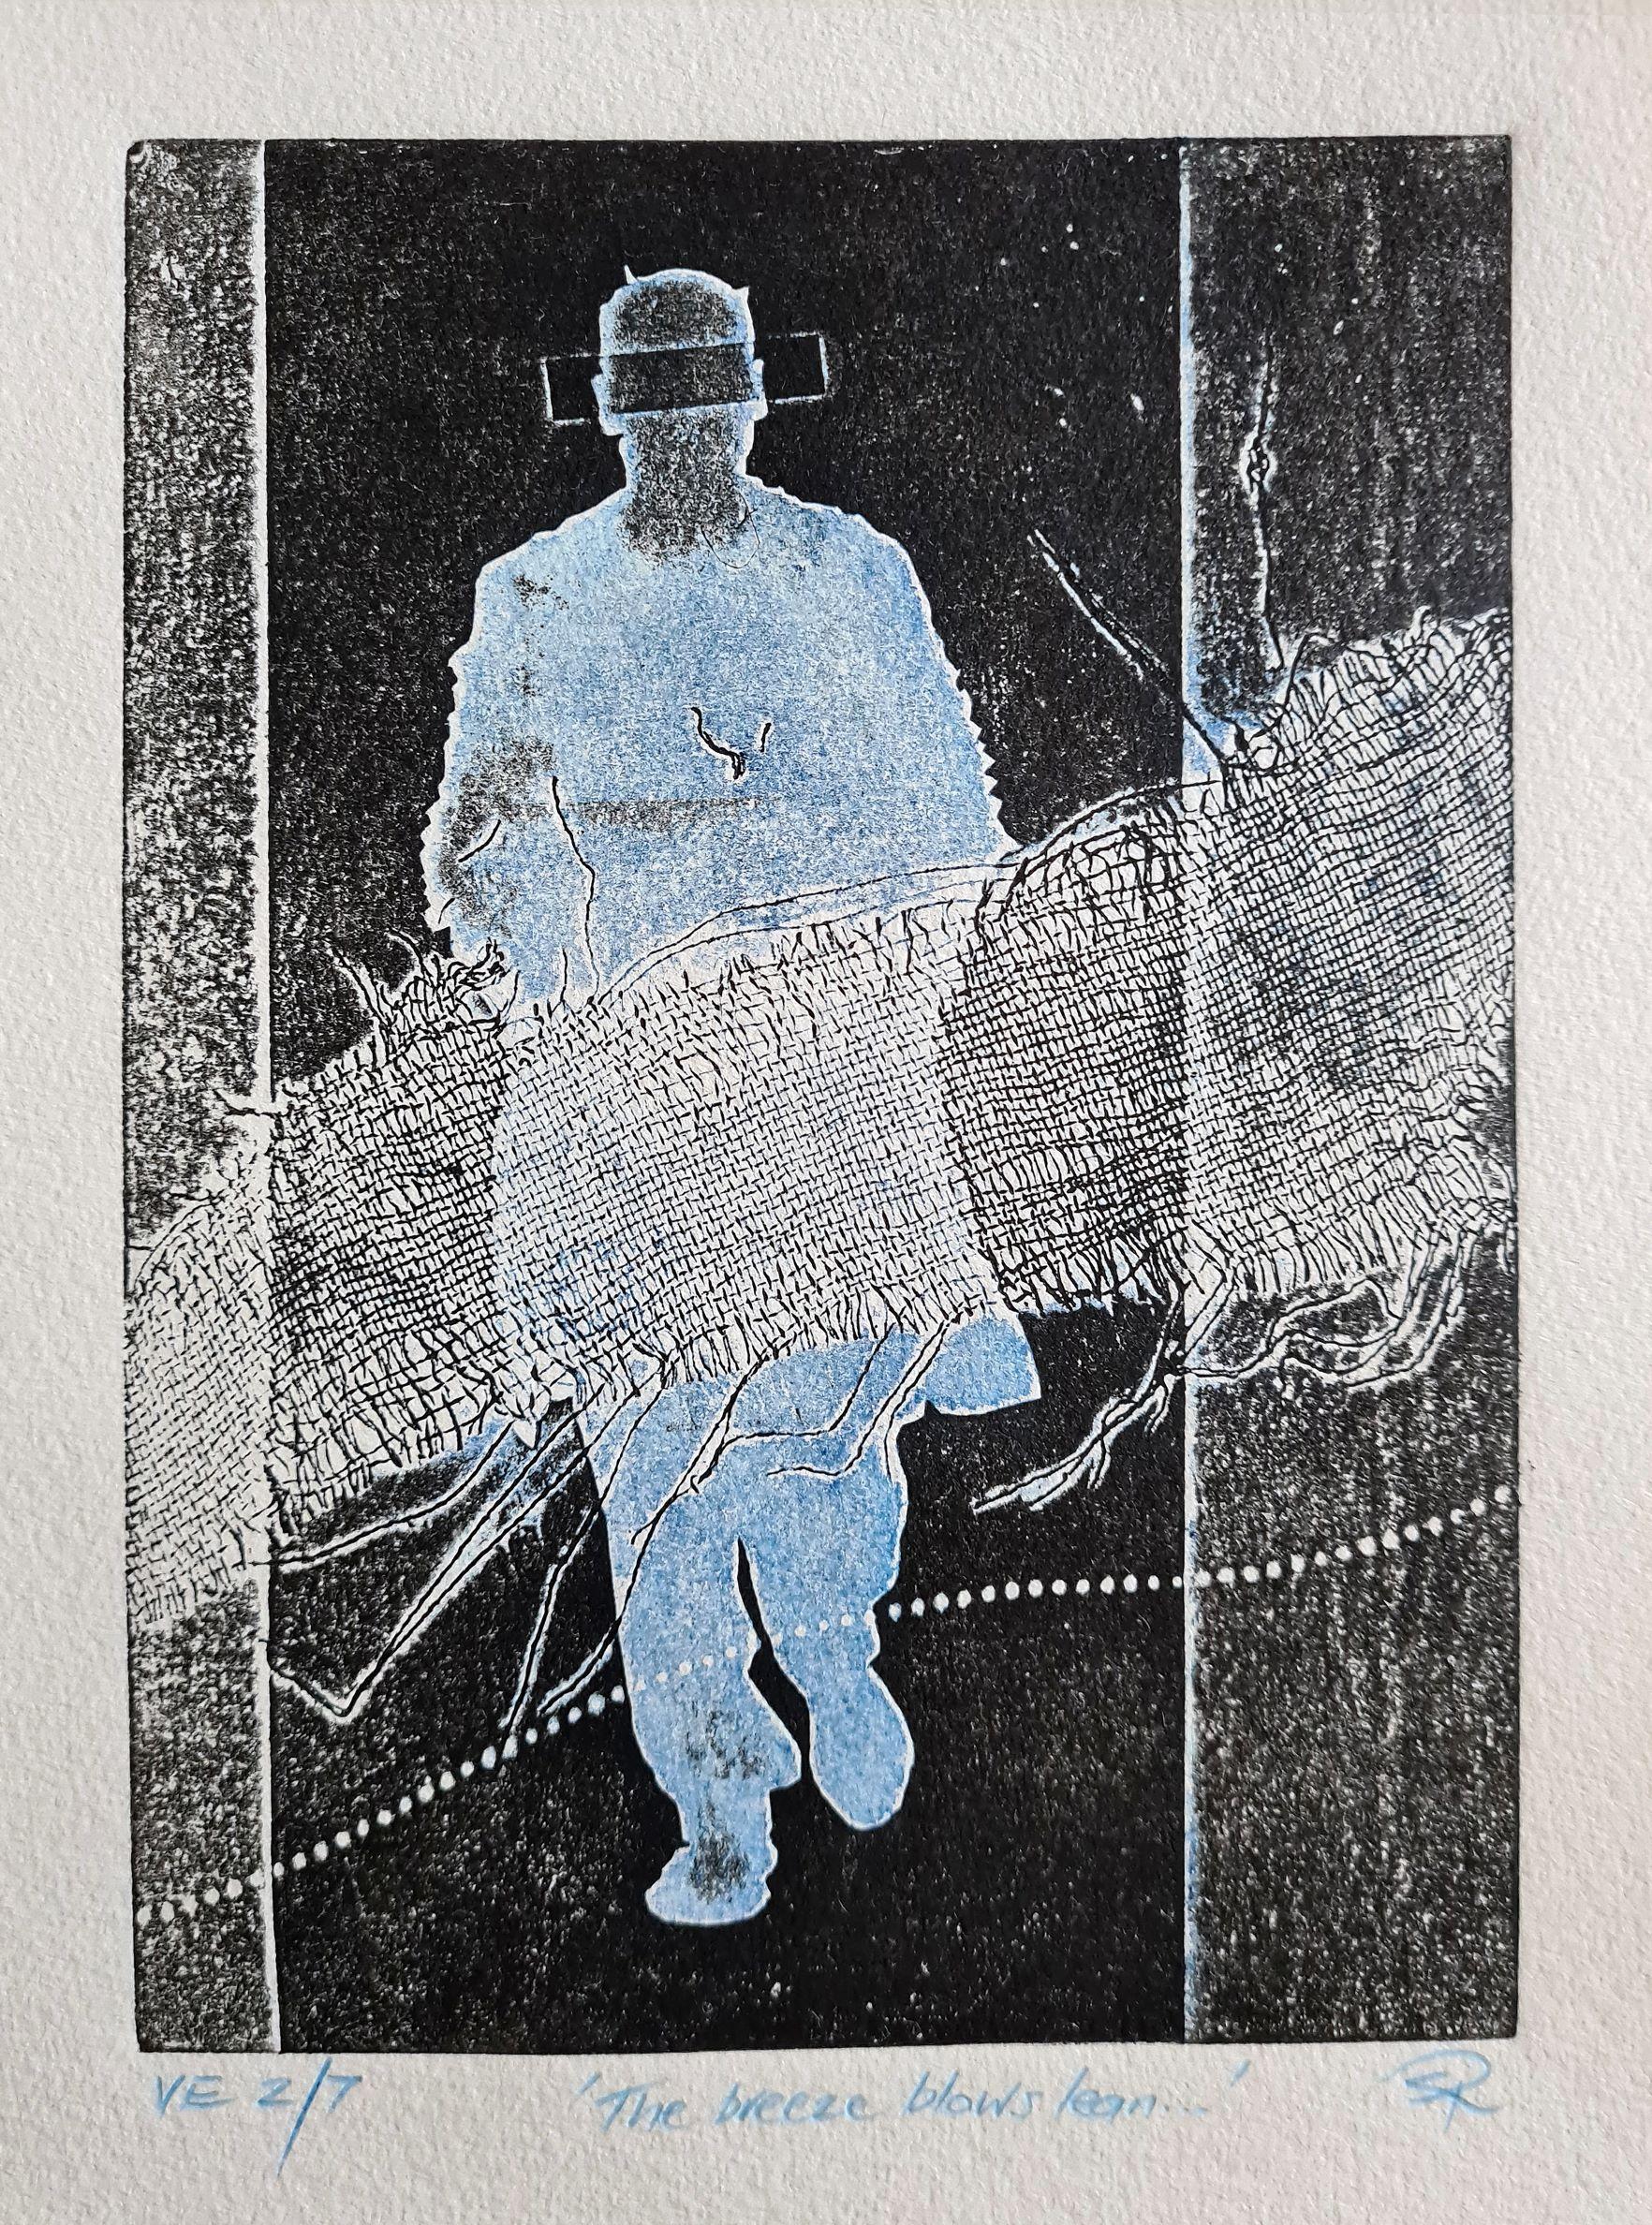
The Breeze Blows Lean Ve1 7 — Simon Roots 2021
Collagraph on Hahnemuhle 300 gsm
29 x 21 cm
$85
The Breeze Blows Lean Ve2 7 — Simon Roots 2021
Collagraph on Hahnemuhle 300 gsm
29 x 21 cm
$85

The Breeze Blows Lean Ve3 7 — Simon Roots 2021
Collagraph on Hahnemuhle 300 gsm
29 x 21 cm
$85

The Ghosts of Blues Past 1 1 — Simon Roots 2021
Collagraph on Hahnemuhle 300 gsm
58 x 38 cm
$185
 Sold
Sold
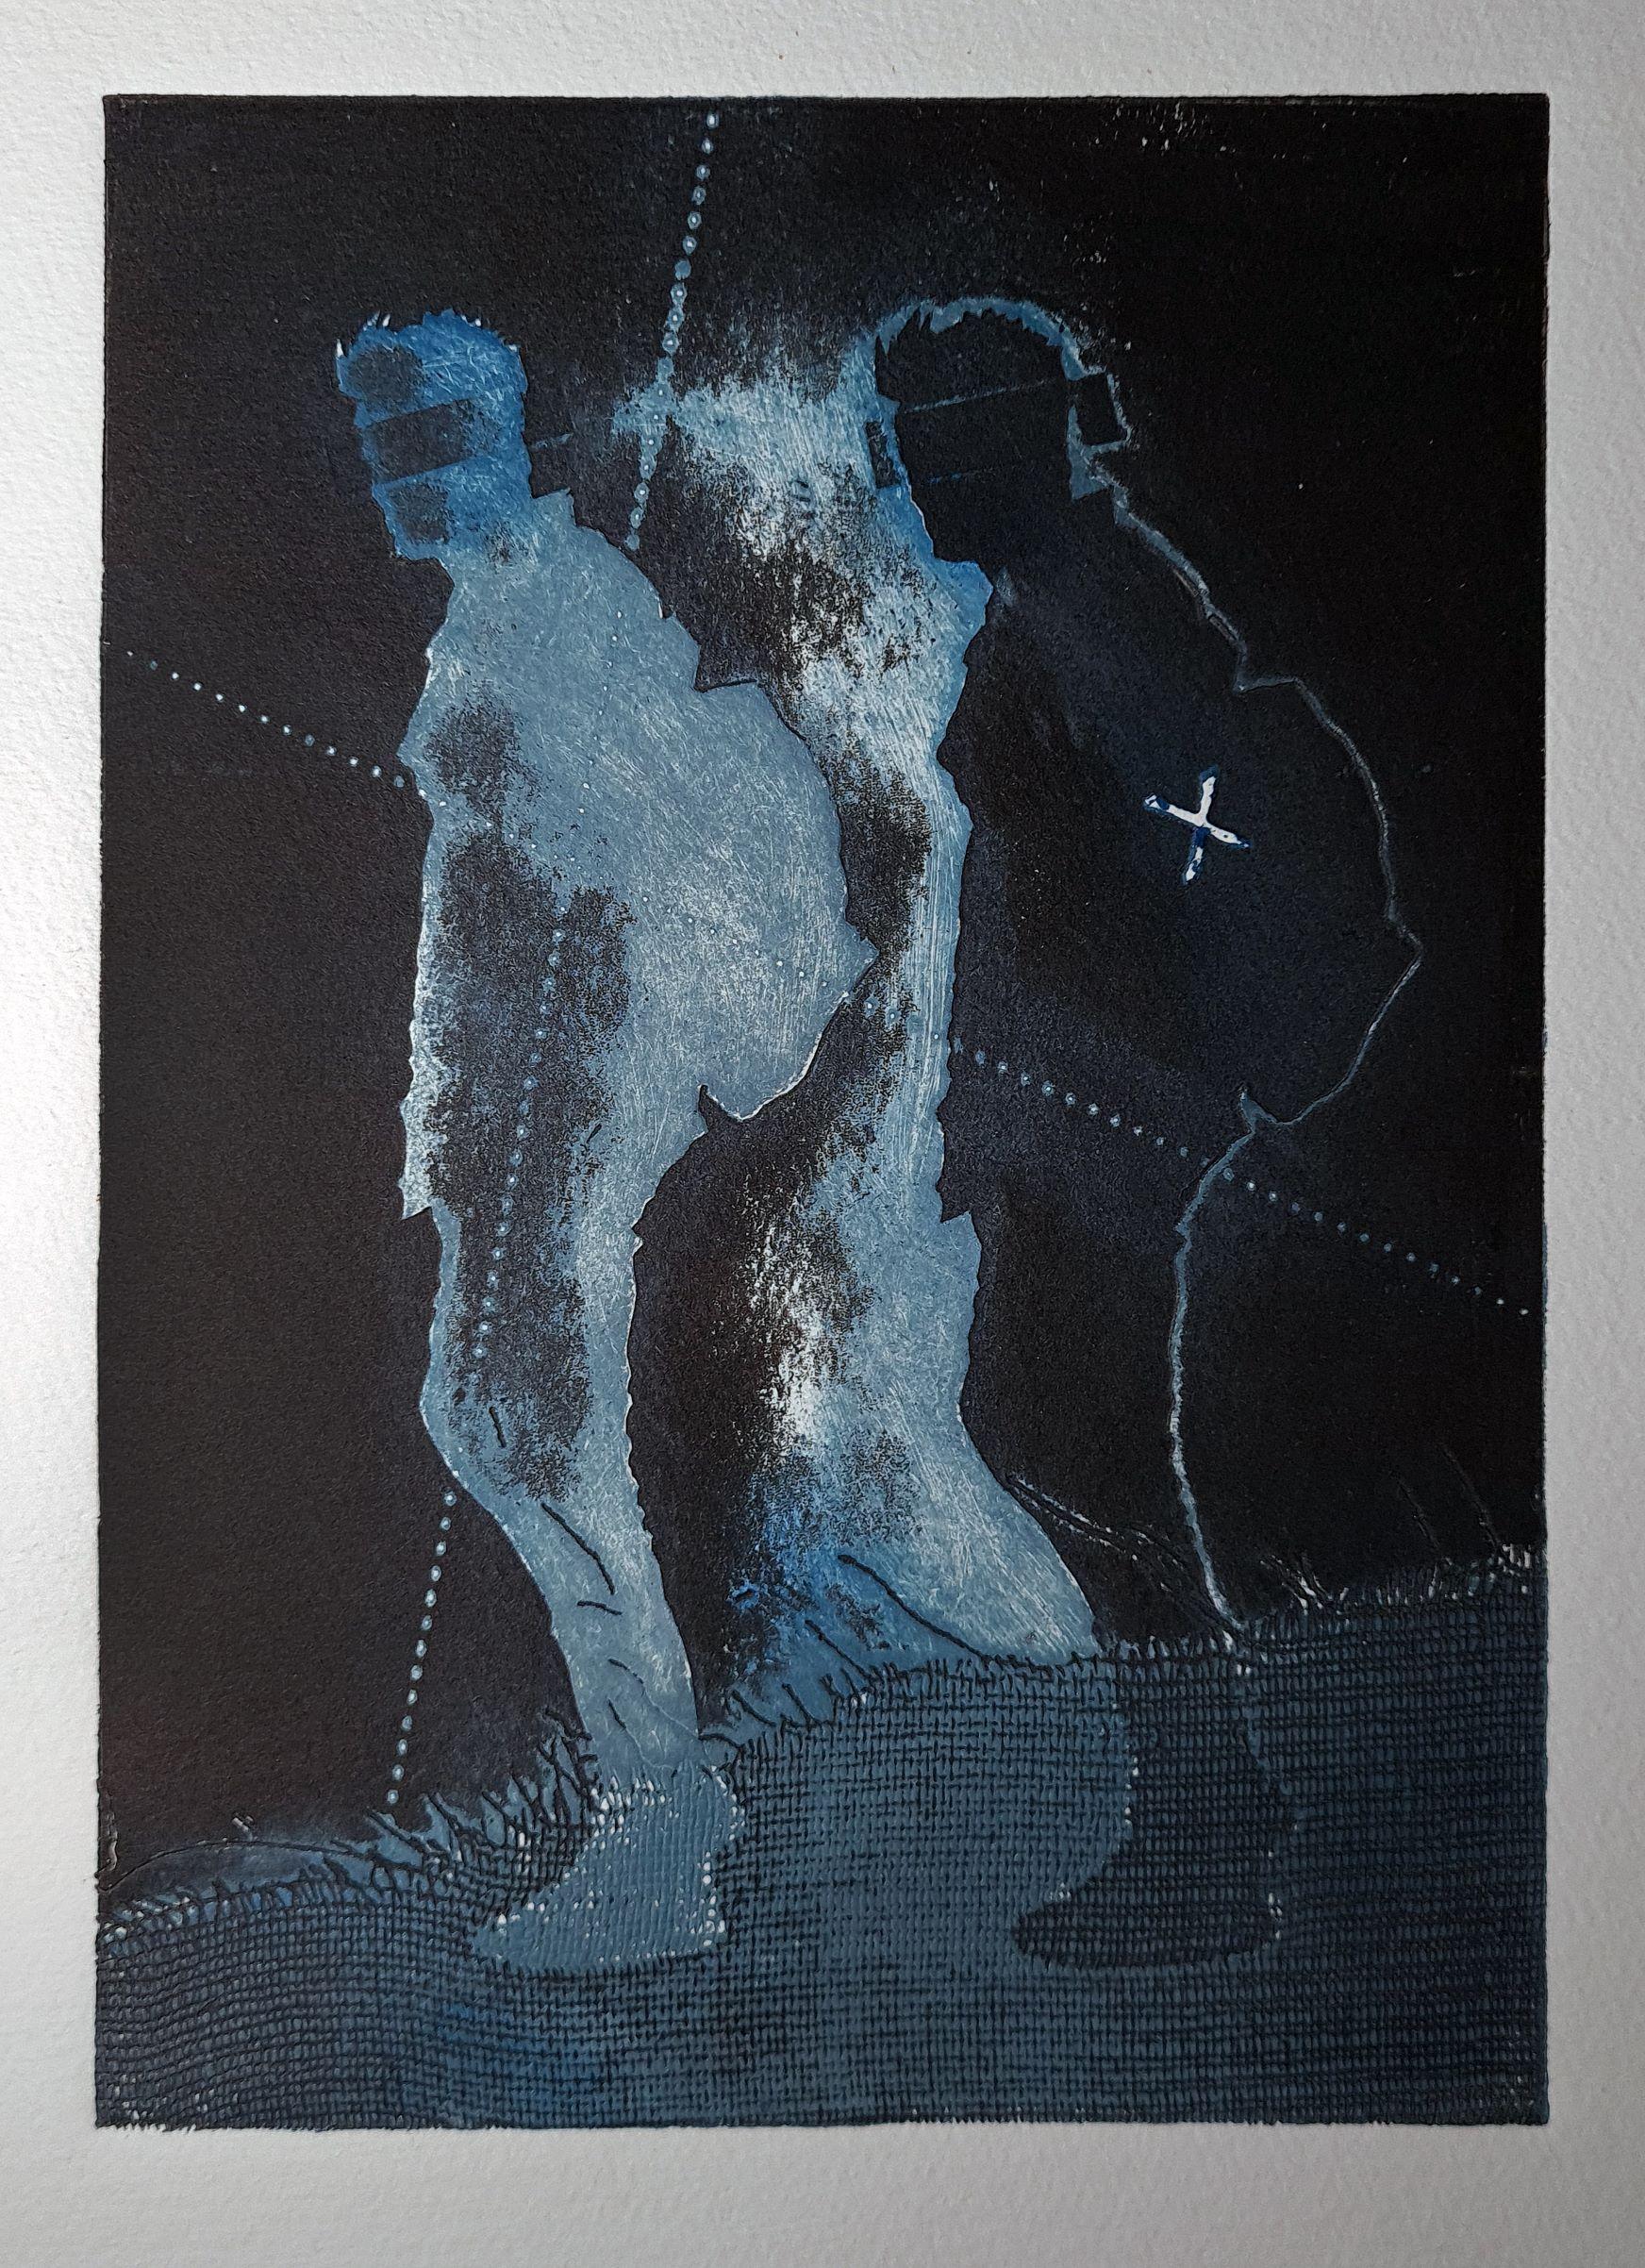
The Road Unravelled Ve1 7 — Simon Roots 2021
Collagraph on Hahnemuhle 300 gsm
29 x 21 cm
$85 Sold
 Sold
Sold
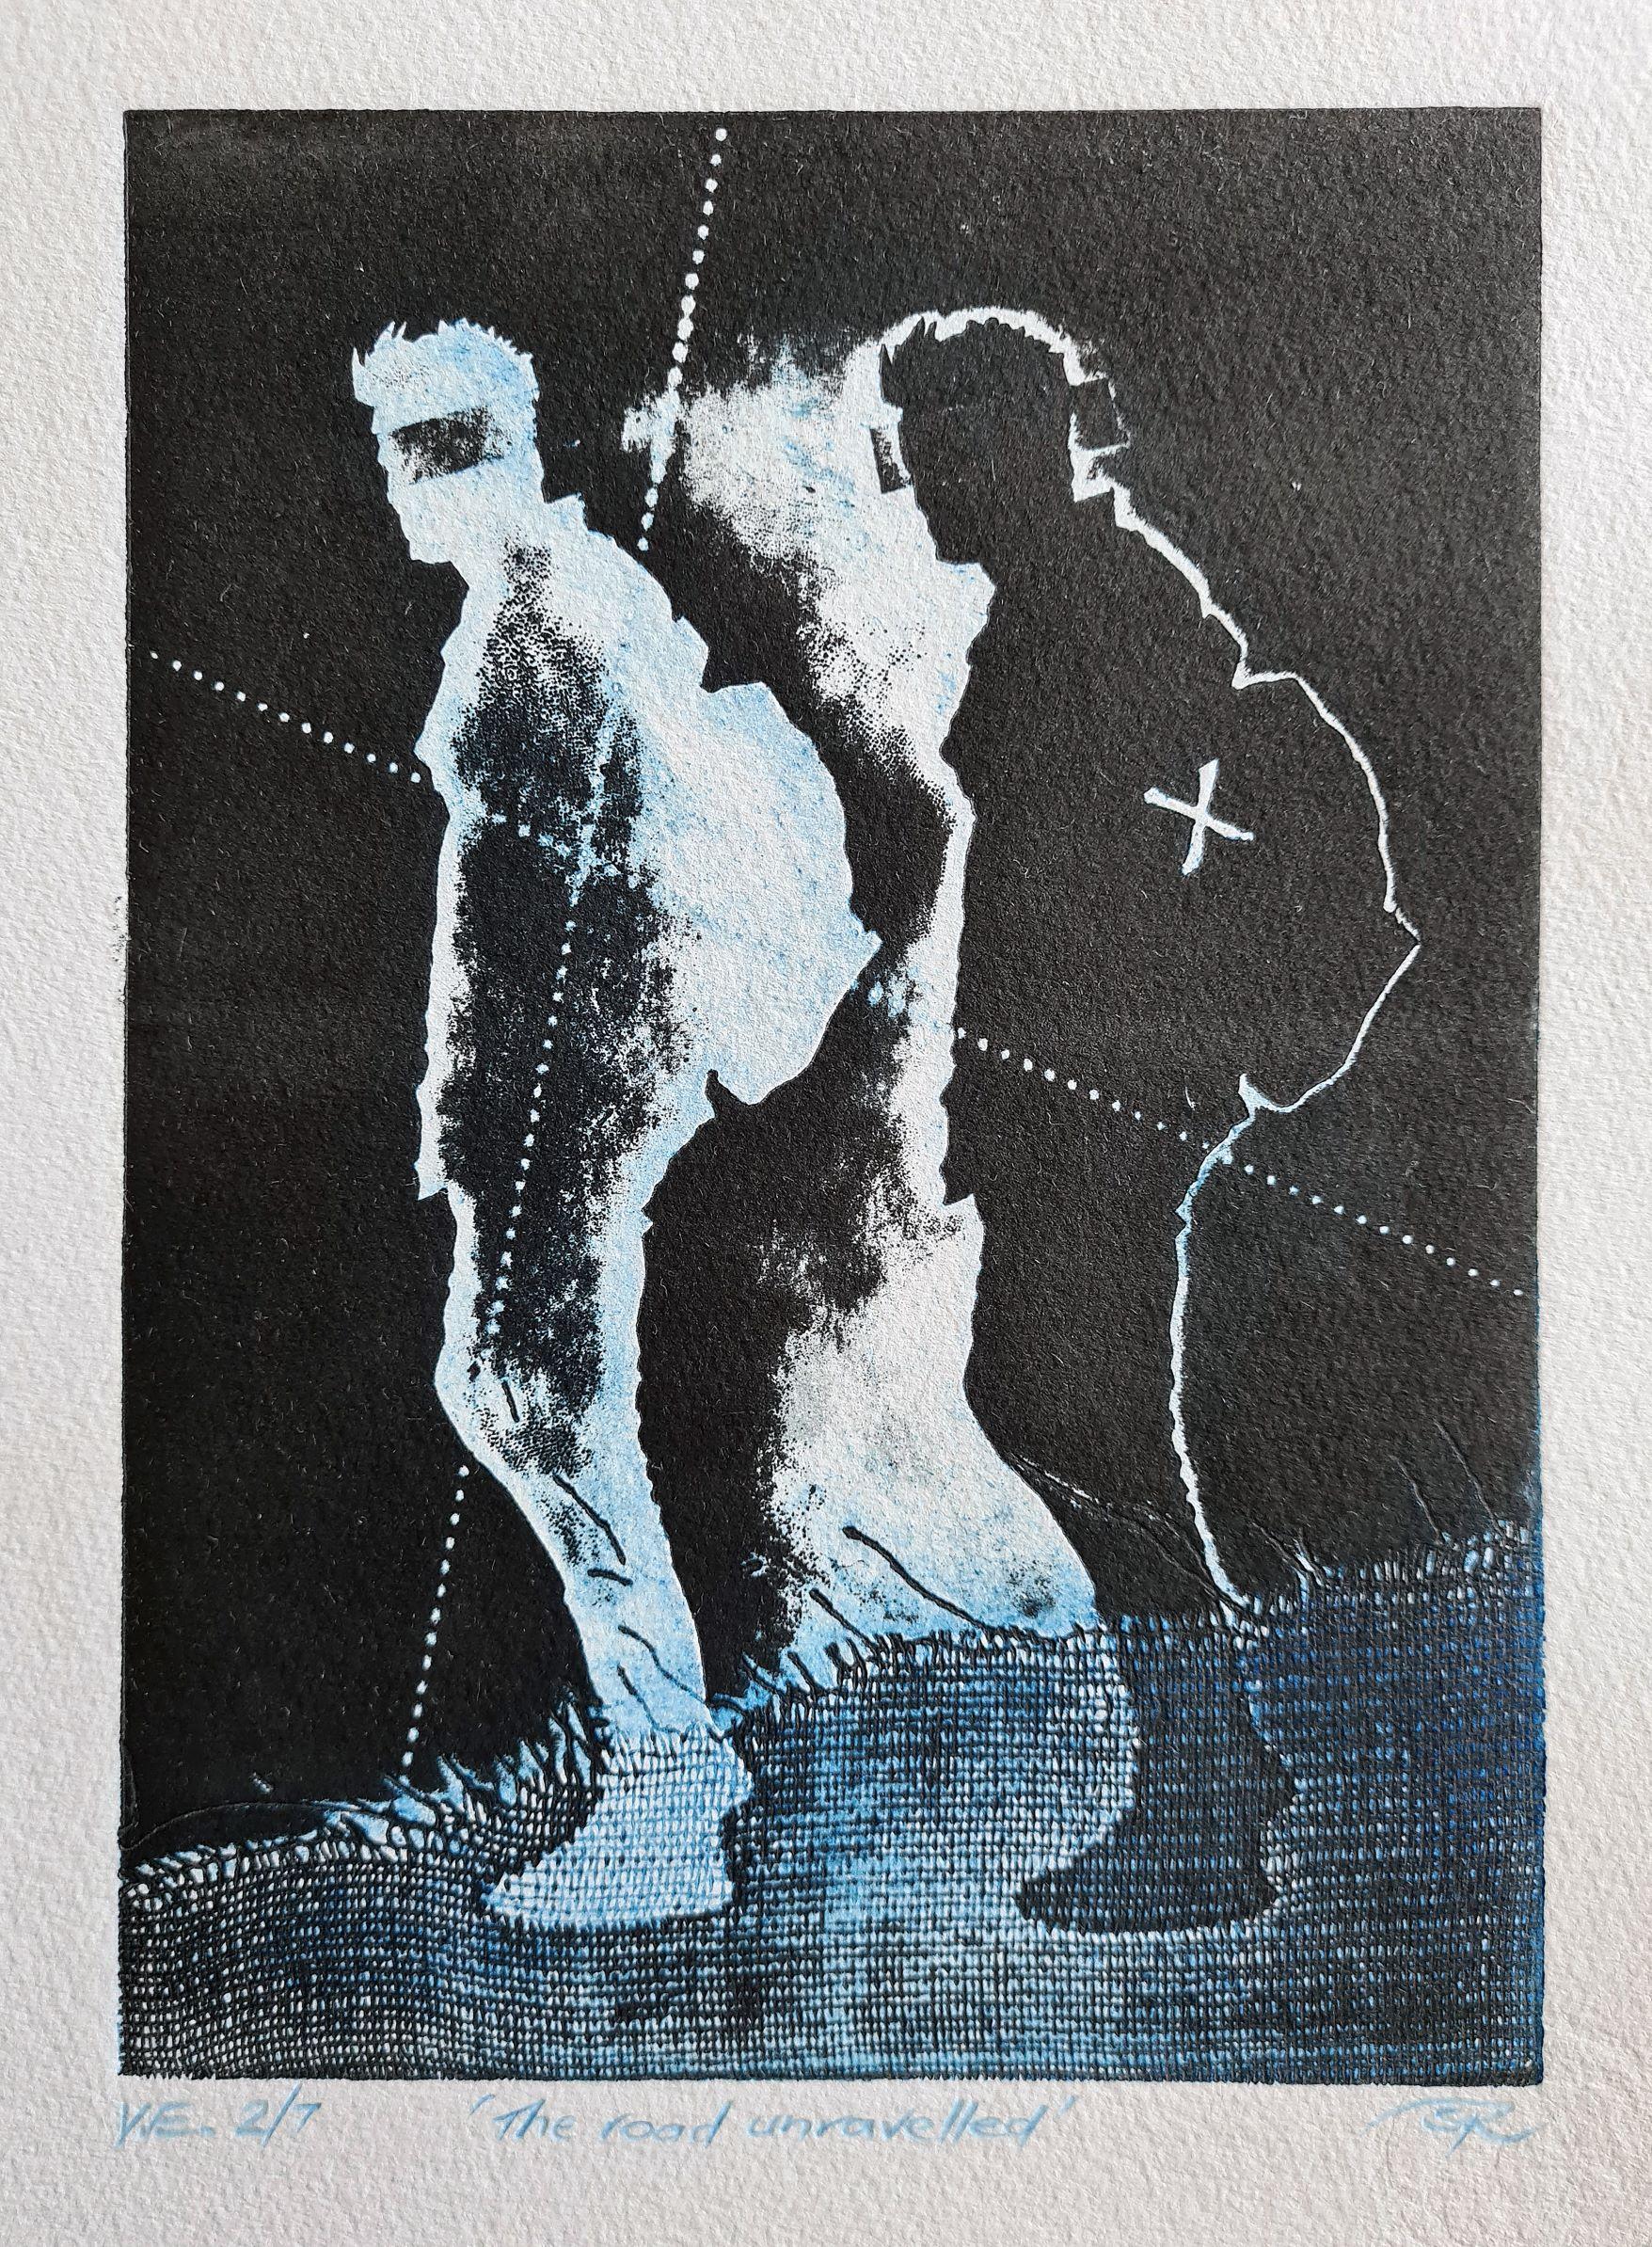
The Road Unravelled Ve2 7 — Simon Roots 2021
Collagraph on Hahnemuhle 300 gsm
29 x 21 cm
$85 Sold
 Sold
Sold
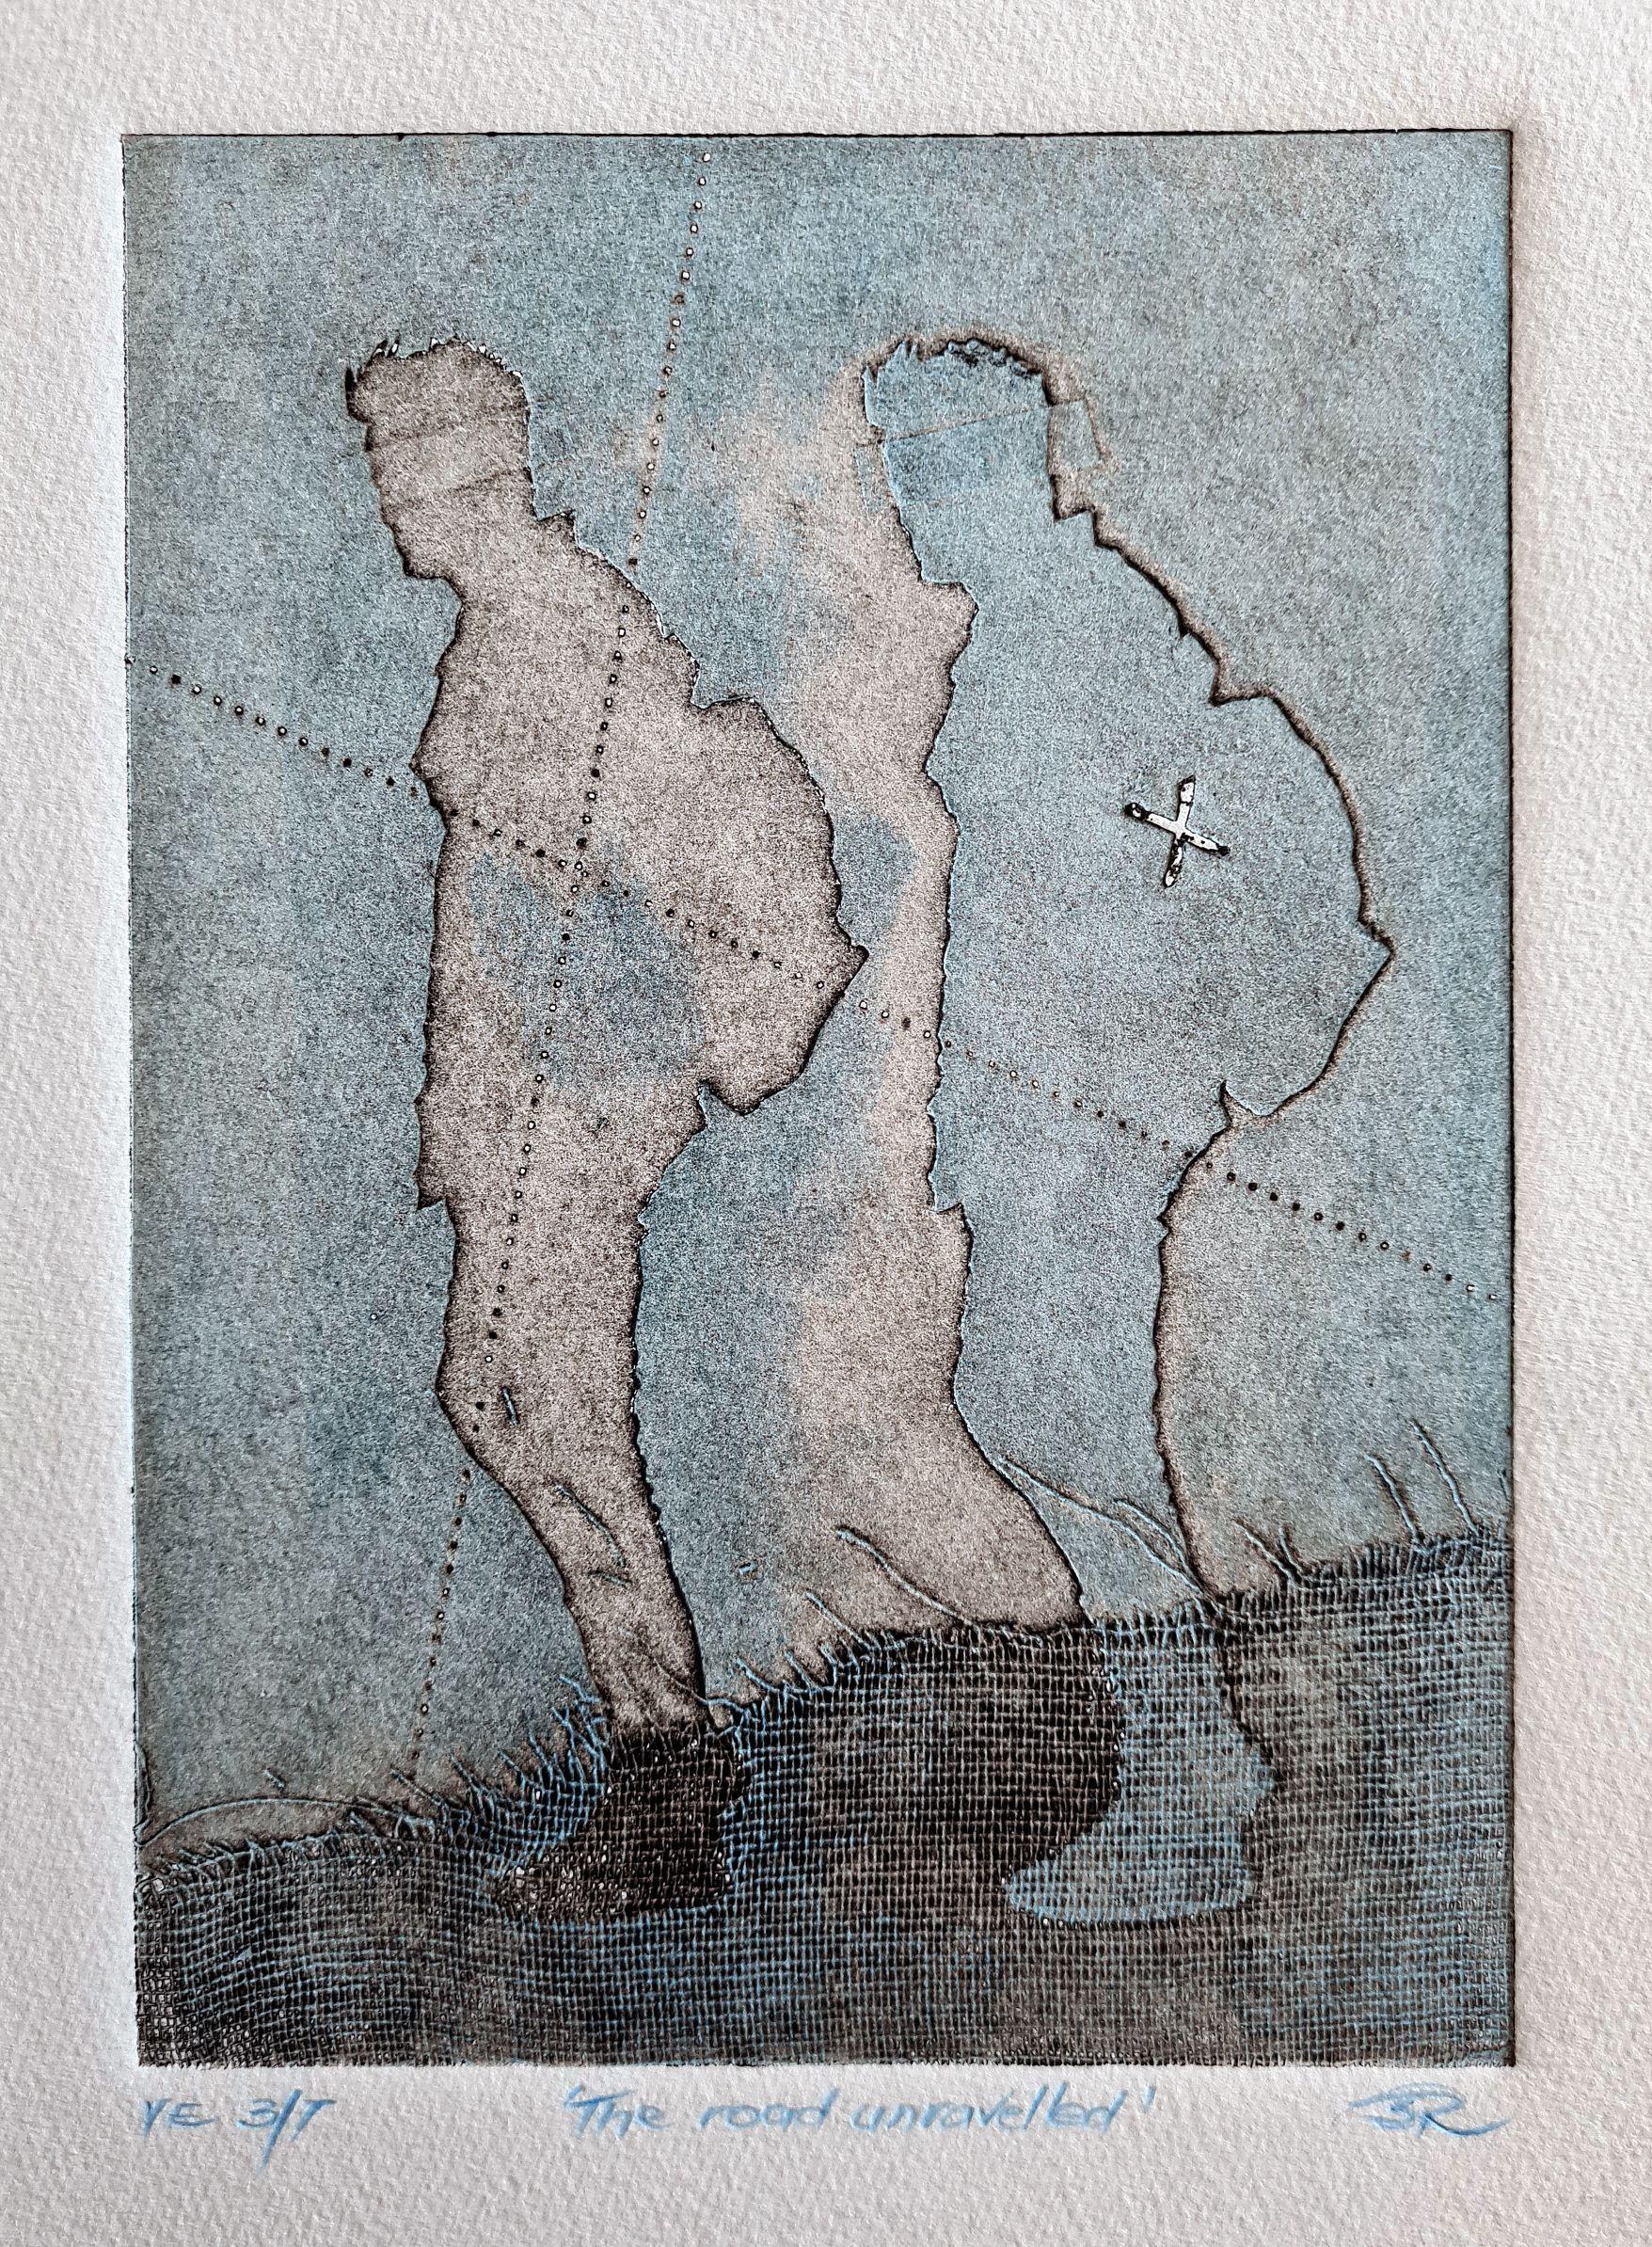
The Road Unravelled Ve3 7 — Simon Roots 2021
Collagraph on Hahnemuhle 300 gsm
29 x 21 cm
$85 Sold
 Sold
Sold
The Whims Of Desire Ve1 7 — Simon Roots 2021
Collagraph on Hahnemuhle 300 gsm
29 x 21 cm
$85 Sold
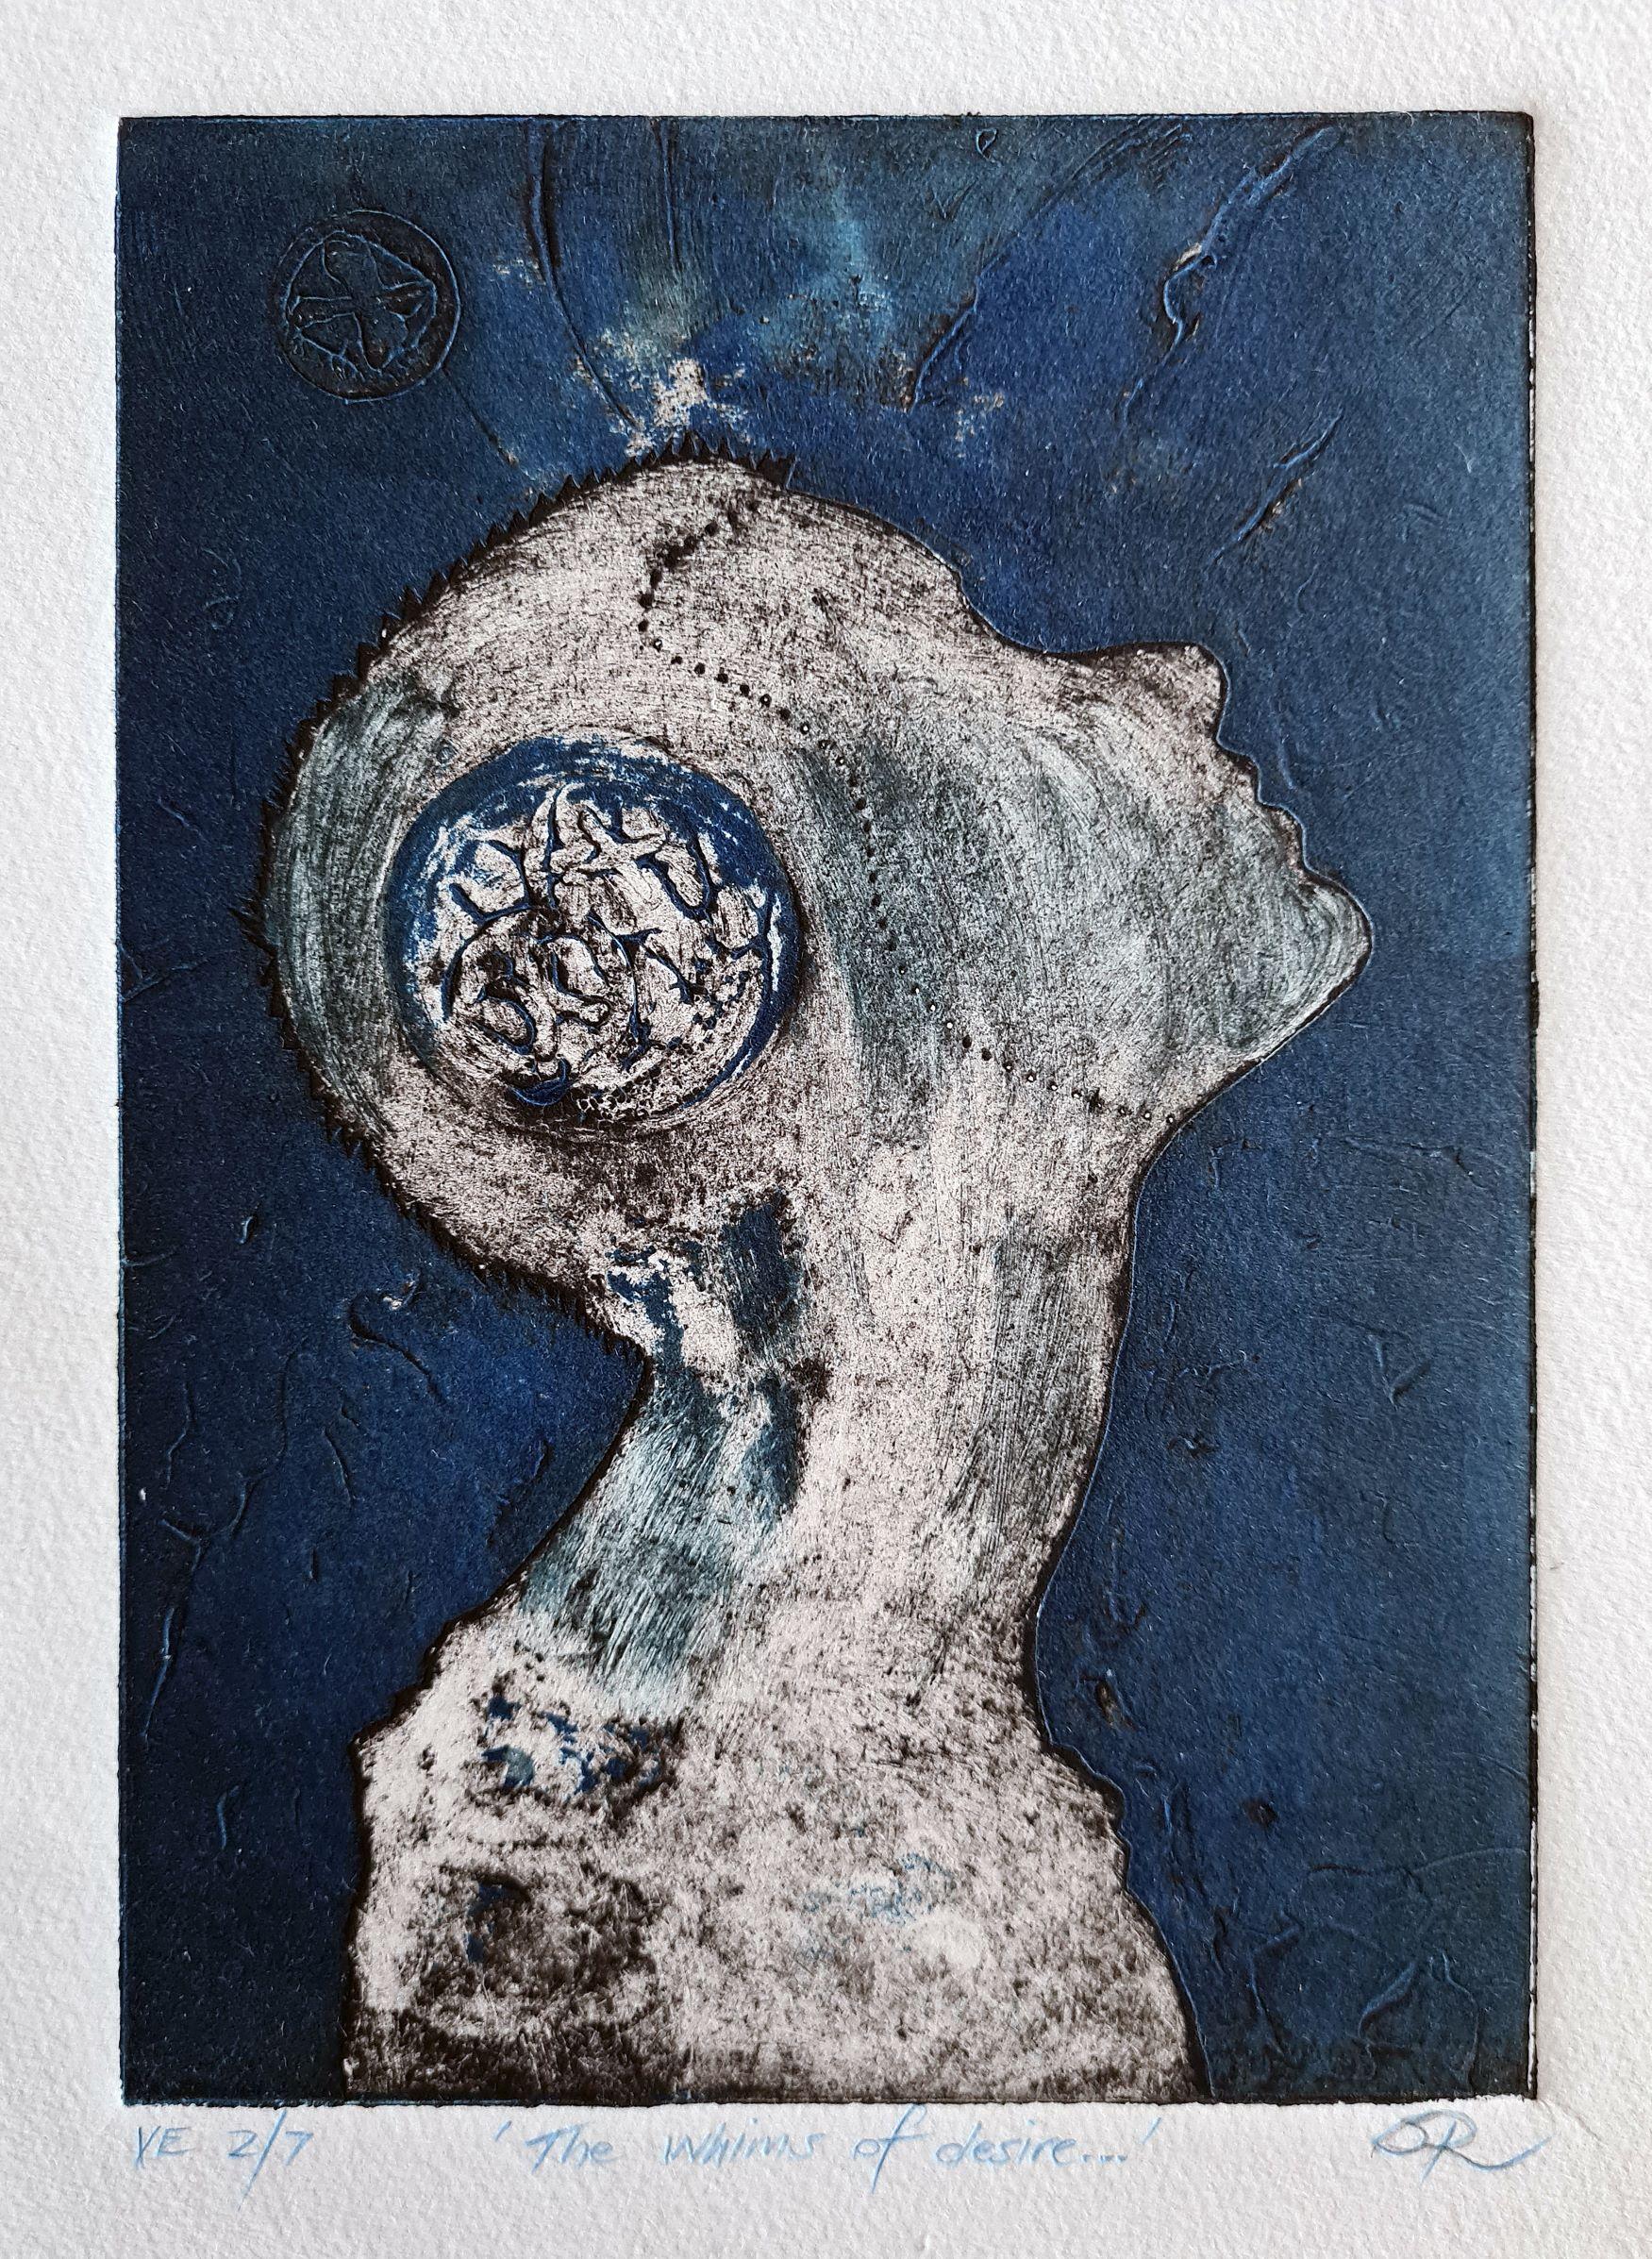
The Whims Of Desire Ve2 7 — Simon Roots 2021
Collagraph on Hahnemuhle 300 gsm
29 x 21 cm
$85
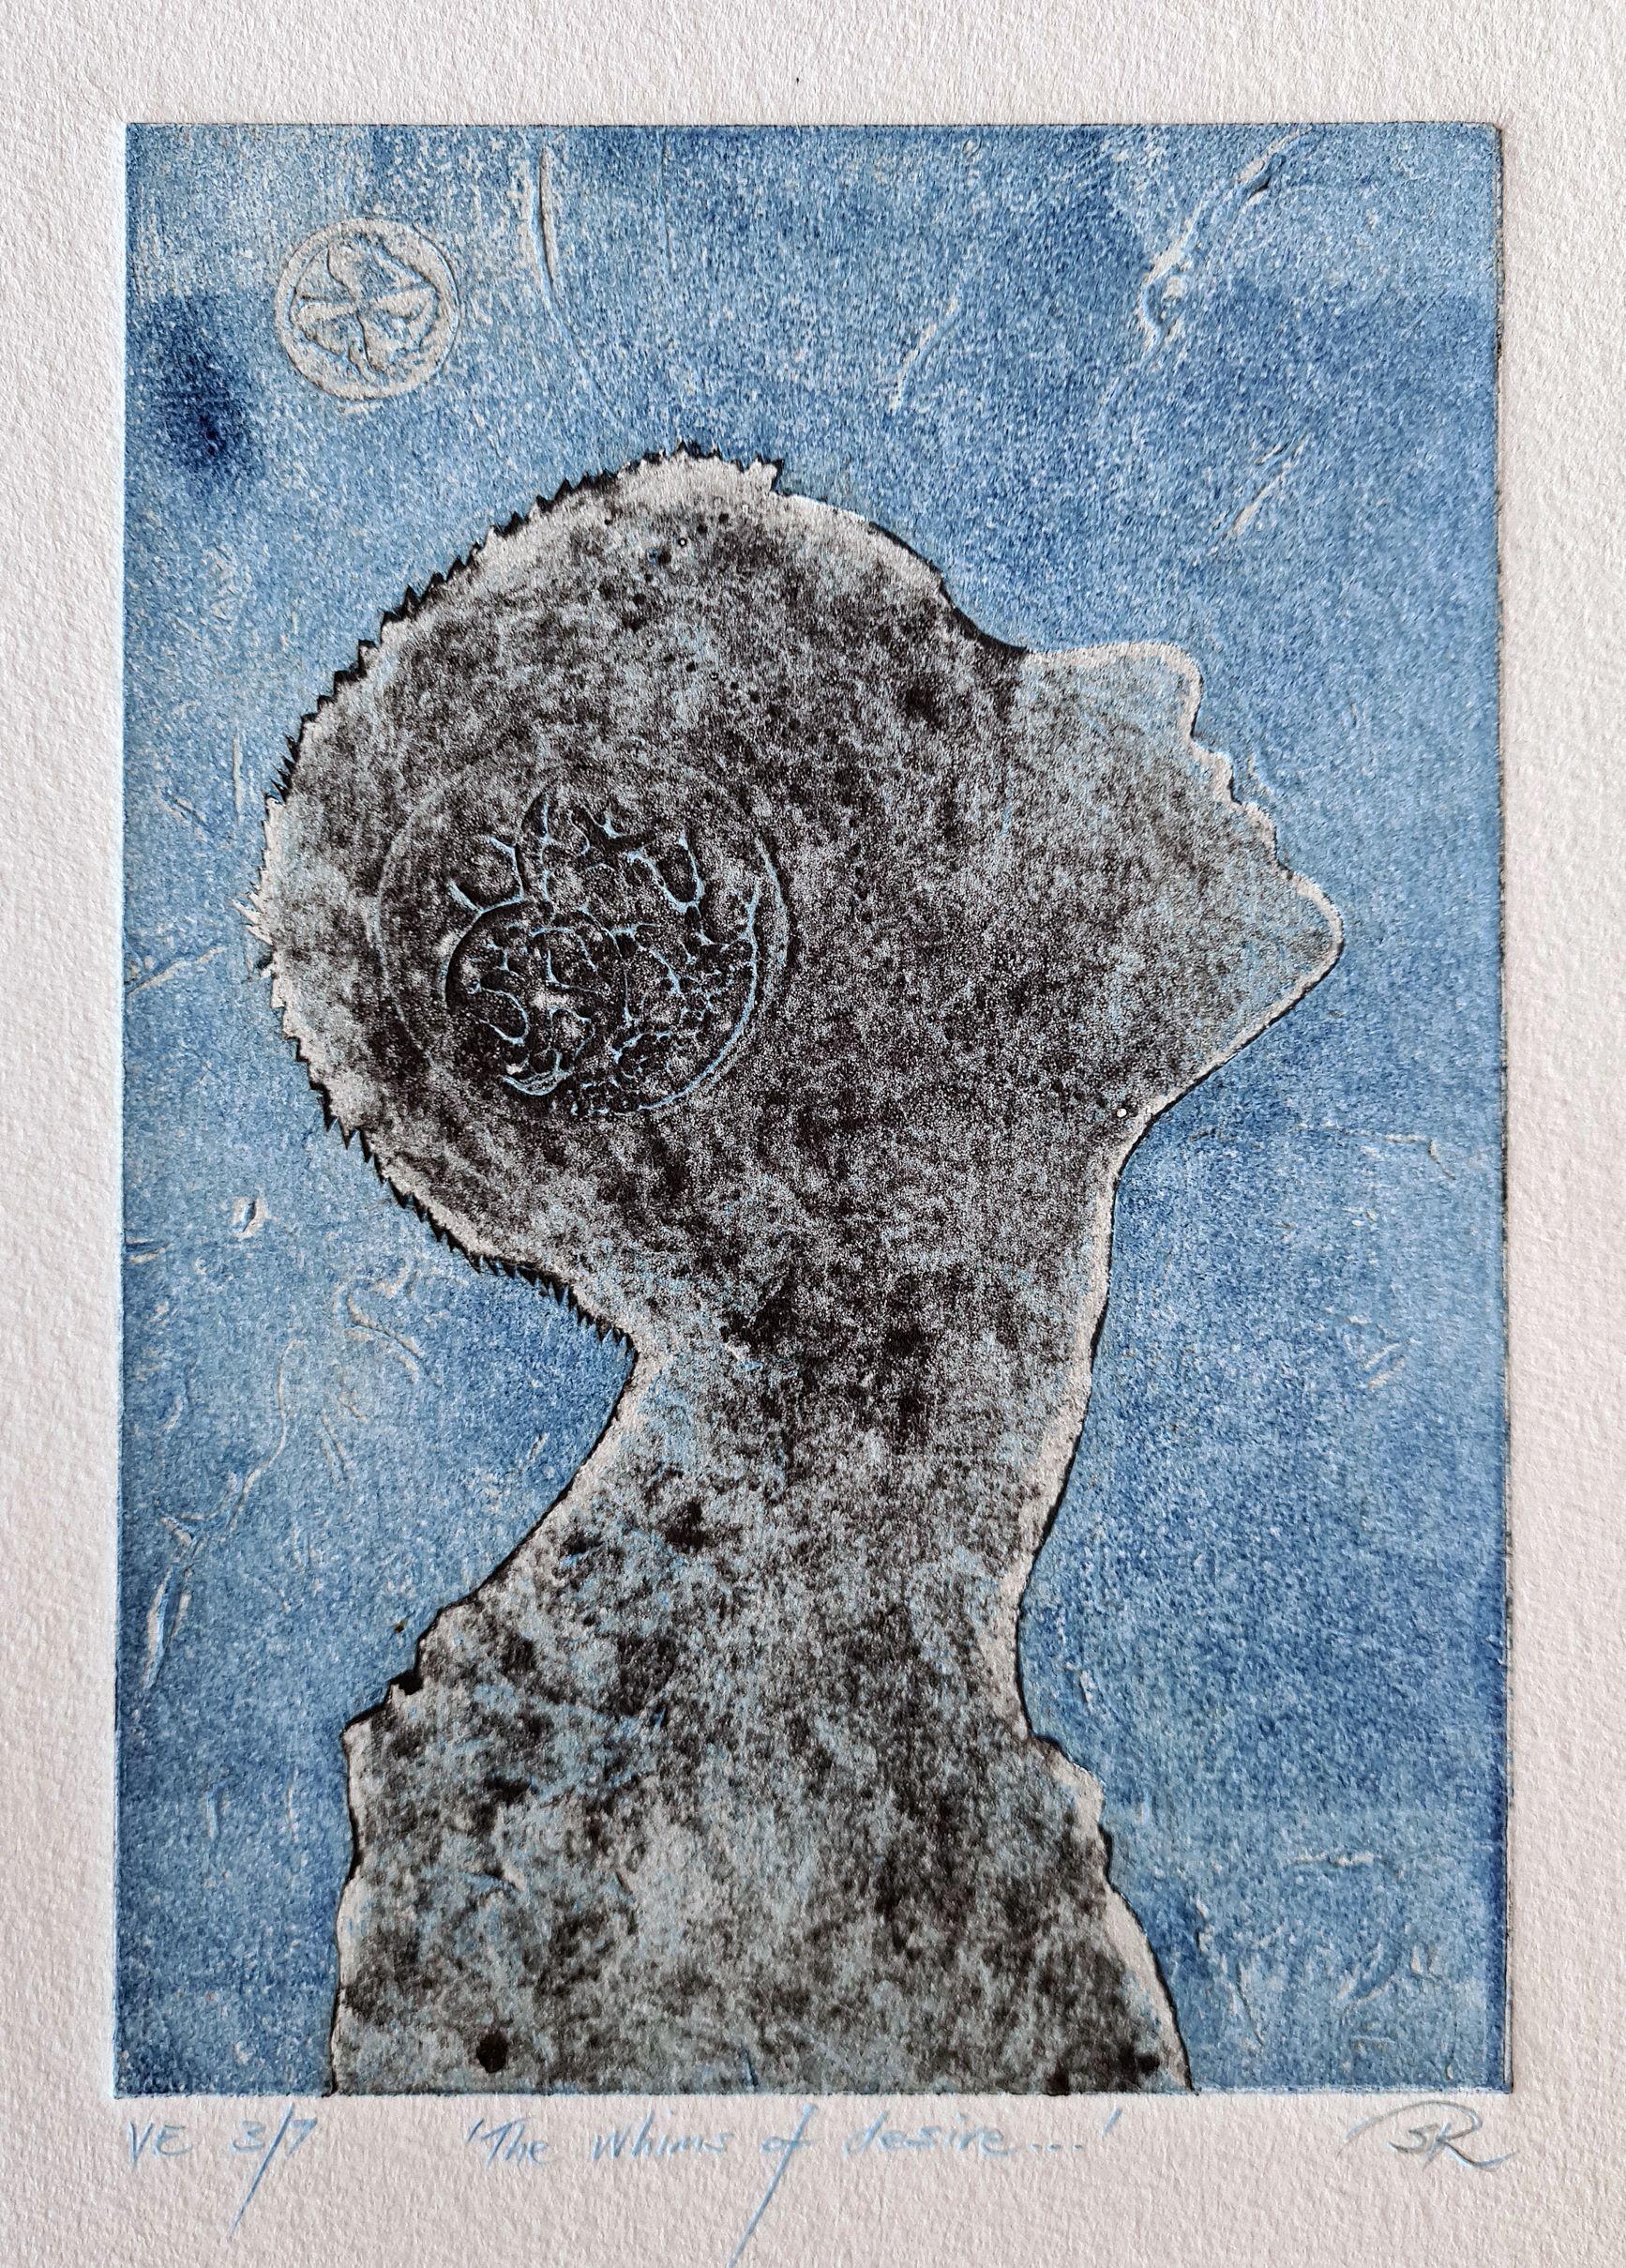
The Whims Of Desire Ve3 7 — Simon Roots 2021
Collagraph on Hahnemuhle 300 gsm
40 x 29 cm
$125
 Sold
Sold
Three Colours Blue Ve1 7 — Simon Roots 2021
Collagraph on Hahnemuhle 300 gsm
29 x 21 cm
$85 Sold
Three Colours Blue Ve2 7 — Simon Roots 2021
Collagraph on Hahnemuhle 300 gsm
29 x 21 cm
$85
Three Colours Blue Ve3 7 — Simon Roots 2021
Collagraph on Hahnemuhle 300 gsm
40 x 29 cm
$125
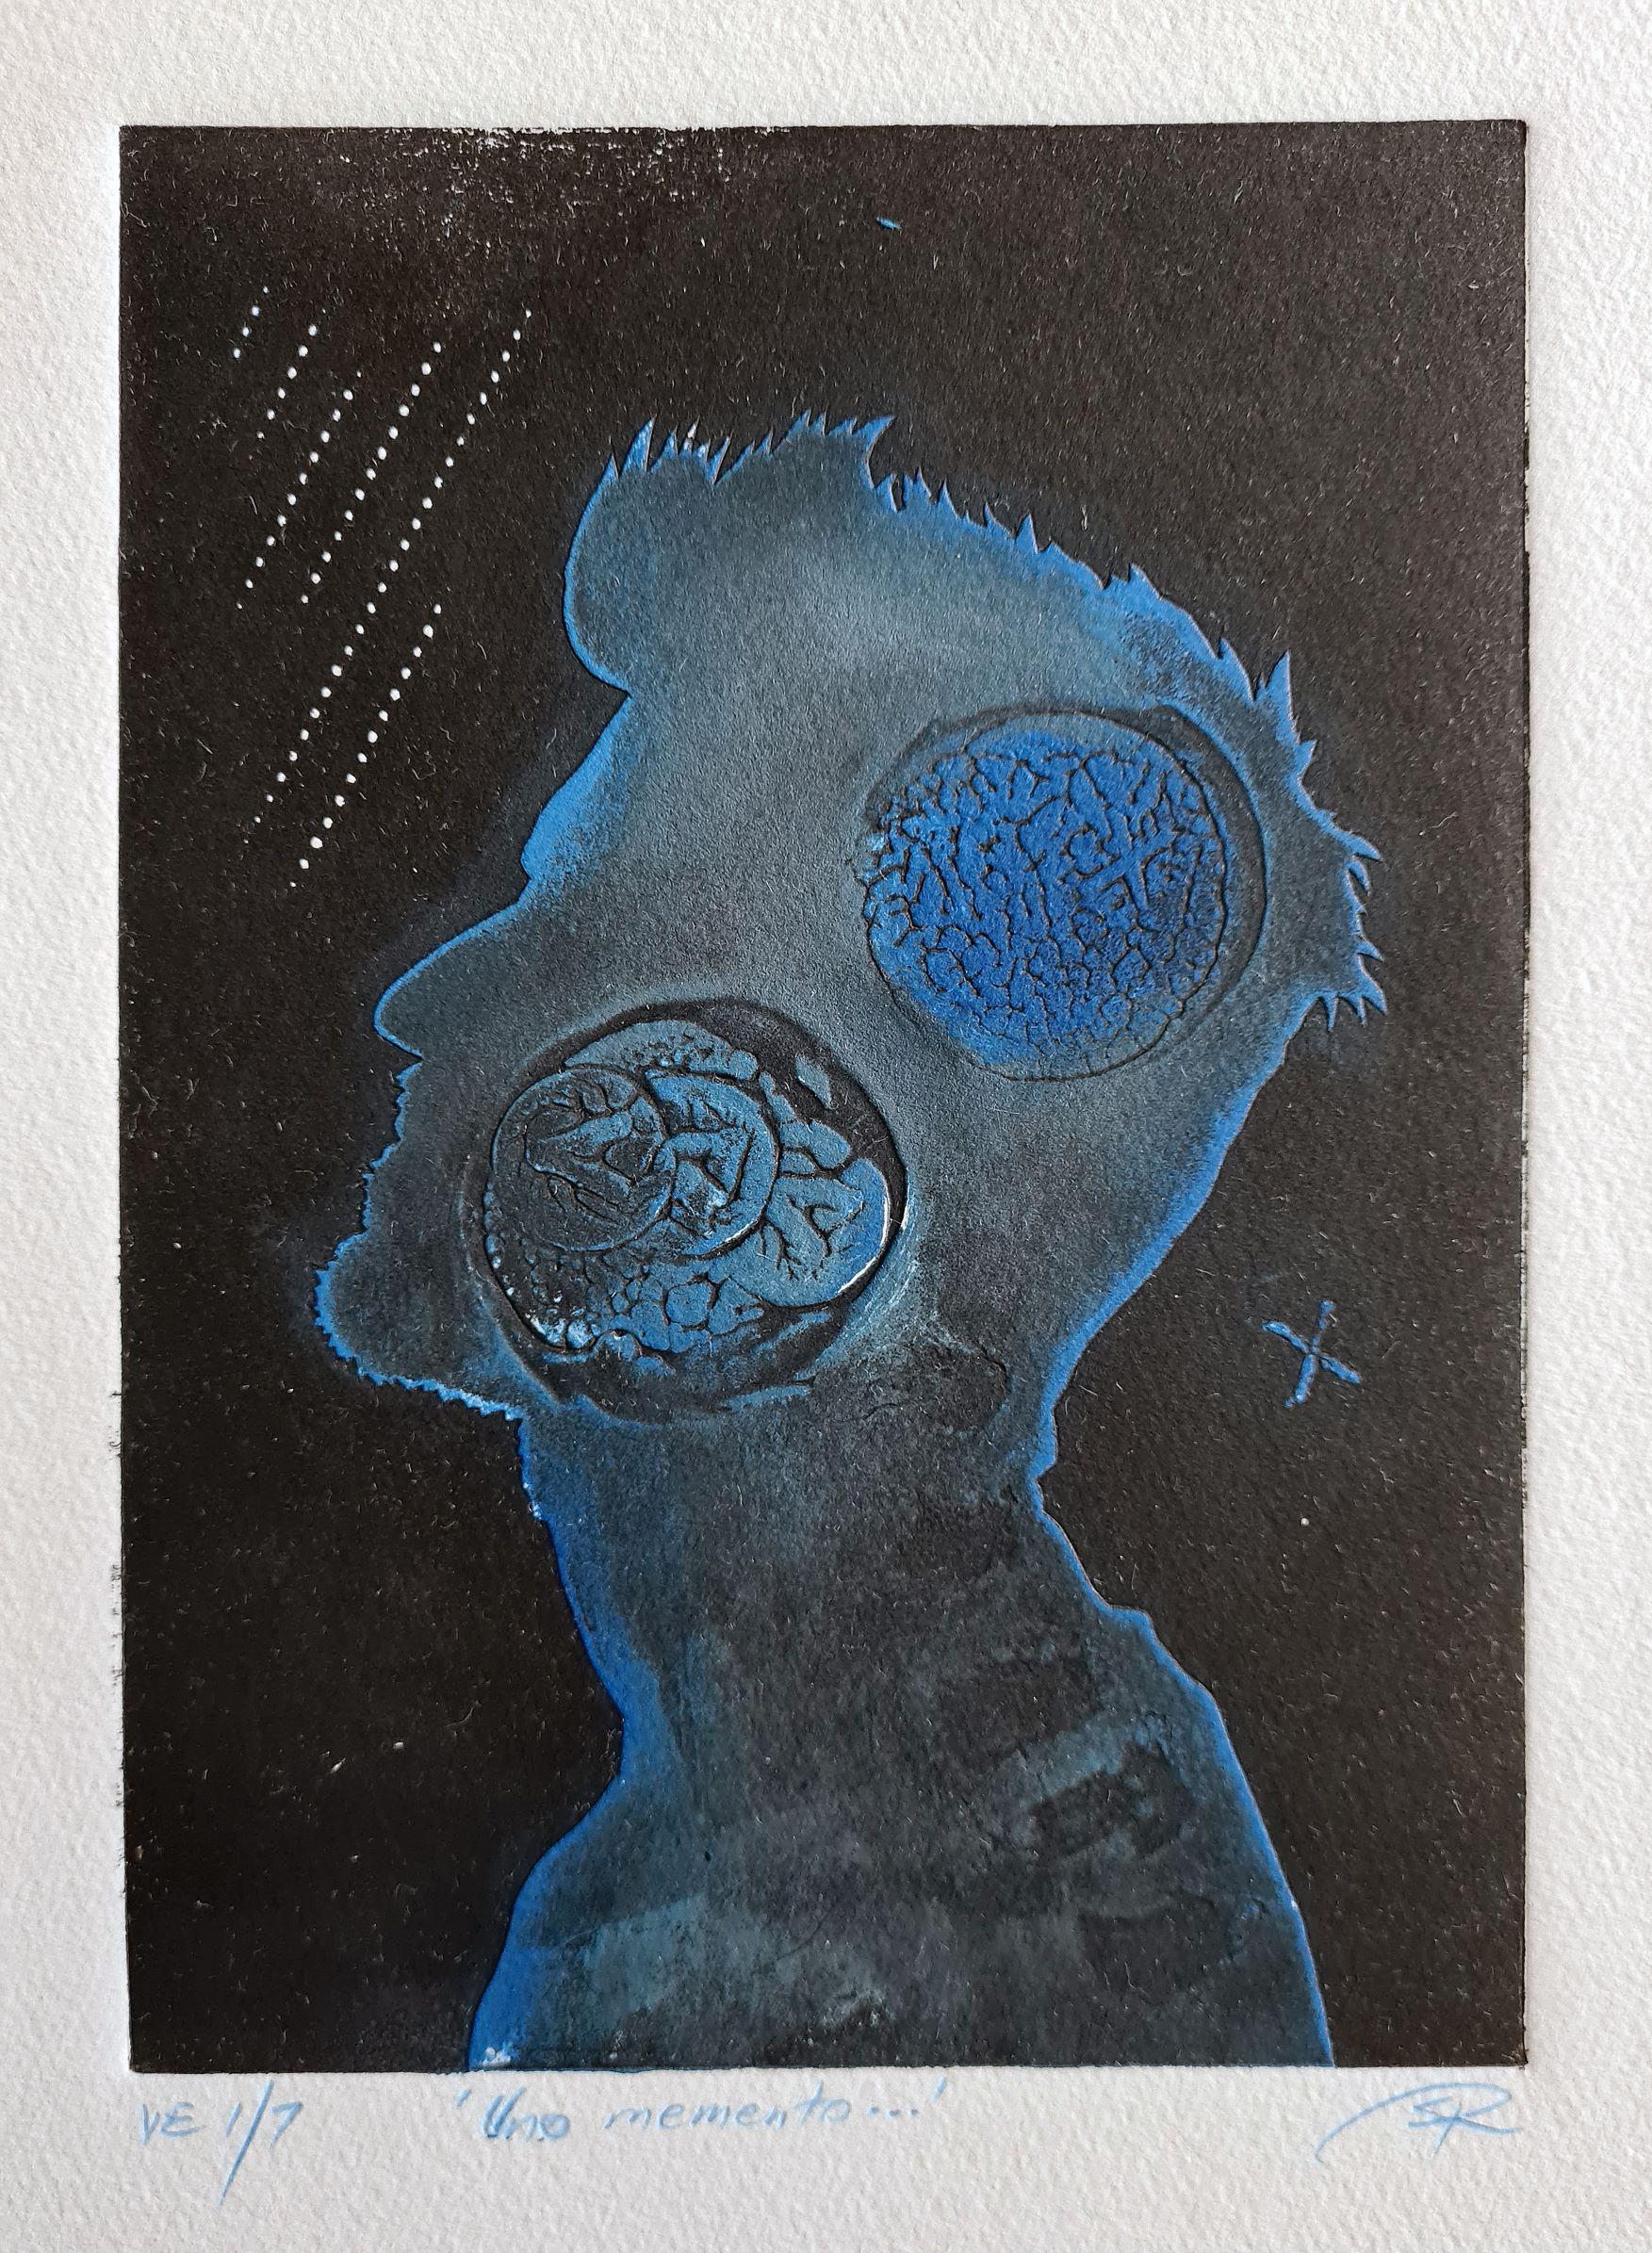
Uno Memento Ve1 7 — Simon Roots 2021
Collagraph on Hahnemuhle 300 gsm
29 x 21 cm
$85

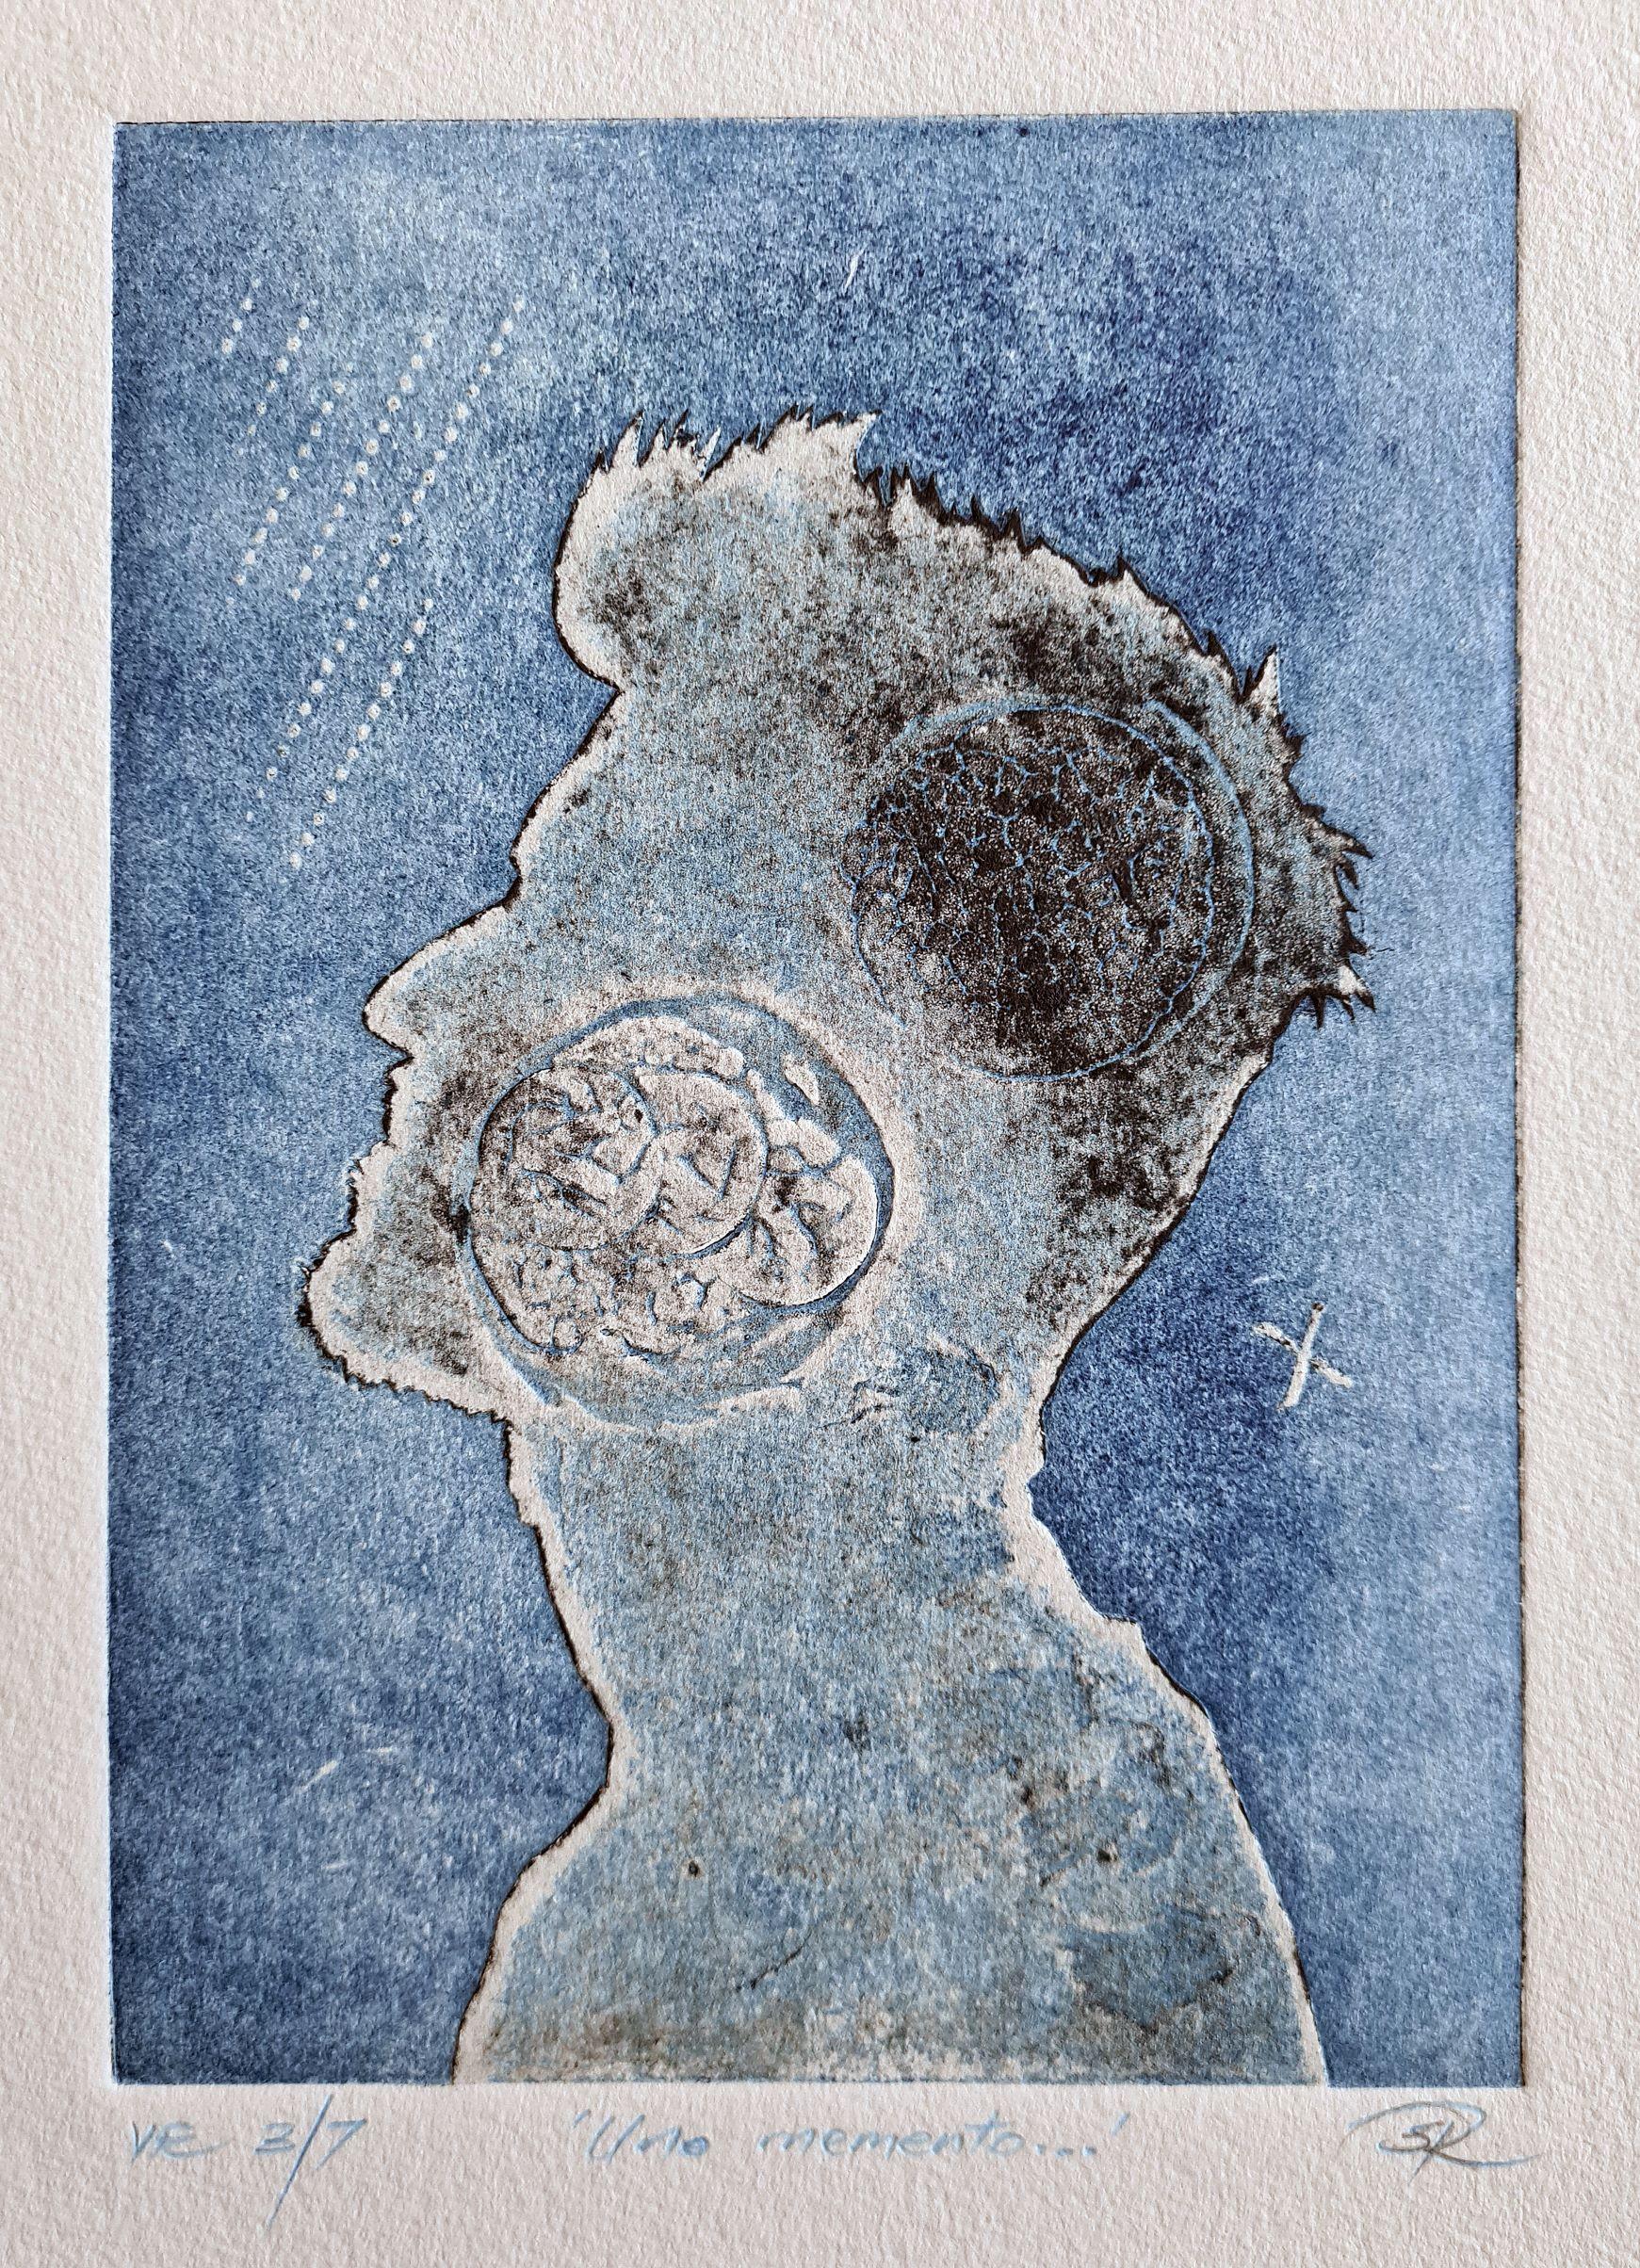
Uno Memento Ve2 7 — Simon Roots 2021
Collagraph on Hahnemuhle 300 gsm
29 x 21 cm
$85
Uno Memento Ve3 7 — Simon Roots 2021
Collagraph on Hahnemuhle 300 gsm
40 x 29 cm
$125
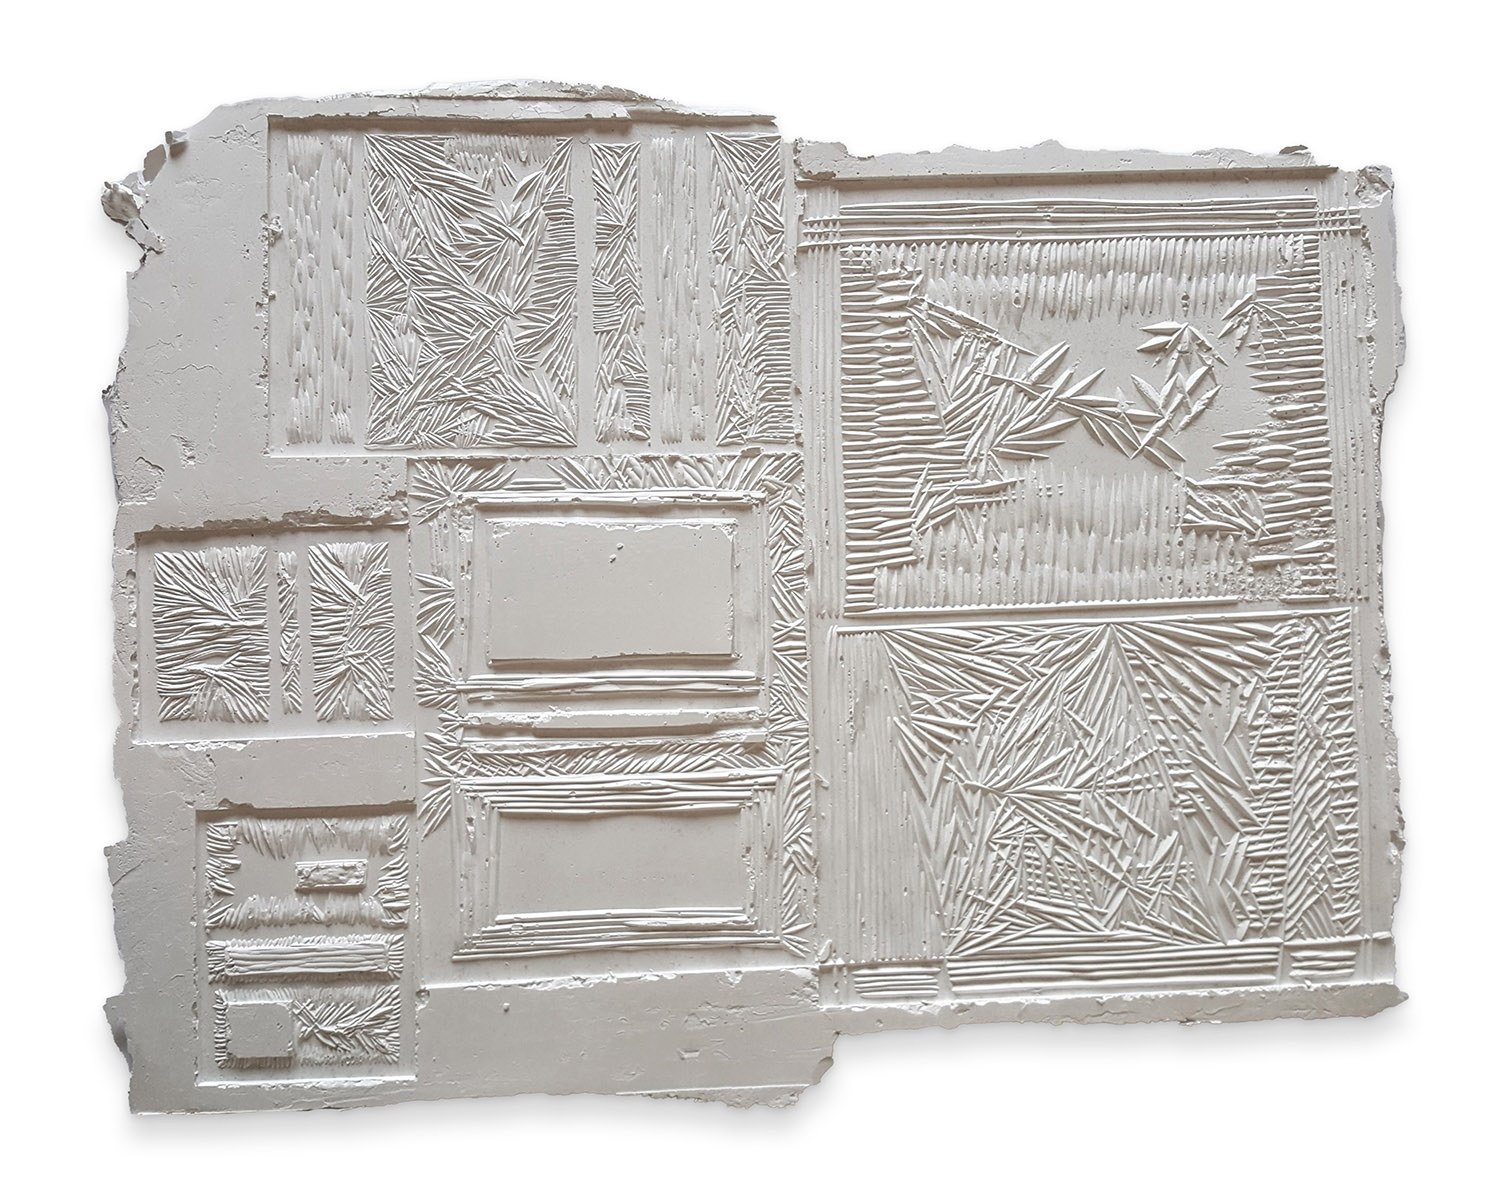
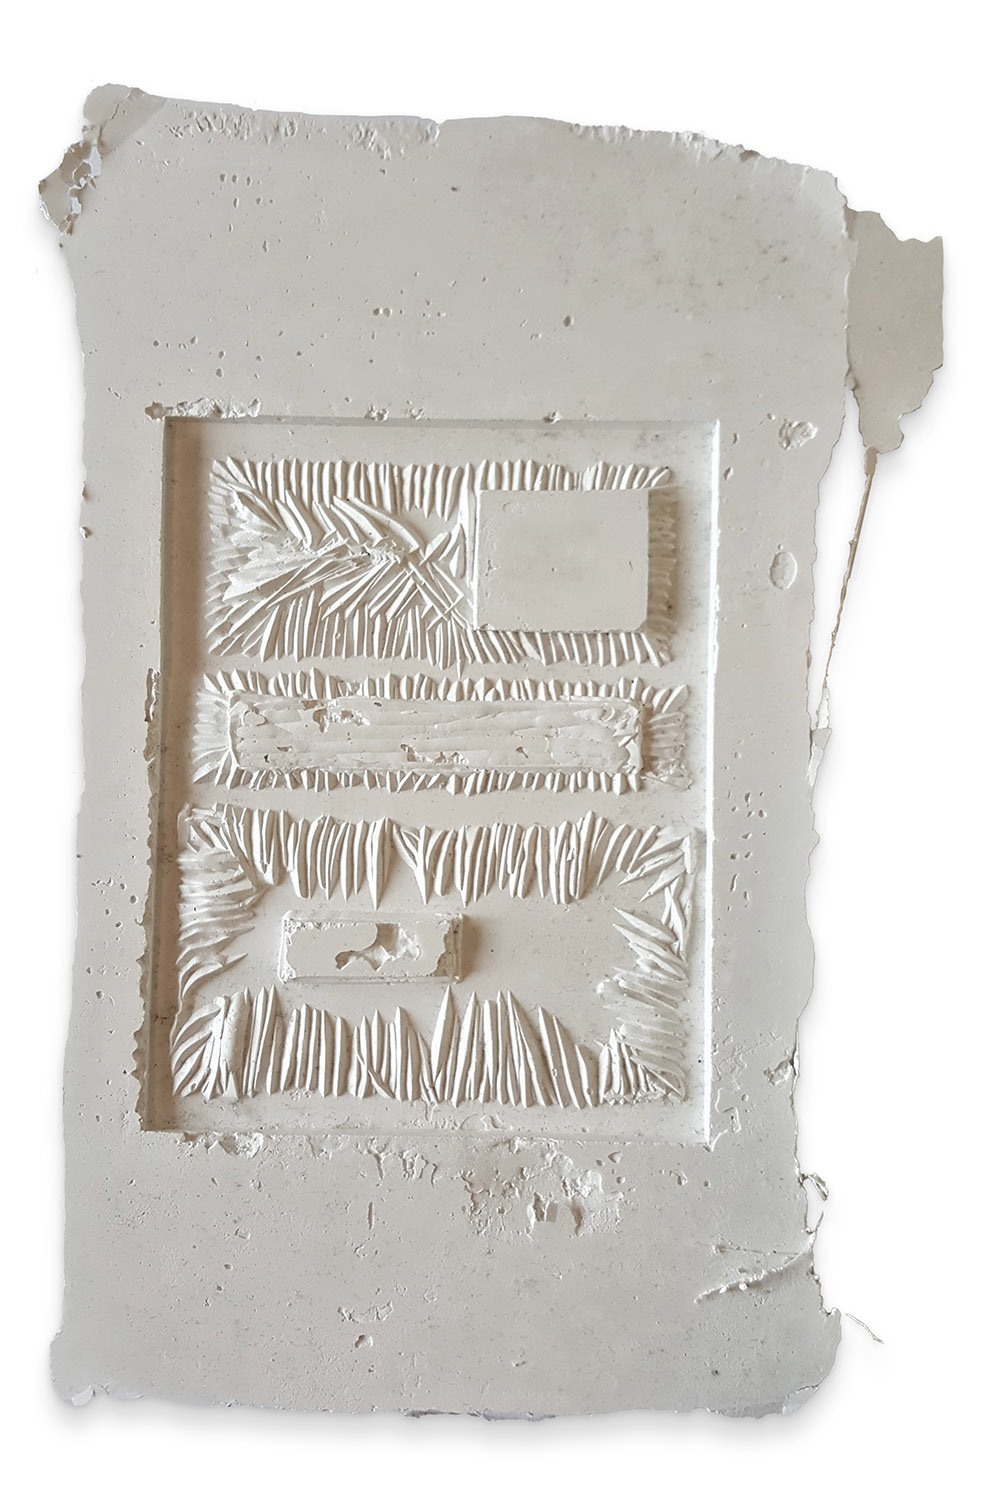
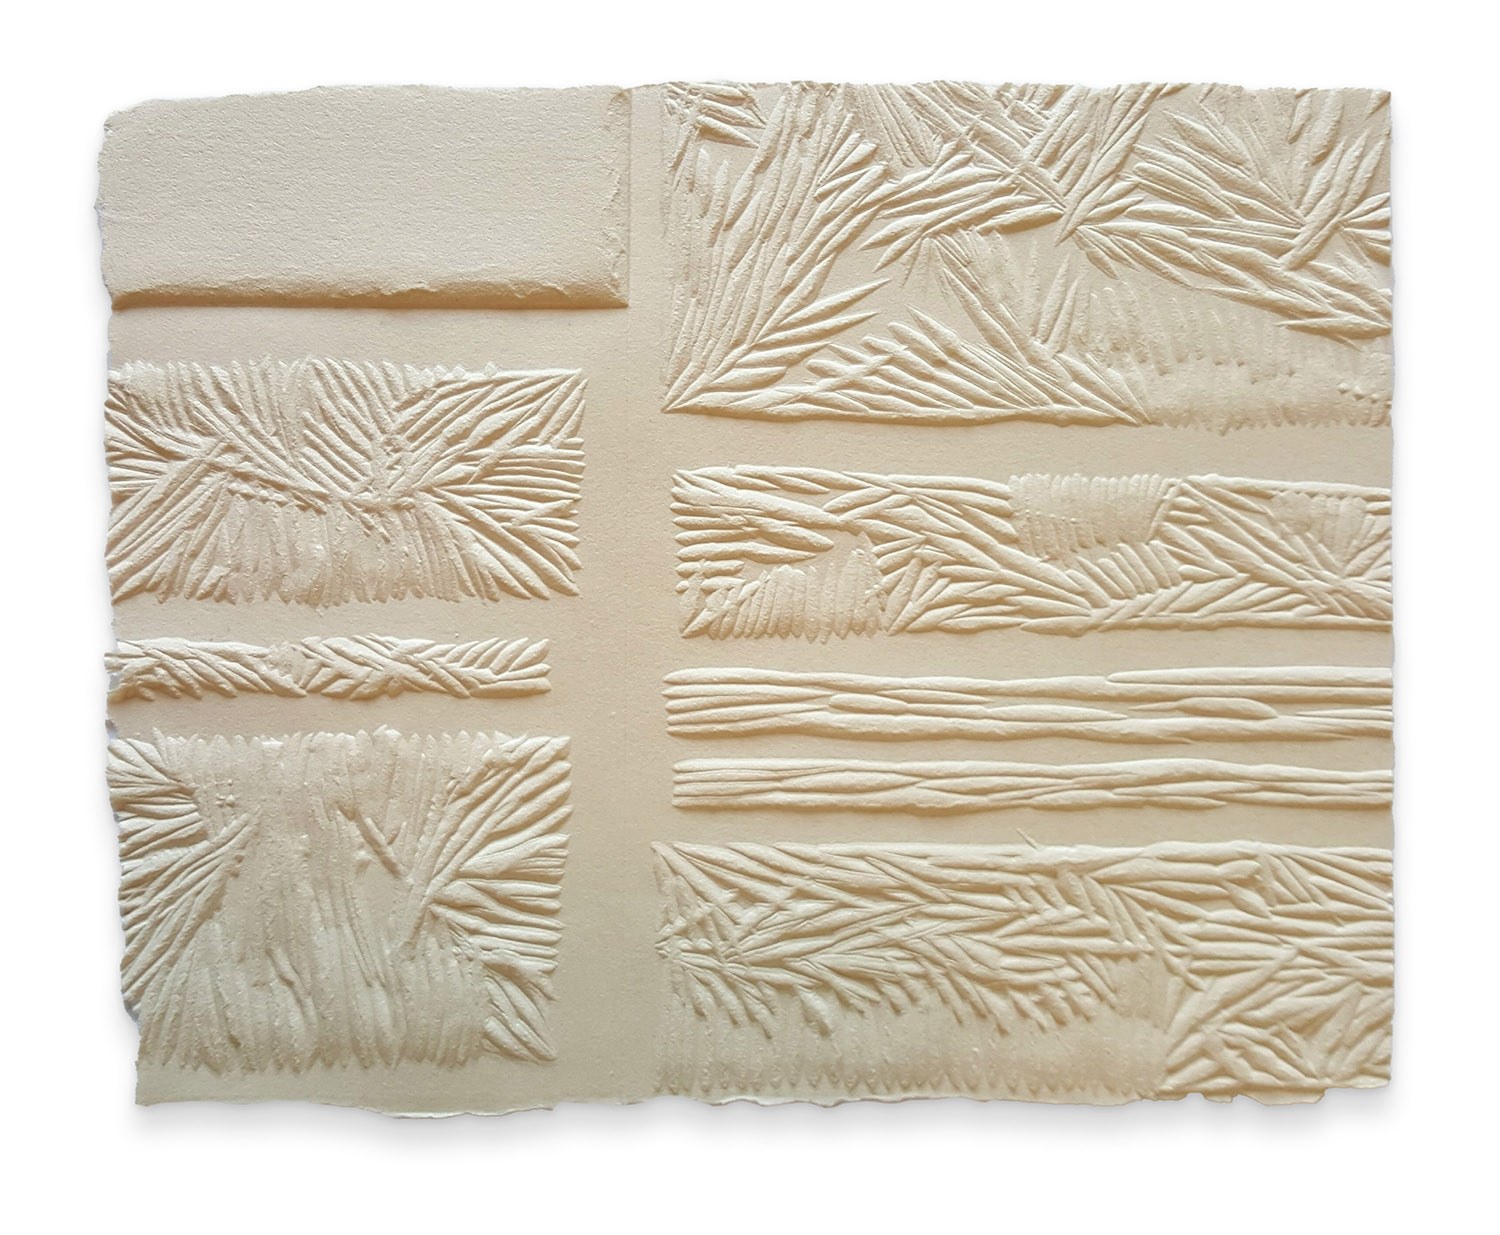
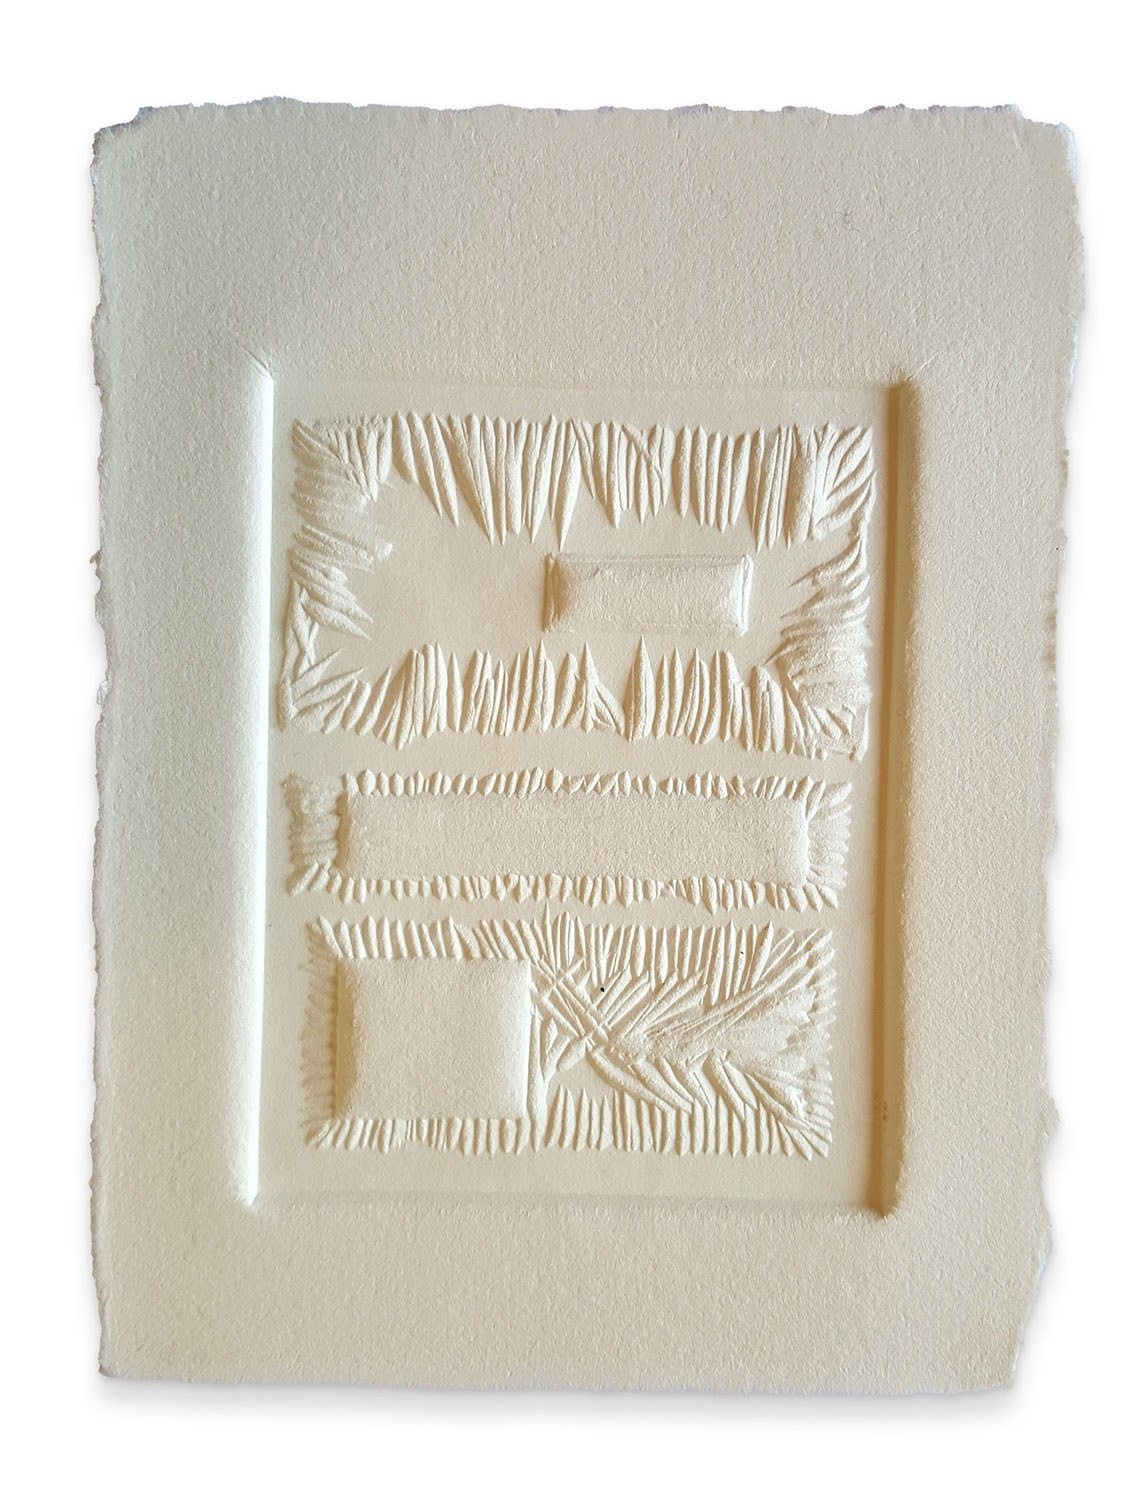
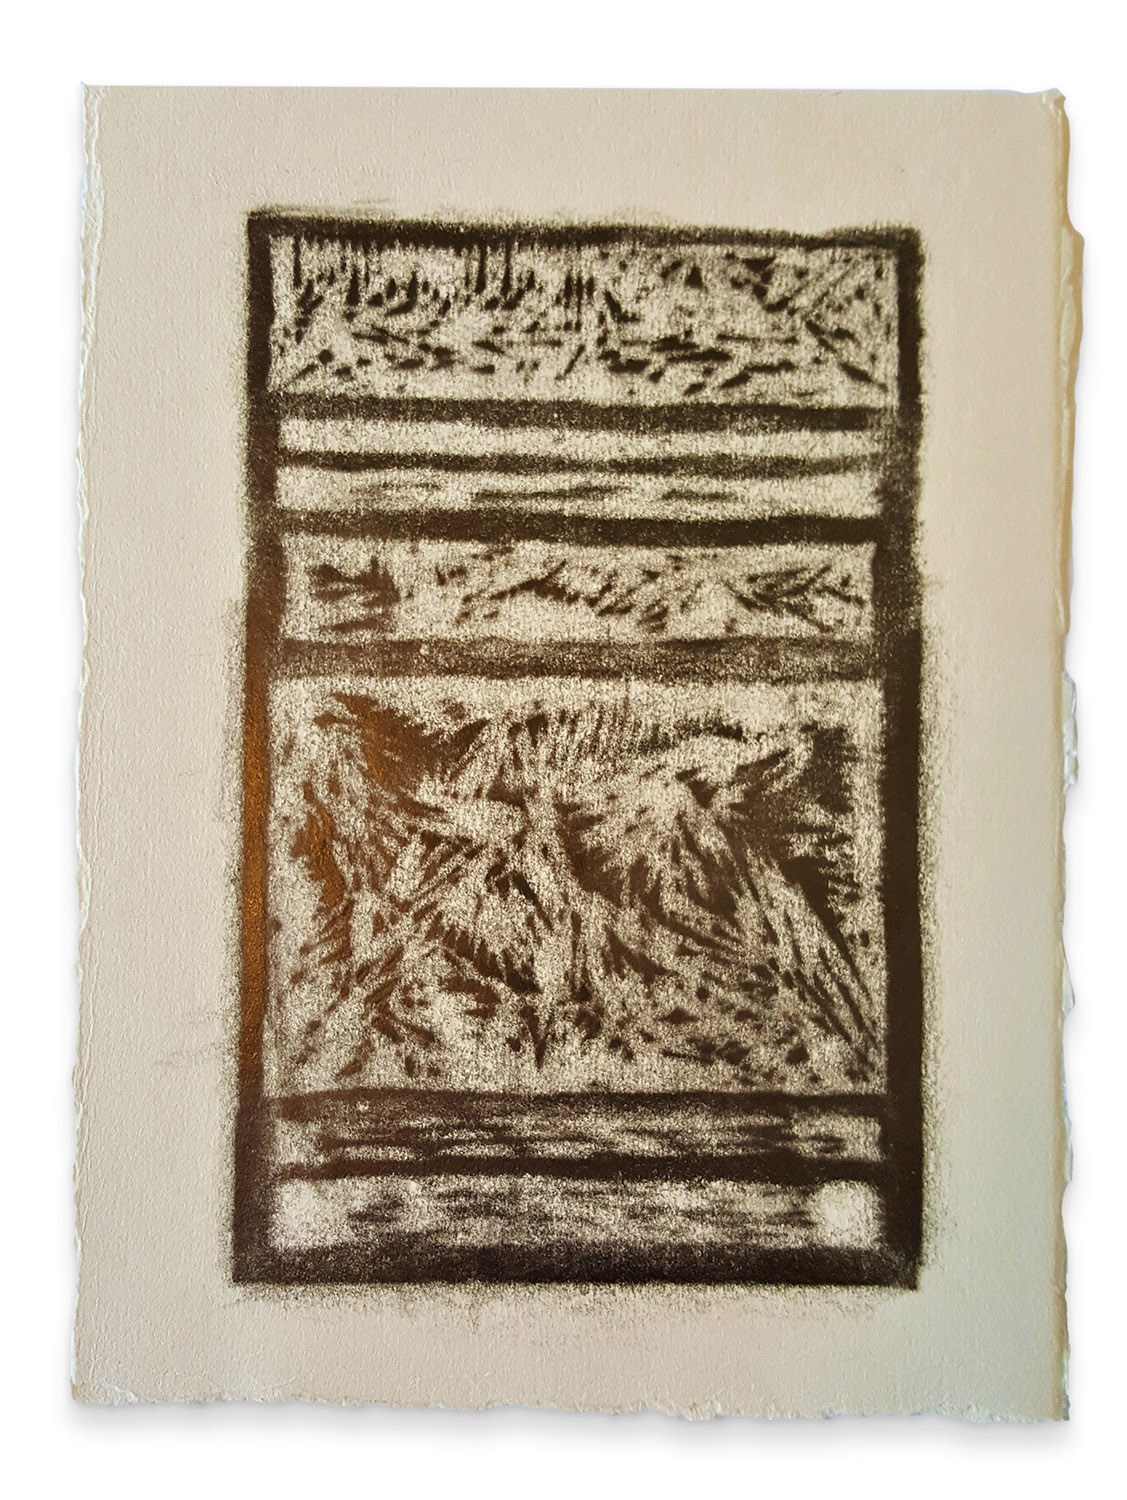
1 — Summa Shing 2021
Embossed Mod-rock plaster.
40 x 50 cm
$250
 Sold
Sold
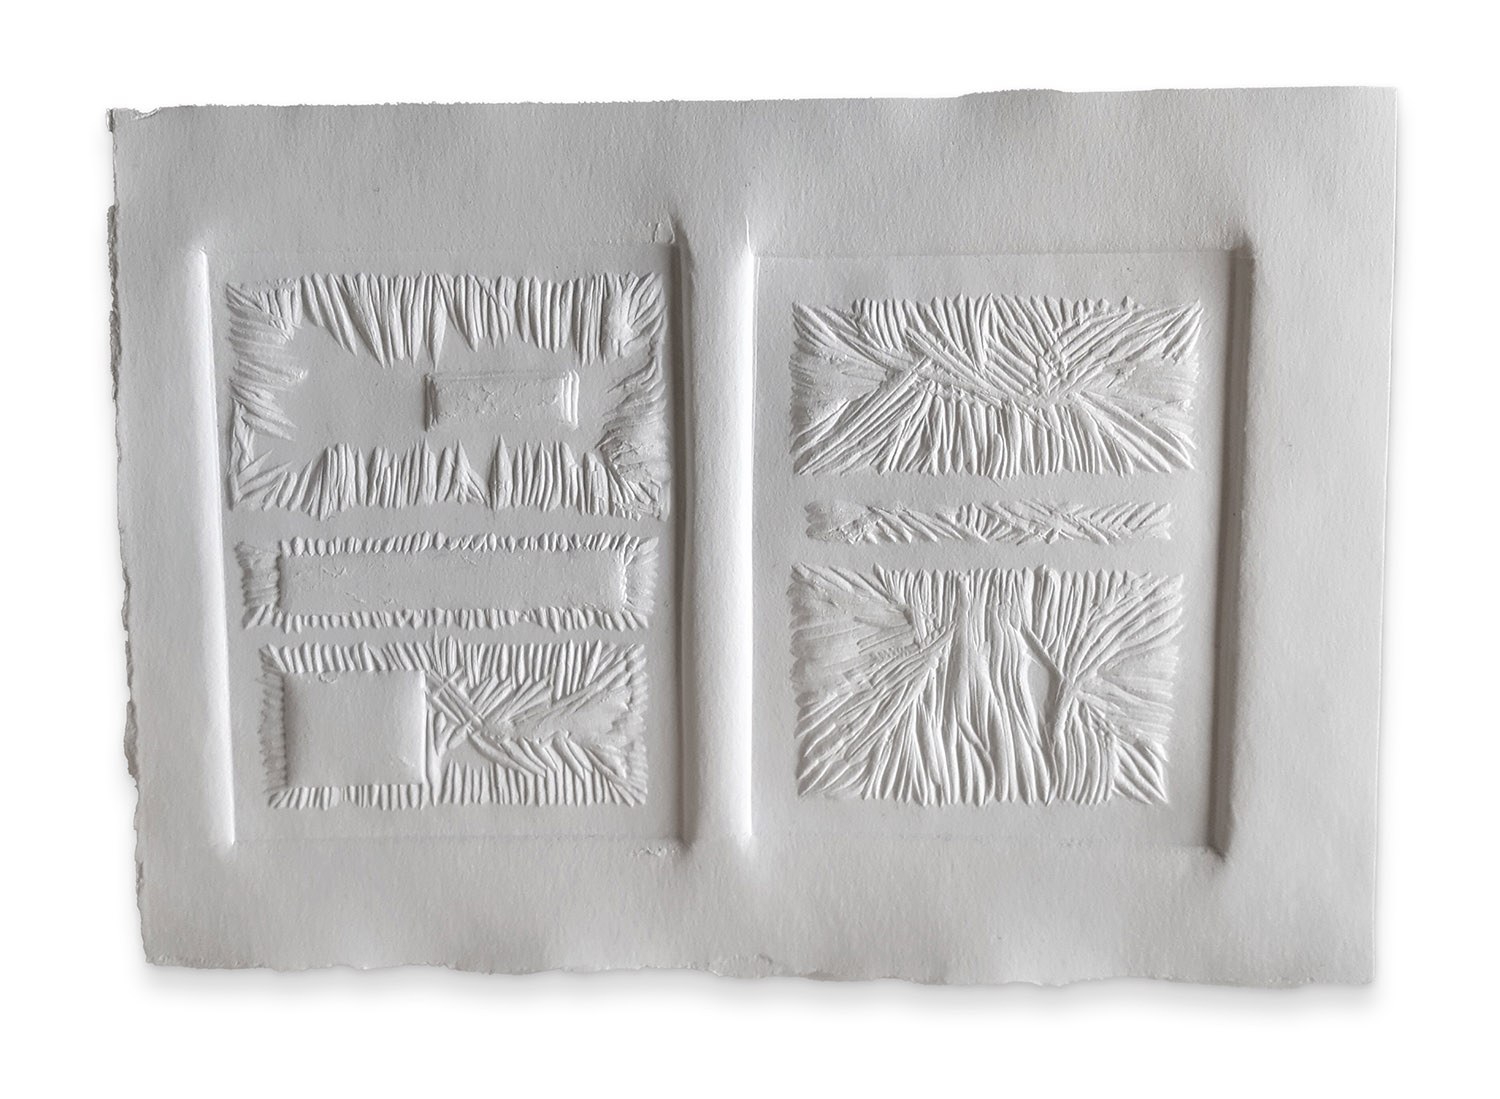
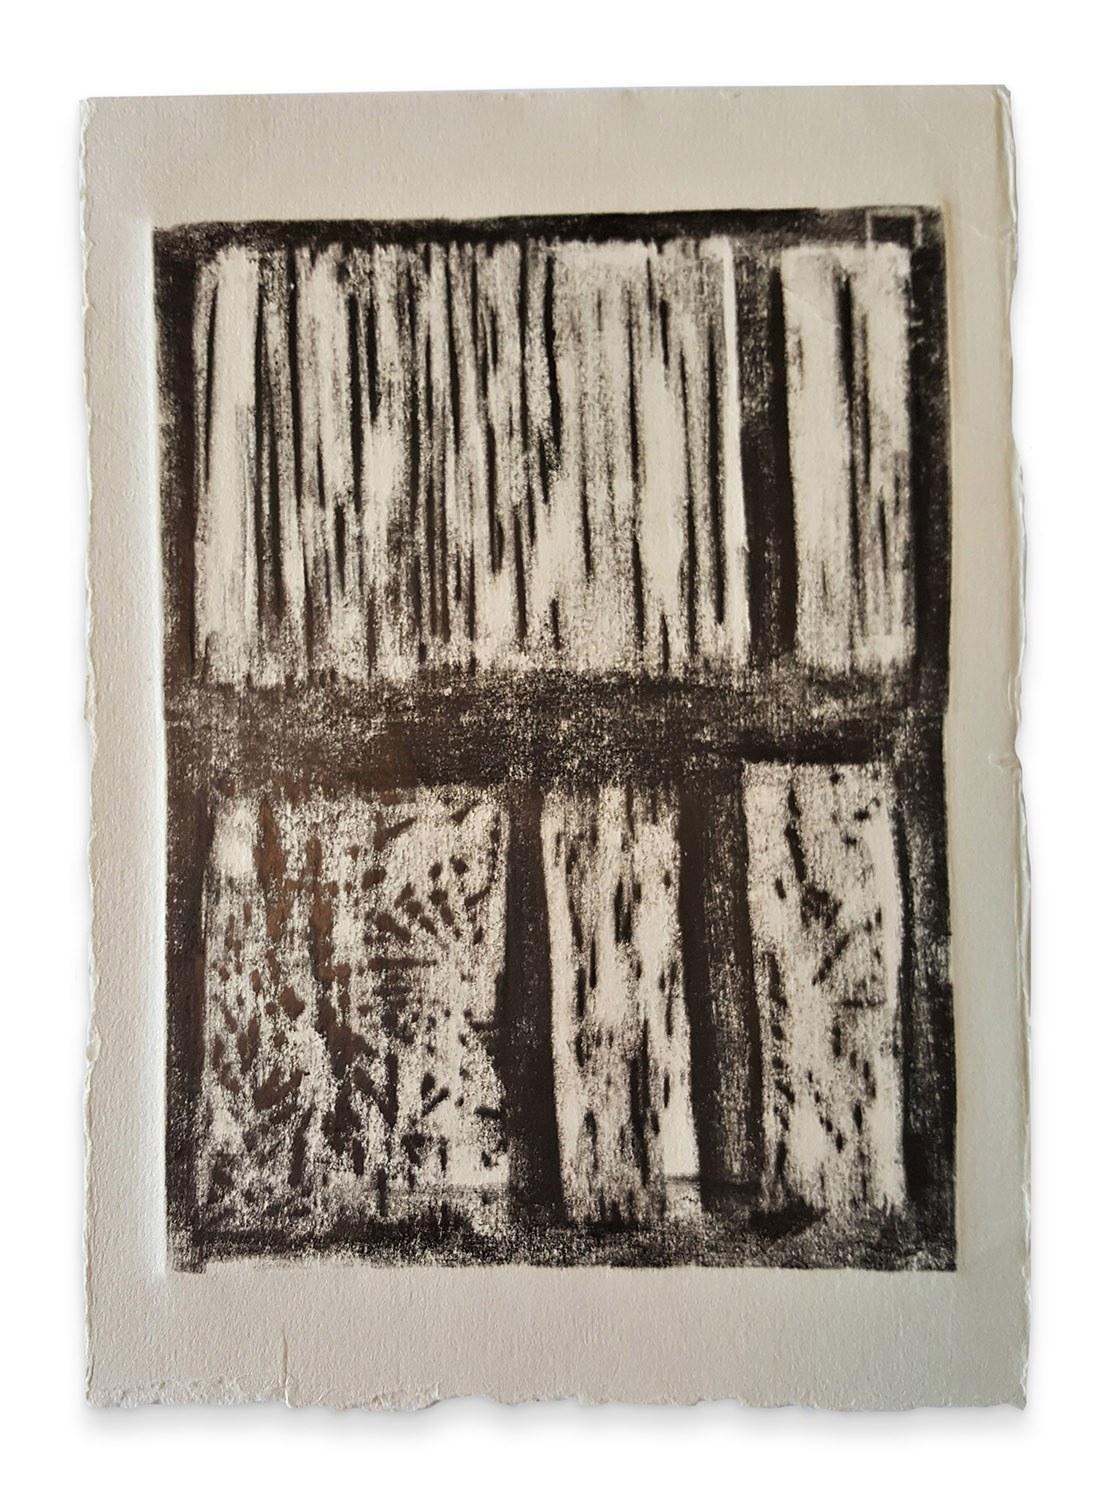
2 — Summa Shing 2021
Embossed Mod-rock plaster.
34 x 44 cm
$150 Sold
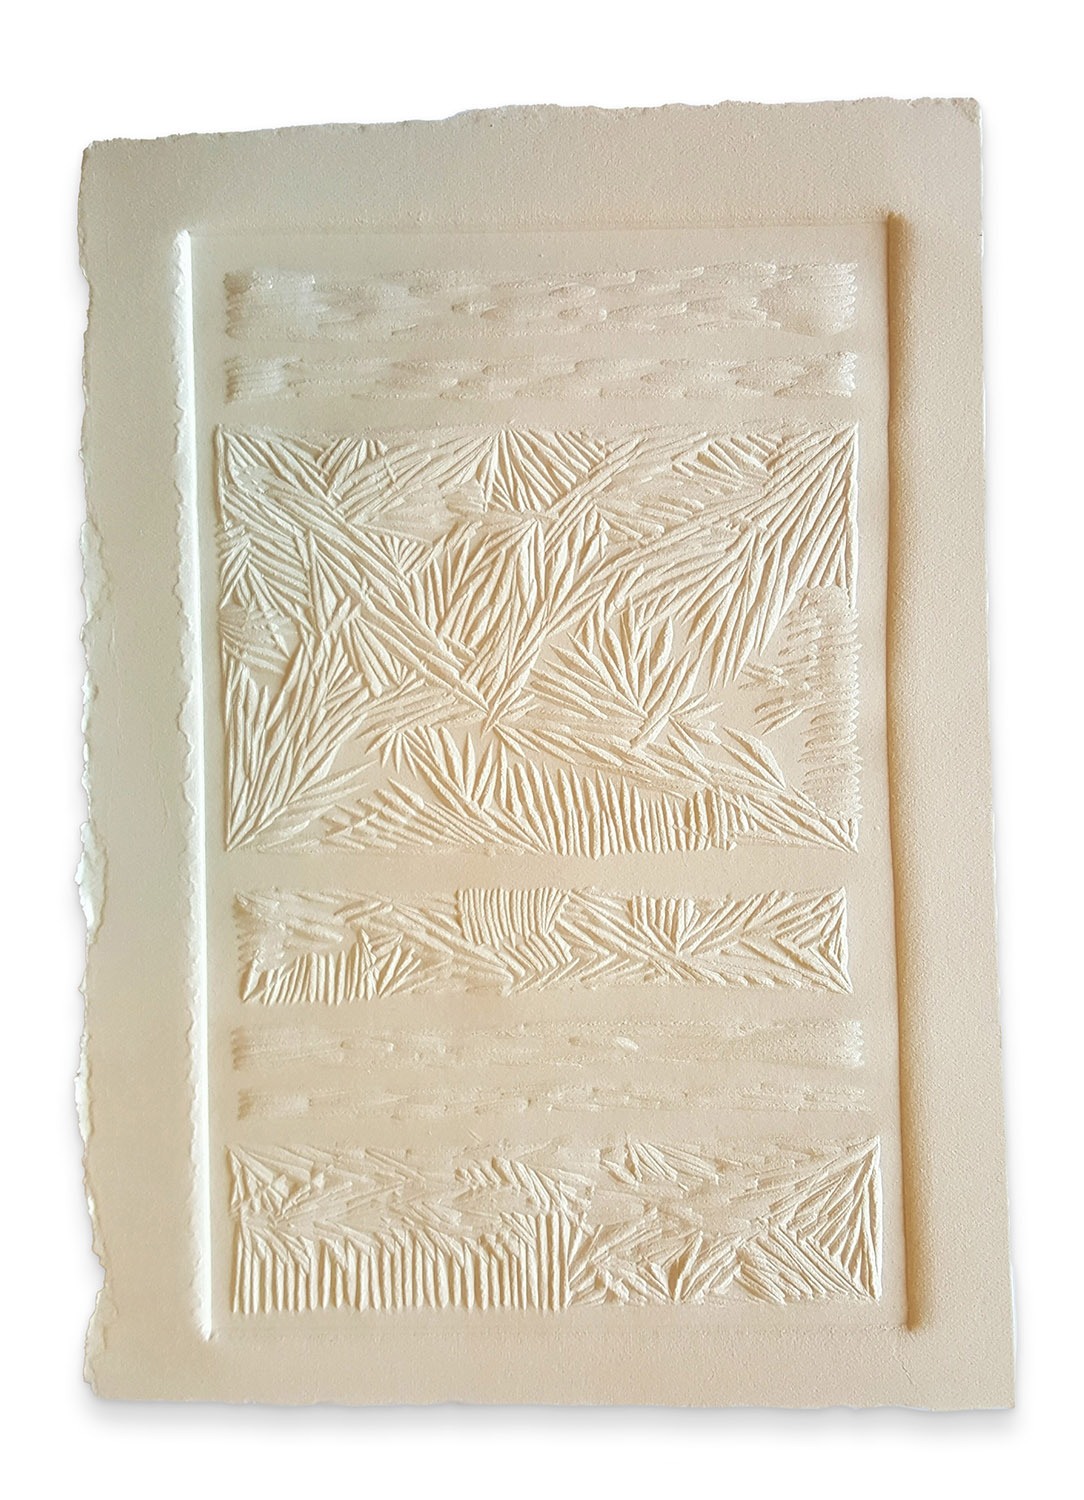
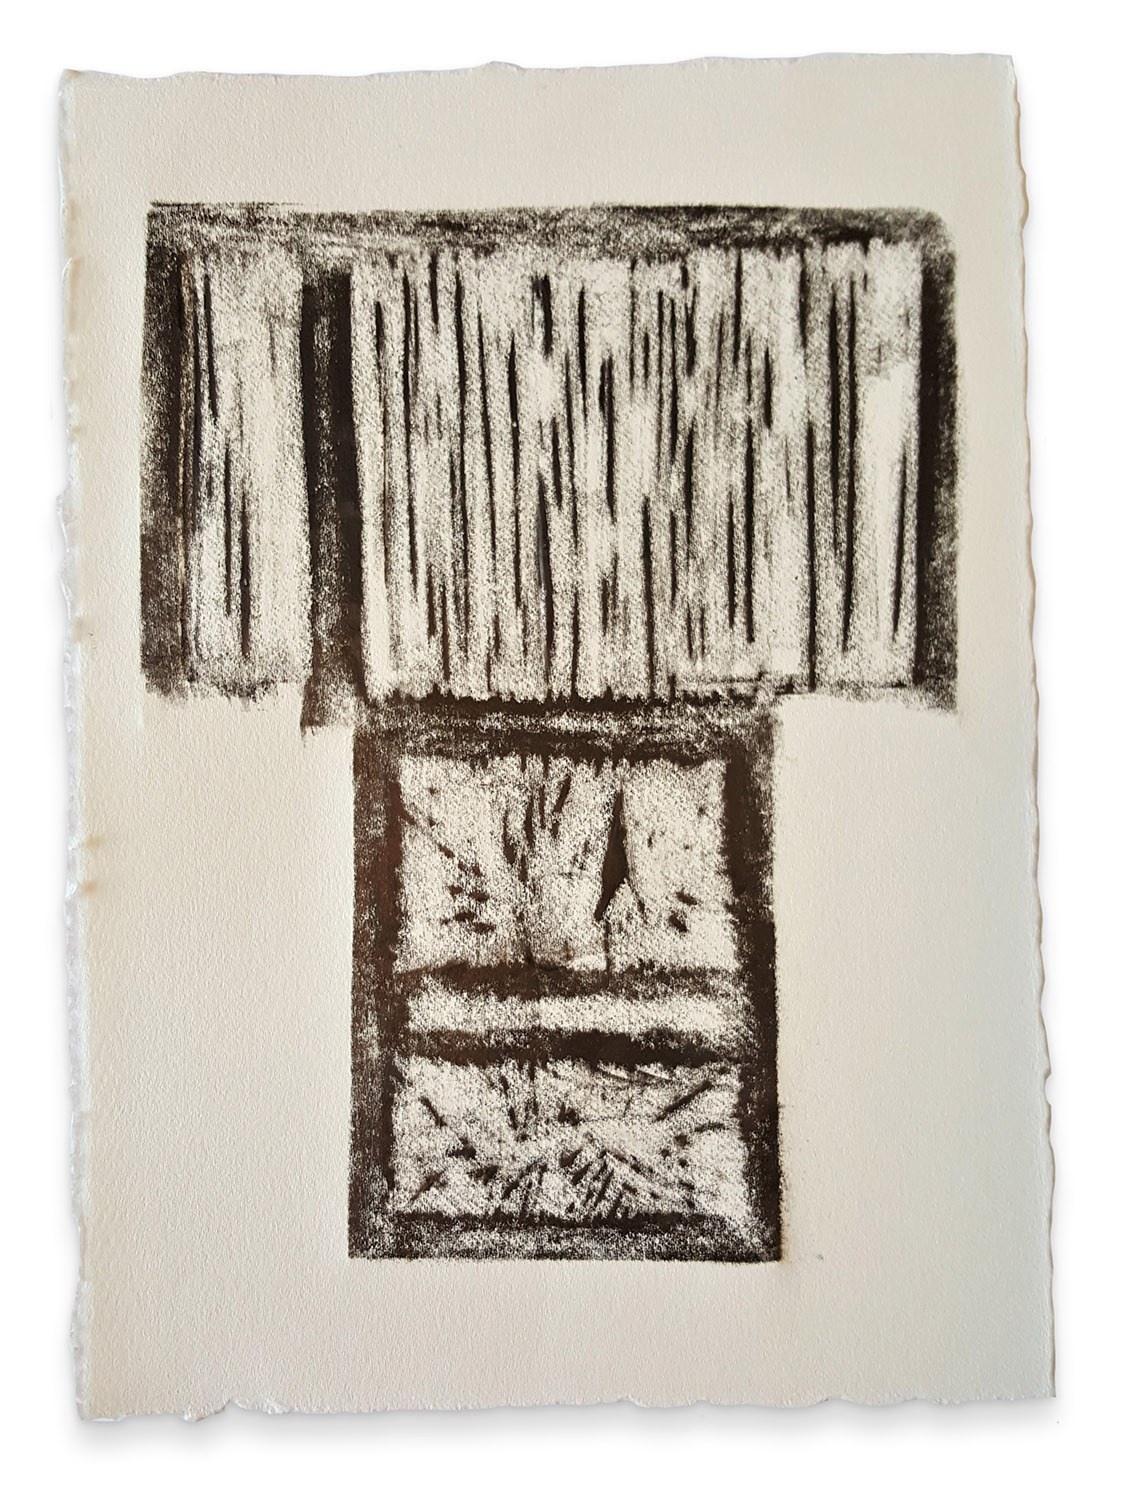
3 — Summa Shing 2021
Embossed Mod-rock plaster.
34 x 45 cm
$150
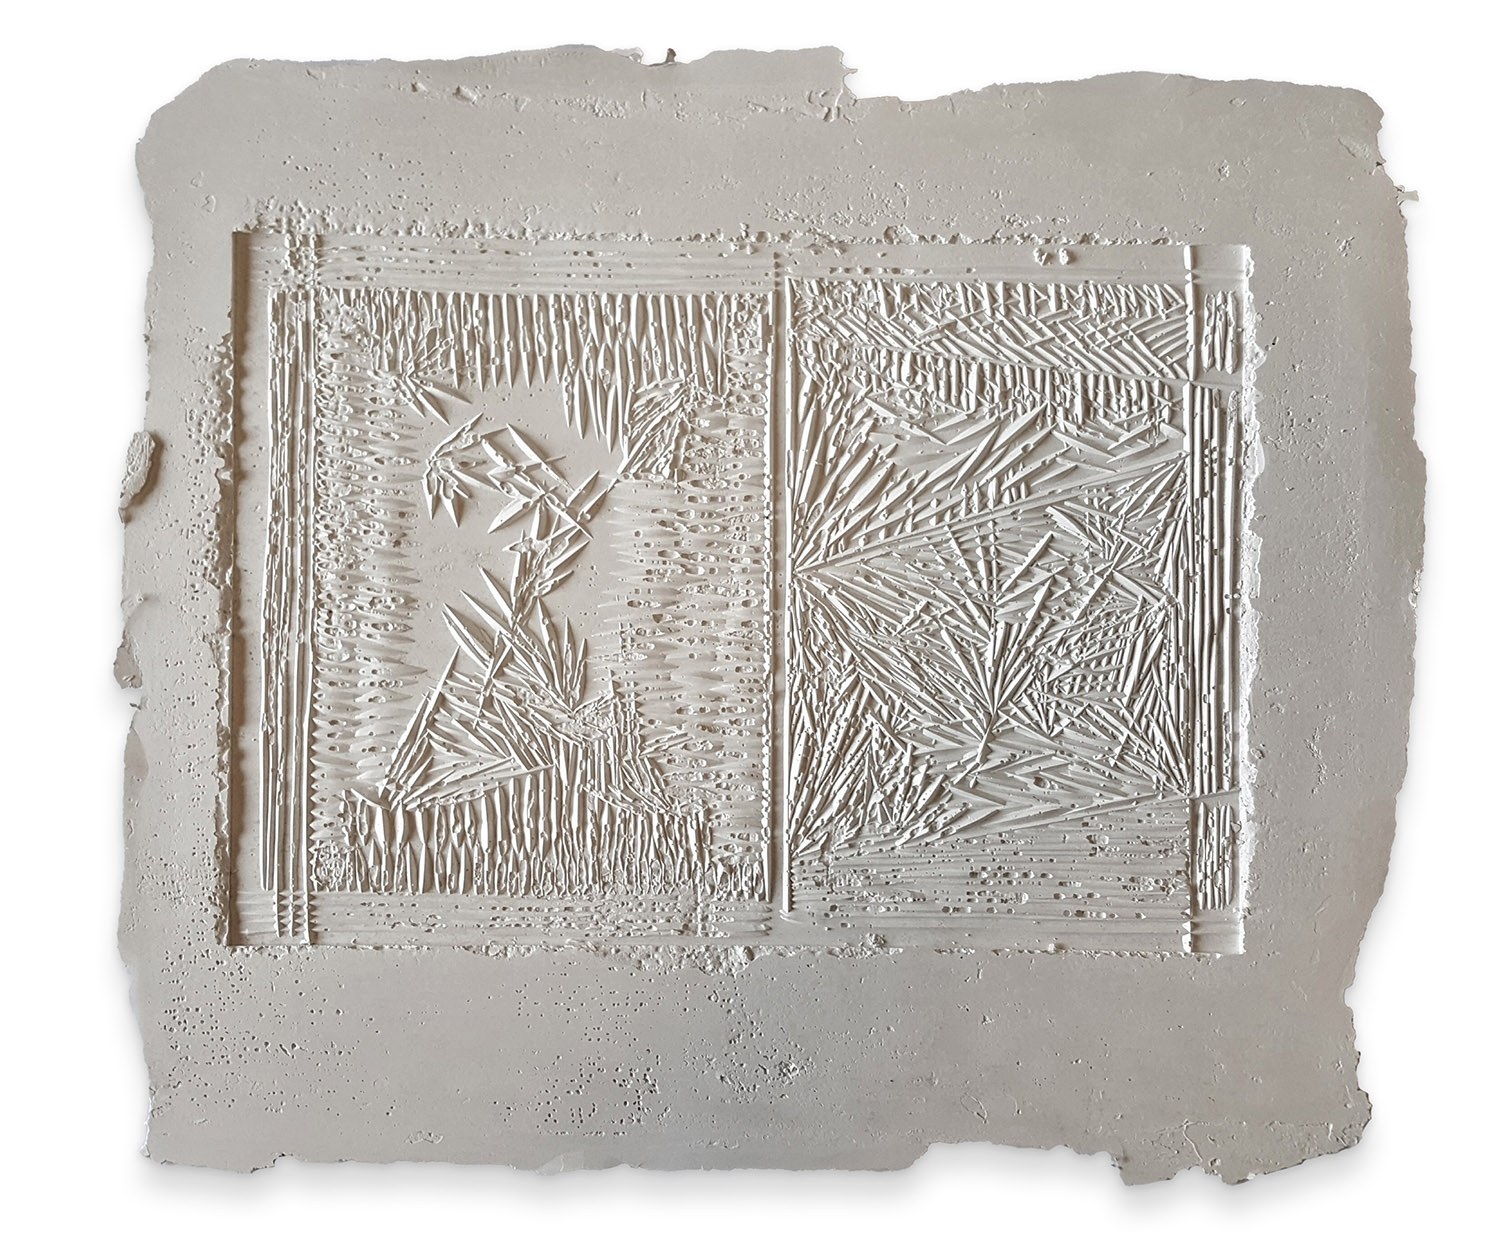
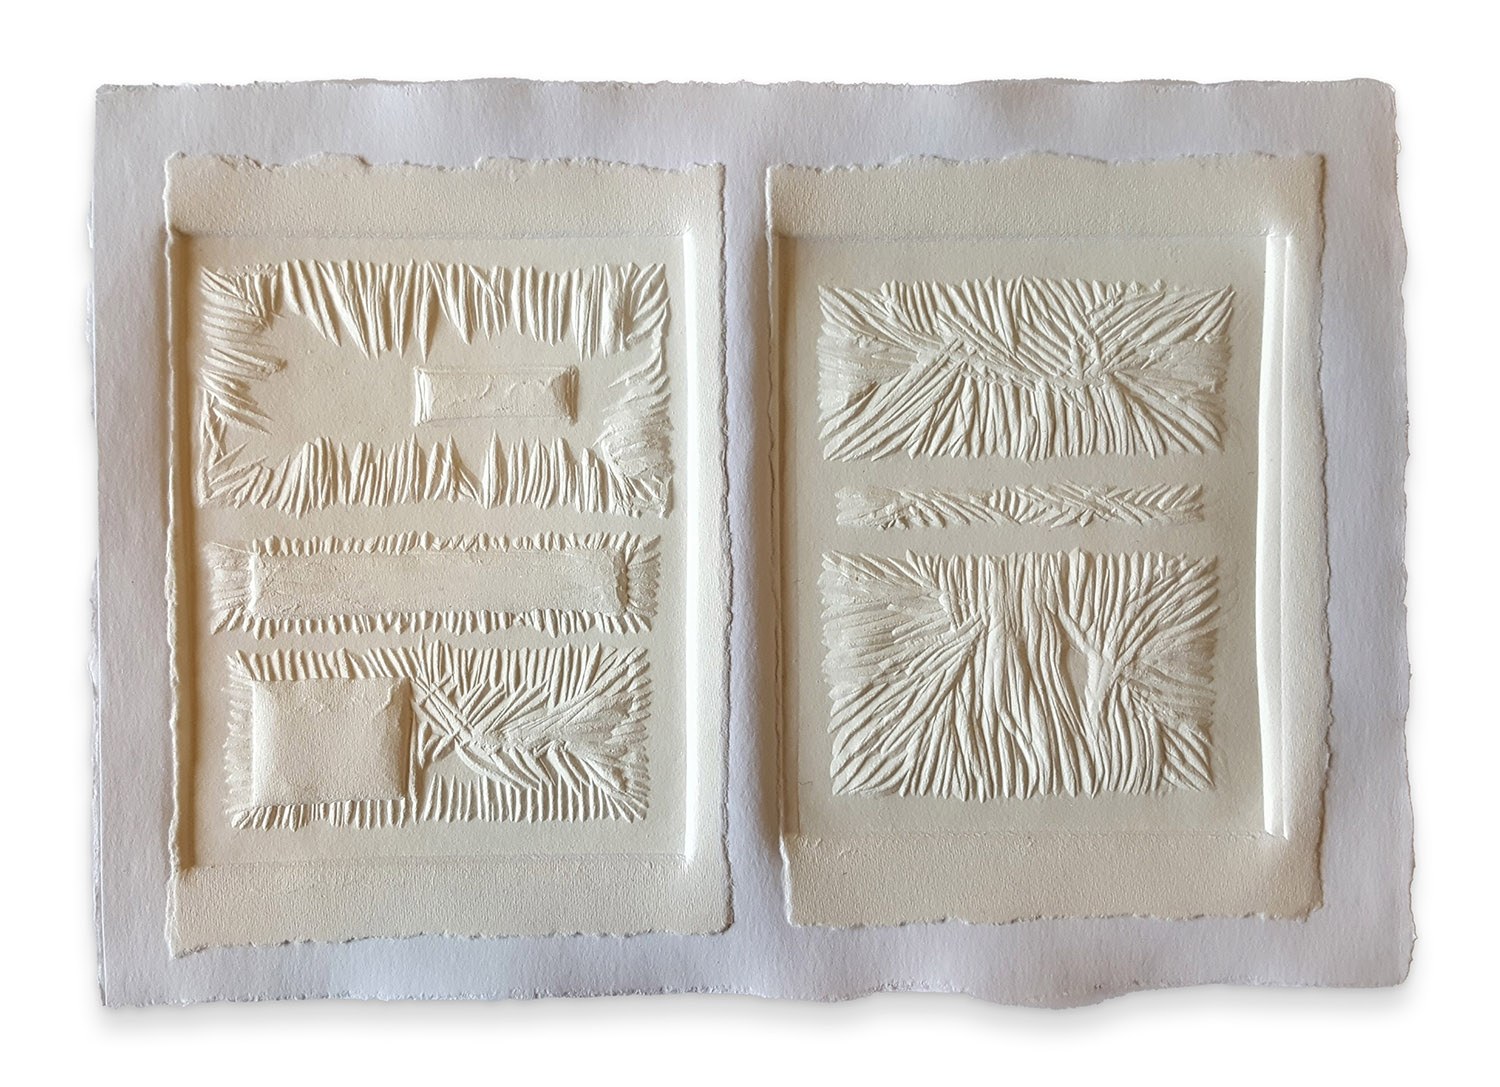
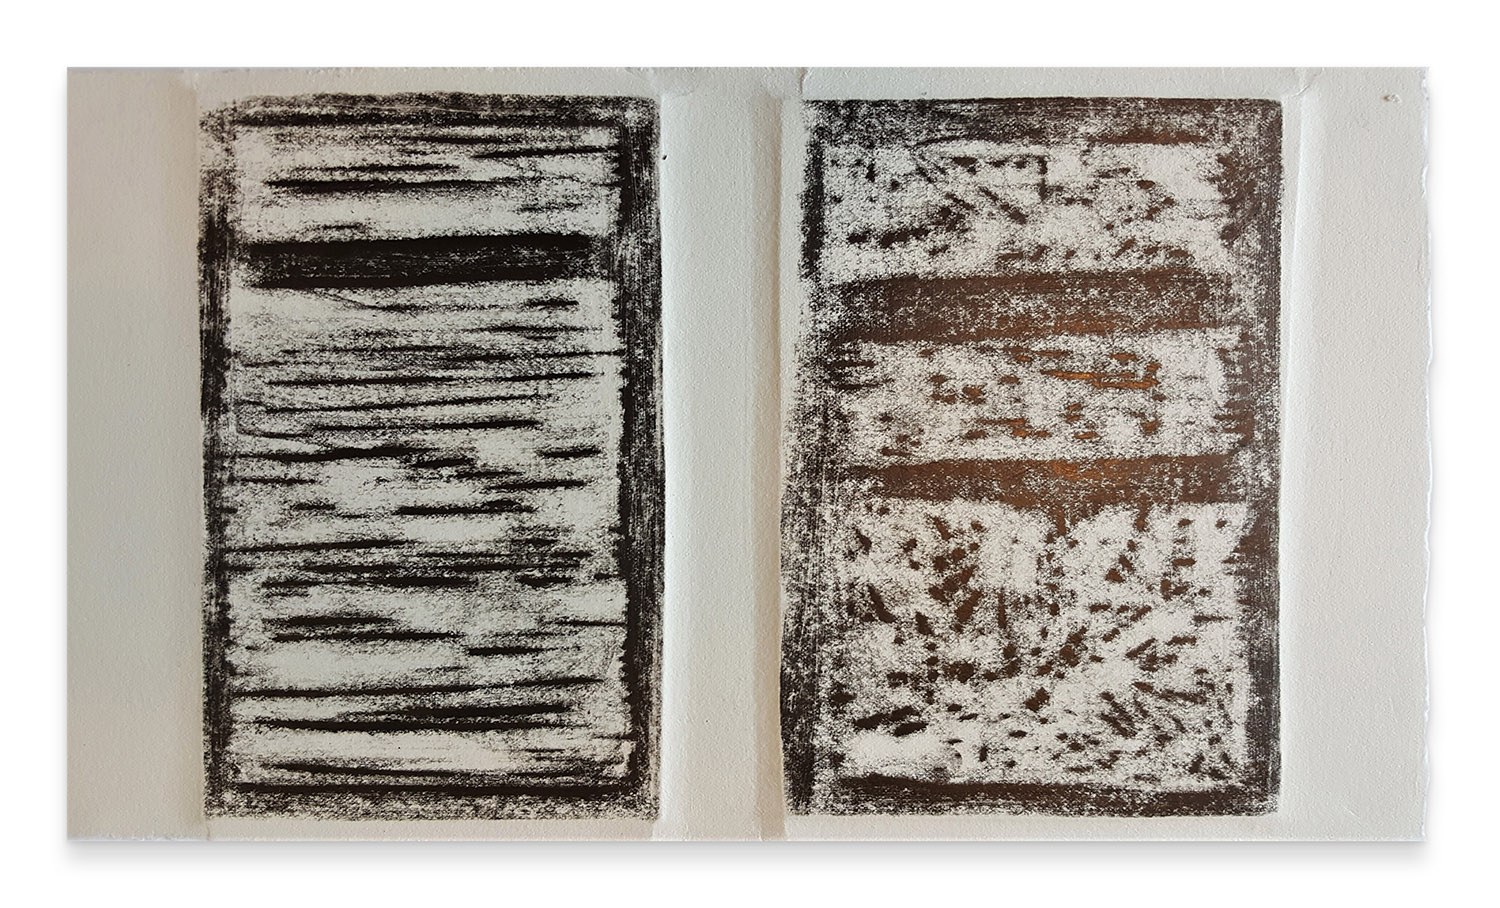
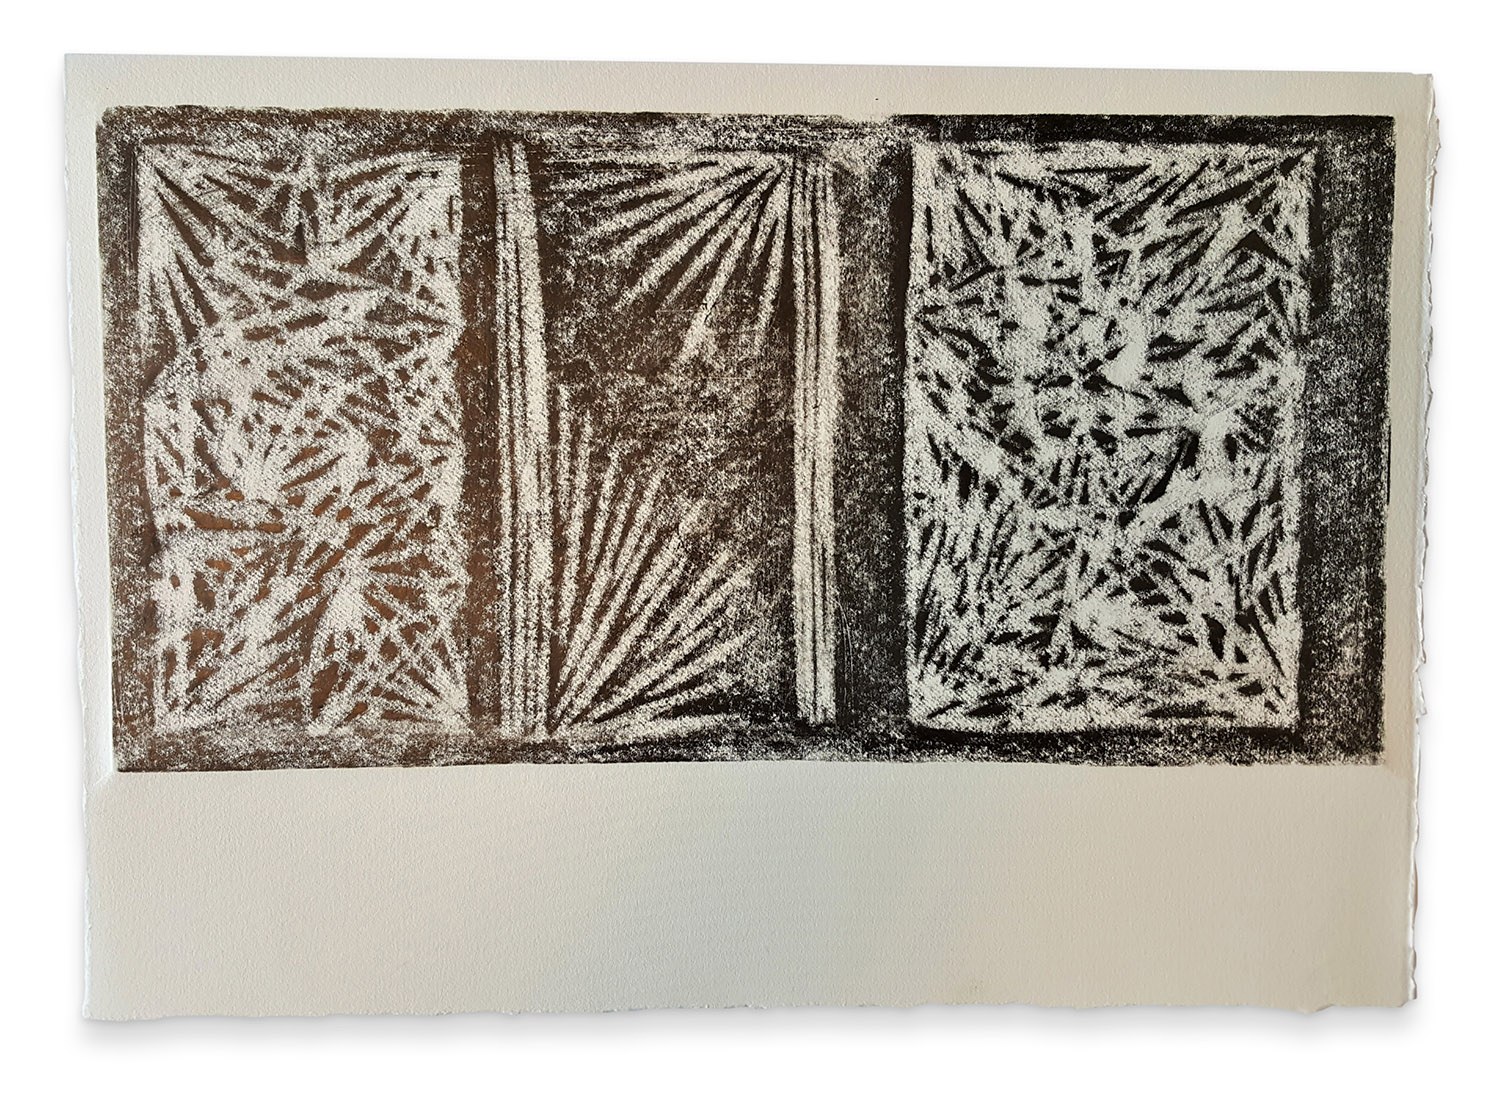
4 — Summa Shing 2021
Embossed Mod-rock plaster. (diptych)
34 x 40 cm
$185
5 — Summa Shing 2021
Embossed Mod-rock plaster.
20 x 28 cm
$100
 Sold
Sold
6 — Summa Shing 2021
Embossed Mod-rock plaster.
20 x 28 cm
$100 Sold
 Sold
Sold
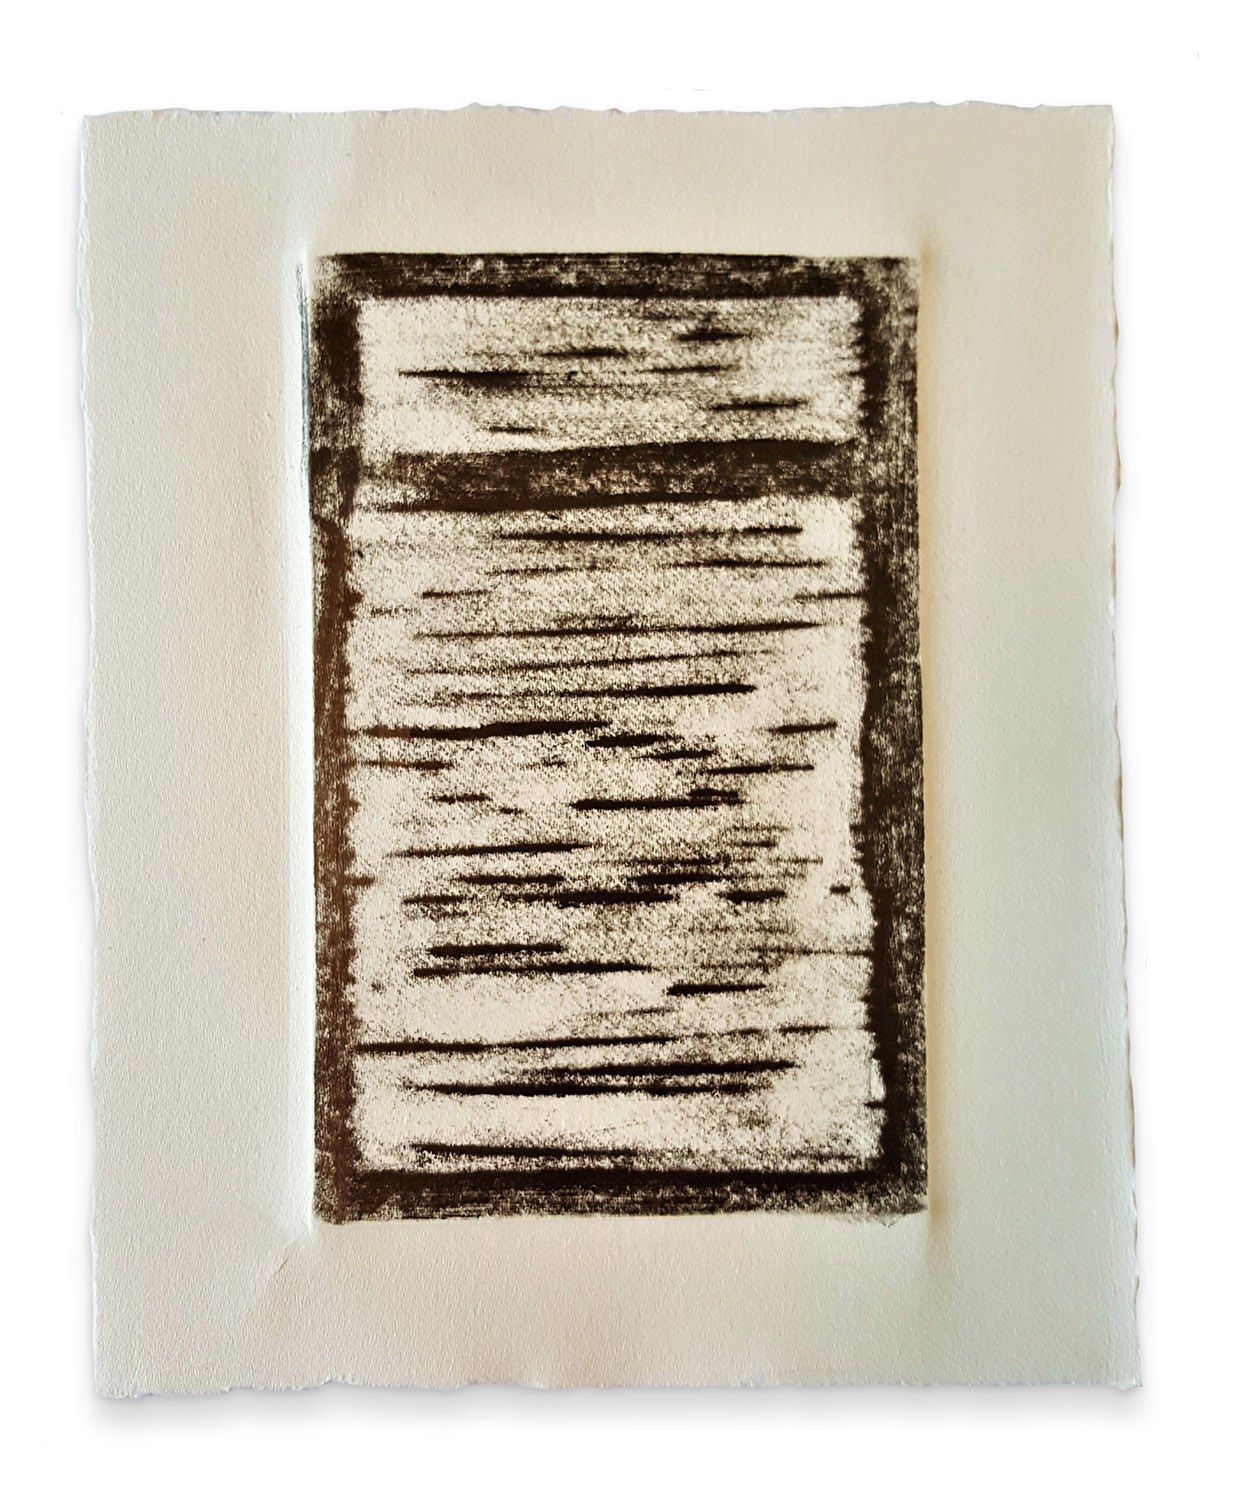
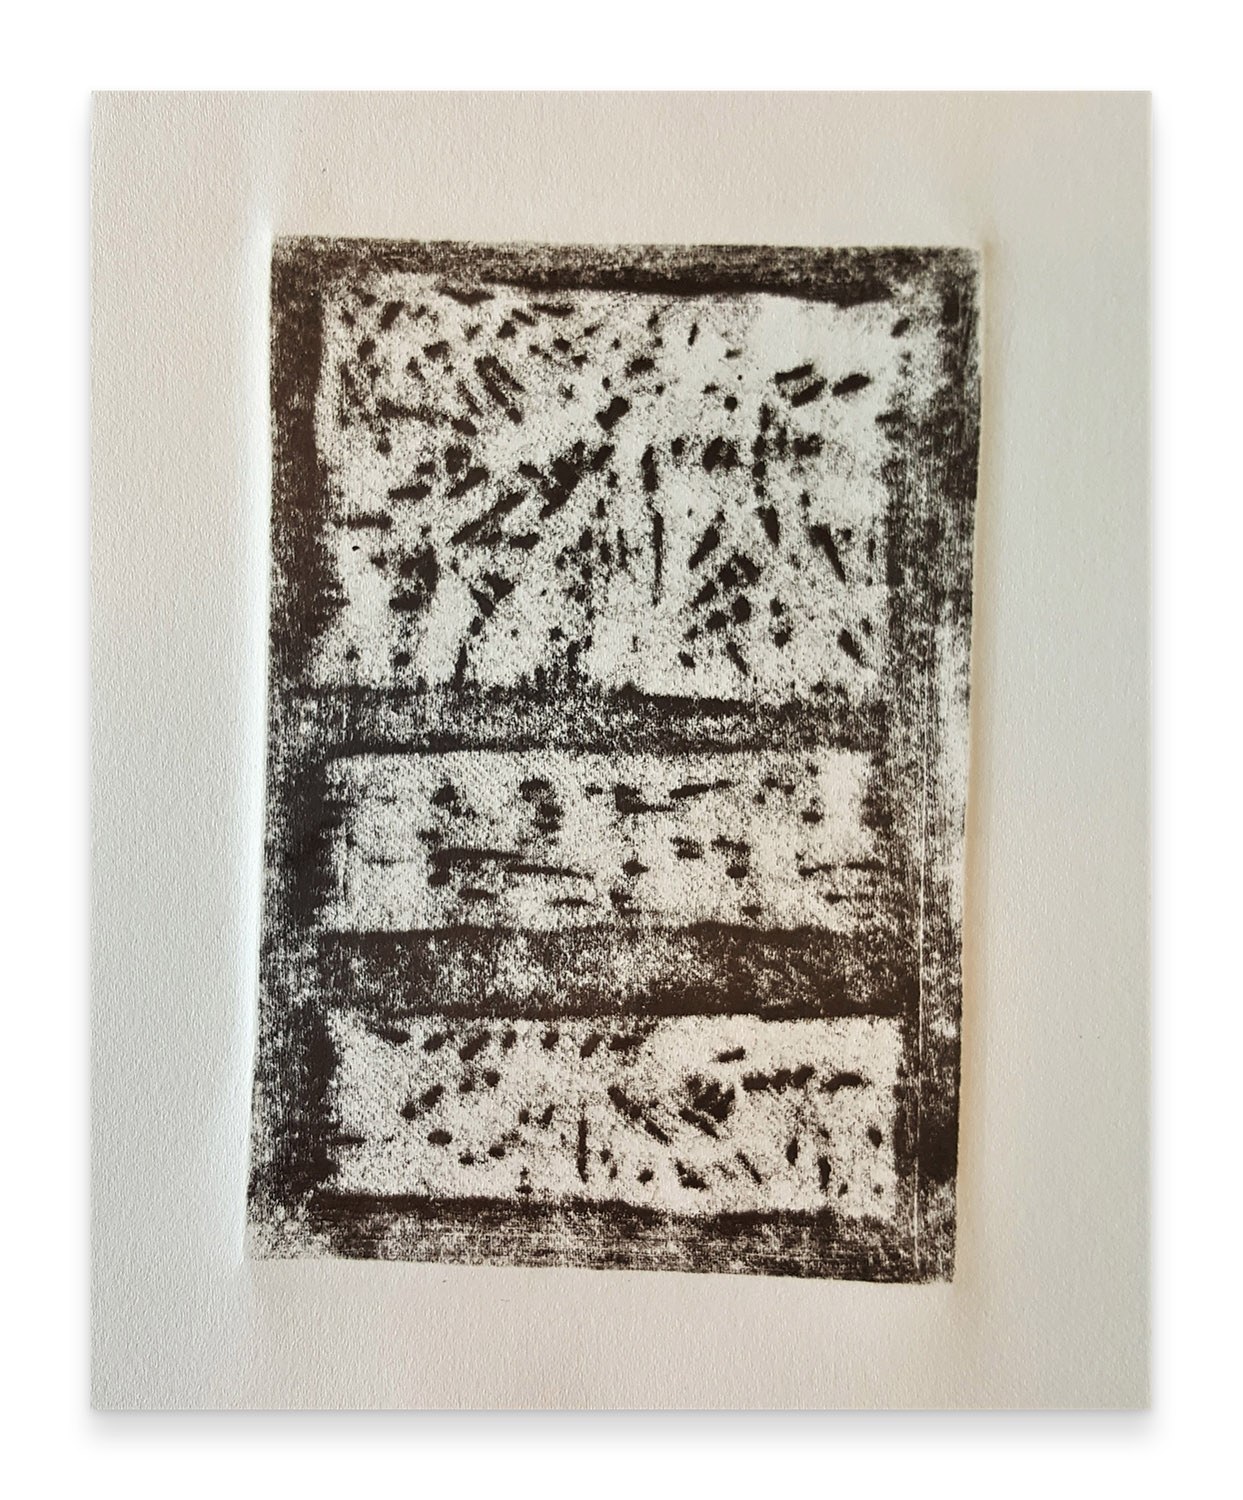
7 — Summa Shing 2021
Embossed Mod-rock plaster.
11 x 15 cm
$75 Sold
 Sold
Sold
8 — Summa Shing 2021
Embossed Mod-rock plaster.
11 x 19 cm
$75 Sold
 Sold
Sold
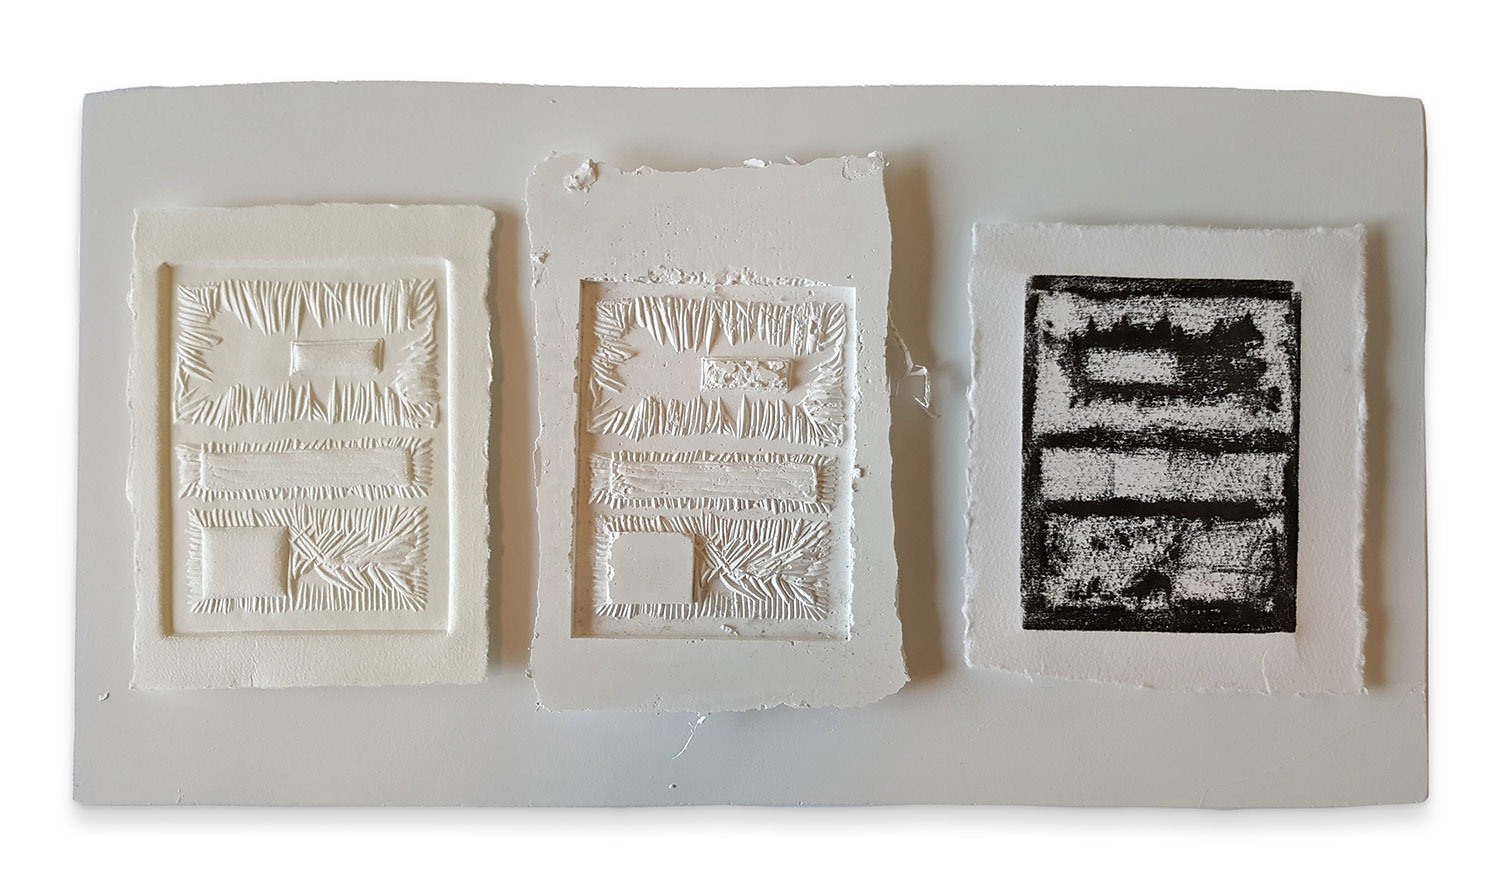
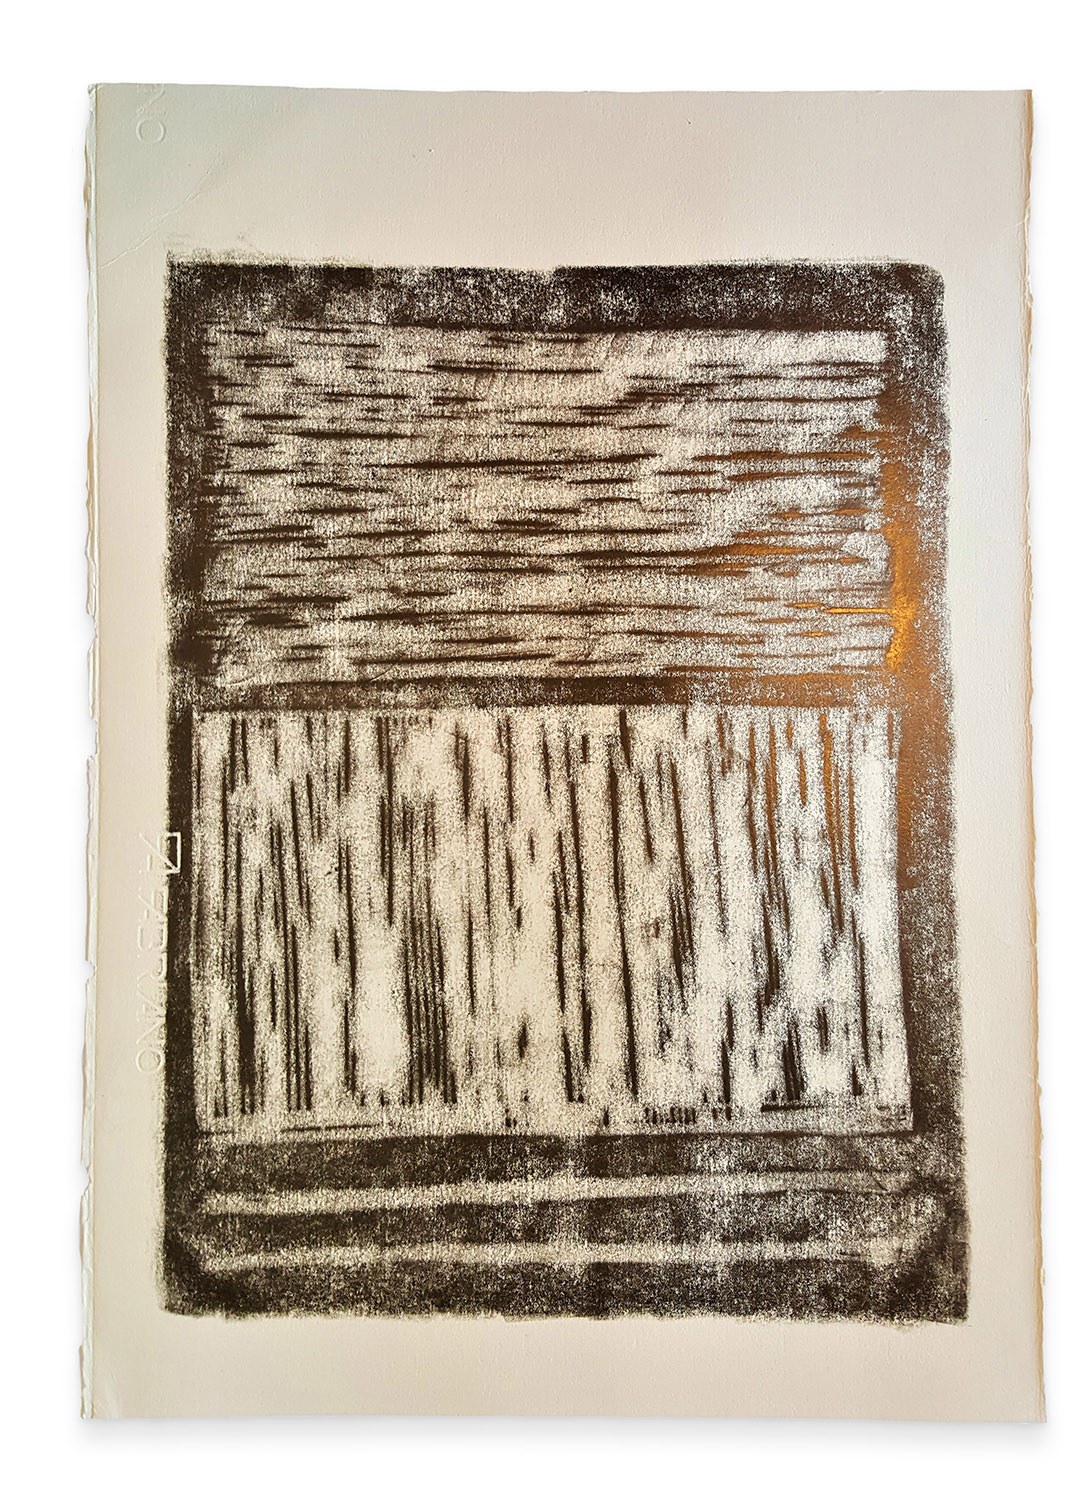
9 — Summa Shing 2021
Embossed Mod-rock, Hahnemuhle paper, graphite on Fabriano paper.
22 x 40 cm
$250 Sold
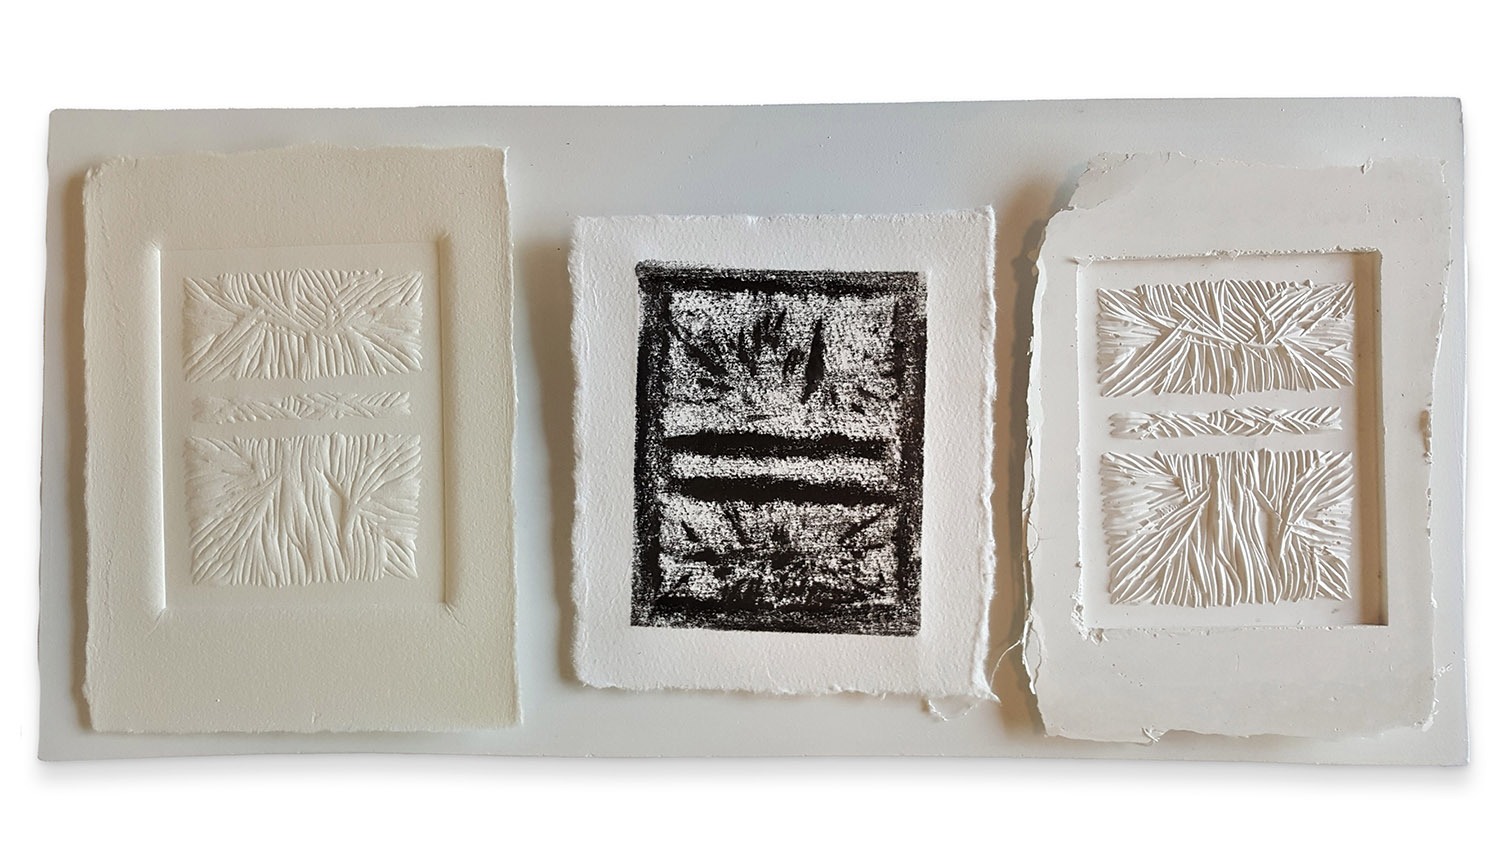
10 — Summa Shing 2021
Embossed Mod-rock, Hahnemuhle paper, graphite on Fabriano paper.
22 x 40 cm
$250
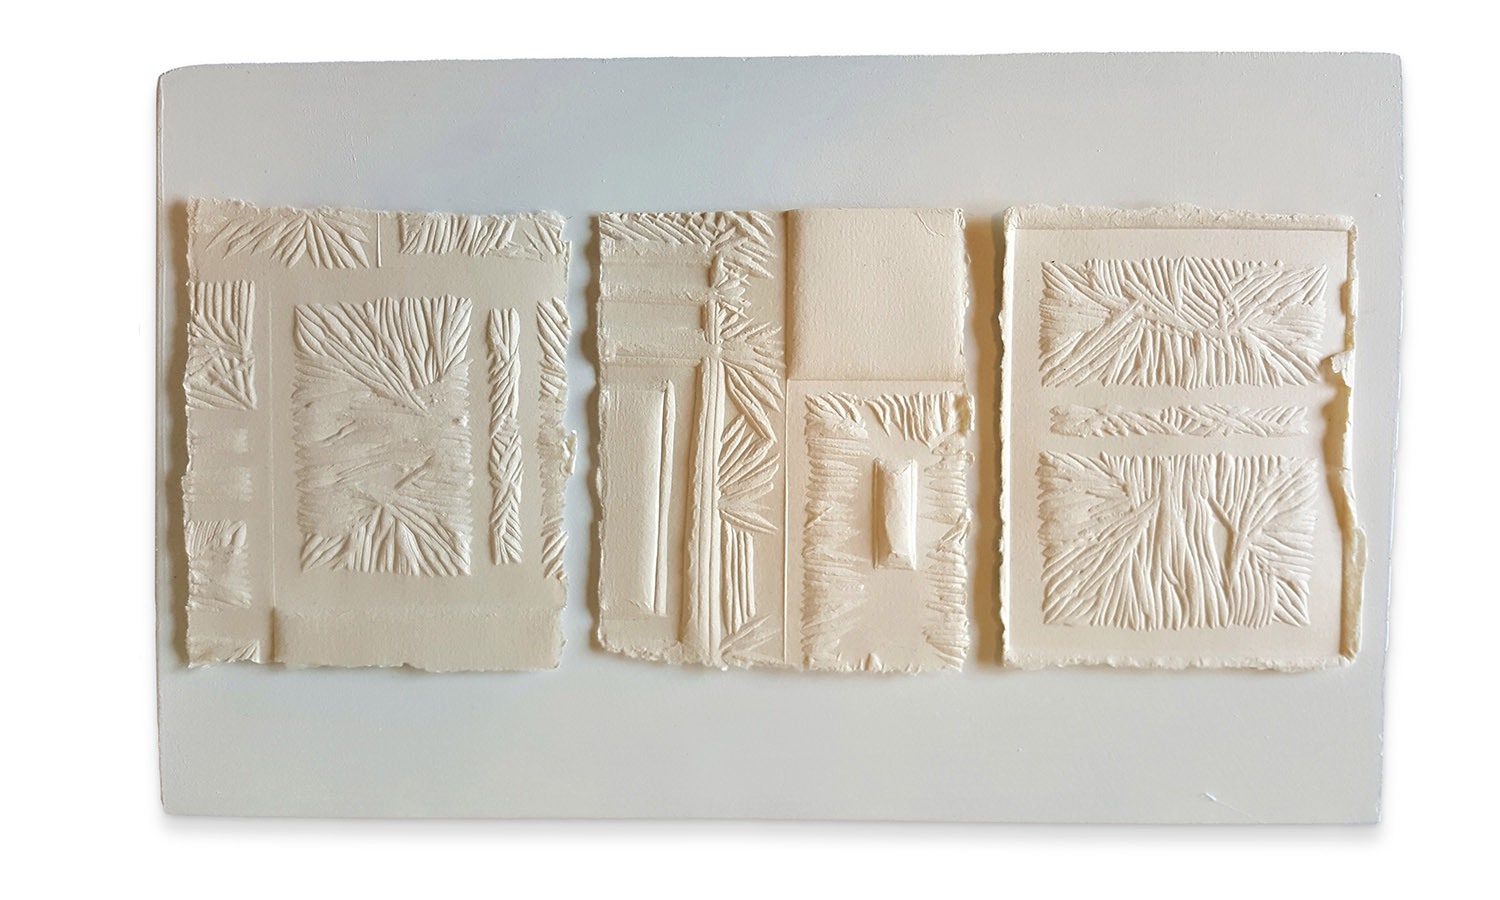
11 — Summa Shing 2021
Embossed Fabriano paper.
22 x 40 cm
$250
12 — Summa Shing 2021
Embossed Stonehenge paper.
16 x 22 cm
$80
13 — Summa Shing 2021
Embossed Stonehenge paper.
16 x 22 cm
$80

14 — Summa Shing 2021
Embossed Hahnemuhle paper.
20 x 40 cm
$120
 Sold
Sold
15 — Summa Shing 2021
Embossed Fabriano paper.
17 x 25 cm
$80 Sold

16 — Summa Shing 2021
Embossed Hahnemuhle paper.
20 x 20 cm
$80
17 — Summa Shing 2021
Embossed Hahnemuhle paper.
15 x 17 cm
$70
18 — Summa Shing 2021
Embossed Fabriano paper.
12 x 17 cm
$70

19 — Summa Shing 2021
Embossed Mod-rock plaster.
40 x 20 cm
$150

20 — Summa Shing 2021
Embossed Fabriano paper.
19 x 40 cm
$120
21 — Summa Shing 2021
Graphite on Hahnemuhle paper
17 x 22 cm
$70

22 — Summa Shing 2021
Graphite on Hahnemuhle paper.
18 x 26 cm
$70
23 — Summa Shing 2021
Graphite on Hahnemuhle paper.
17 x 30 cm
$80
24 — Summa Shing 2021
Graphite on Hahnemuhle paper.
18 x 21 cm
$80
25 — Summa Shing 2021
Graphite on Fabriano Paper.
19 x 26 cm
$80
 Sold
Sold
26 — Summa Shing 2021
Graphite on Fabriano Paper.
26 x 36 cm
$100 Sold
27 — Summa Shing 2021
Graphite on Fabriano Paper.
19 x 30 cm
$120
28 — Summa Shing 2021
Graphite on Fabriano Paper.
18 x 30 cm
$80

29 — Summa Shing 2021
Graphite on Fabriano Paper.
19 x 30 cm
$100

30 — Summa Shing 2021
Graphite on Fabriano Paper.
35 x 50 cm
$150

31 — Summa Shing 2021
Graphite on Fabriano Paper.
35 x 50 cm
$150
32 — Summa Shing 2021
Graphite on Fabriano Paper.
35 x 50 cm
$150
 Sold
Sold
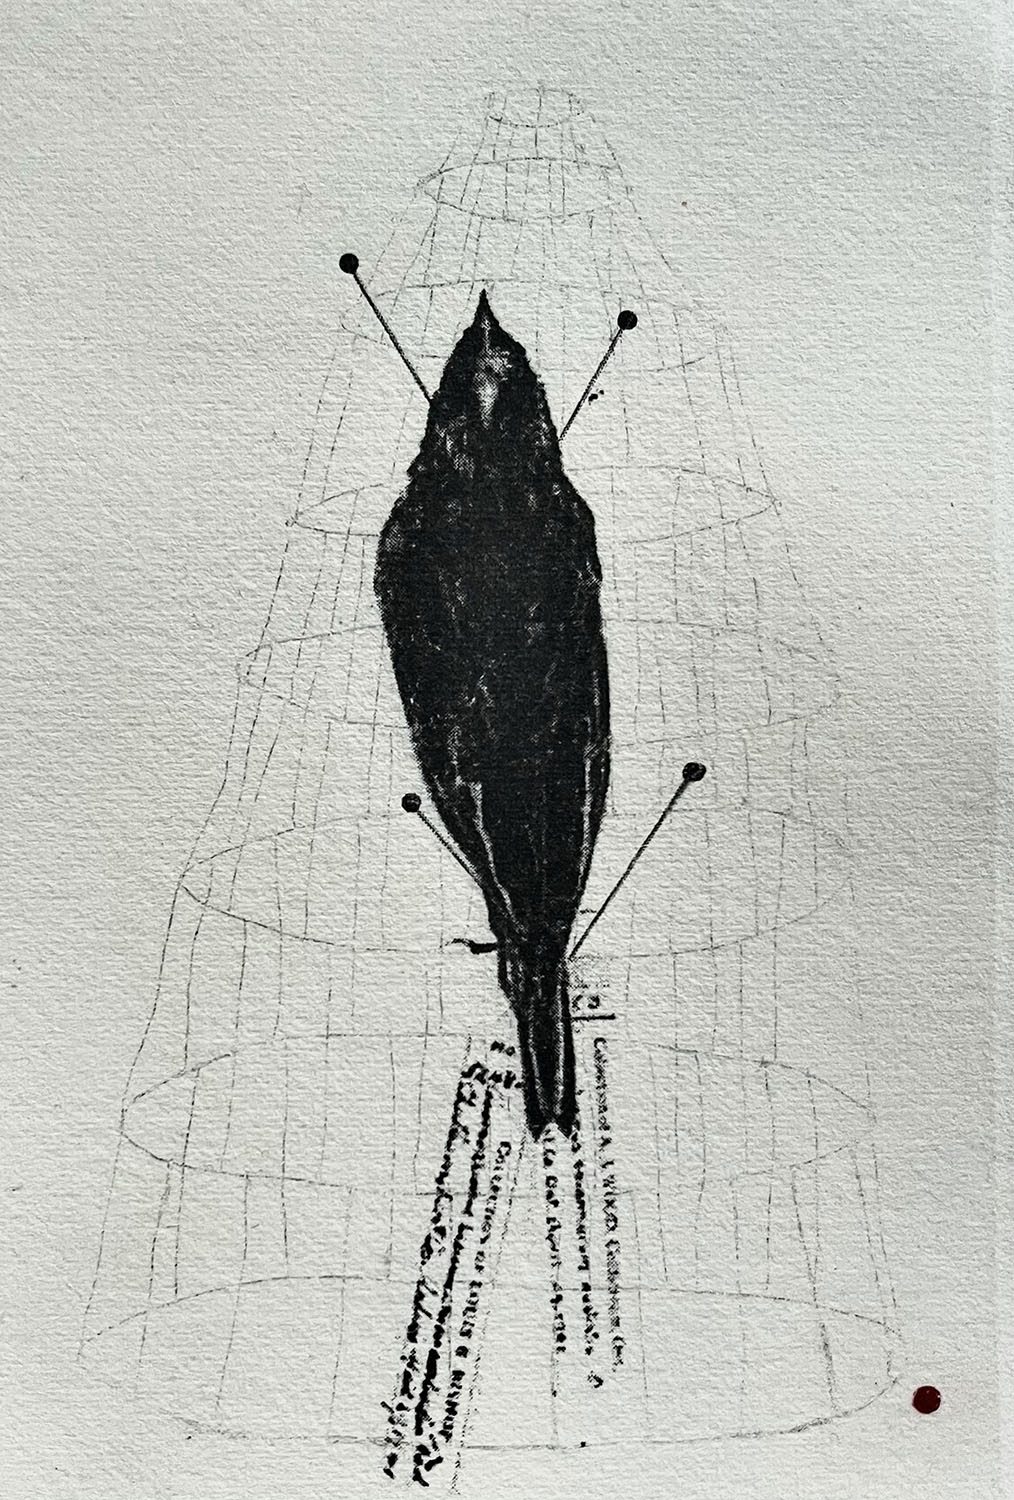
Magpie— Dulcet Gray
DRYPOINT & TRANSFER METHOD ON FABRIANO PAPER
20X15
$80 Sold
 Sold
Sold
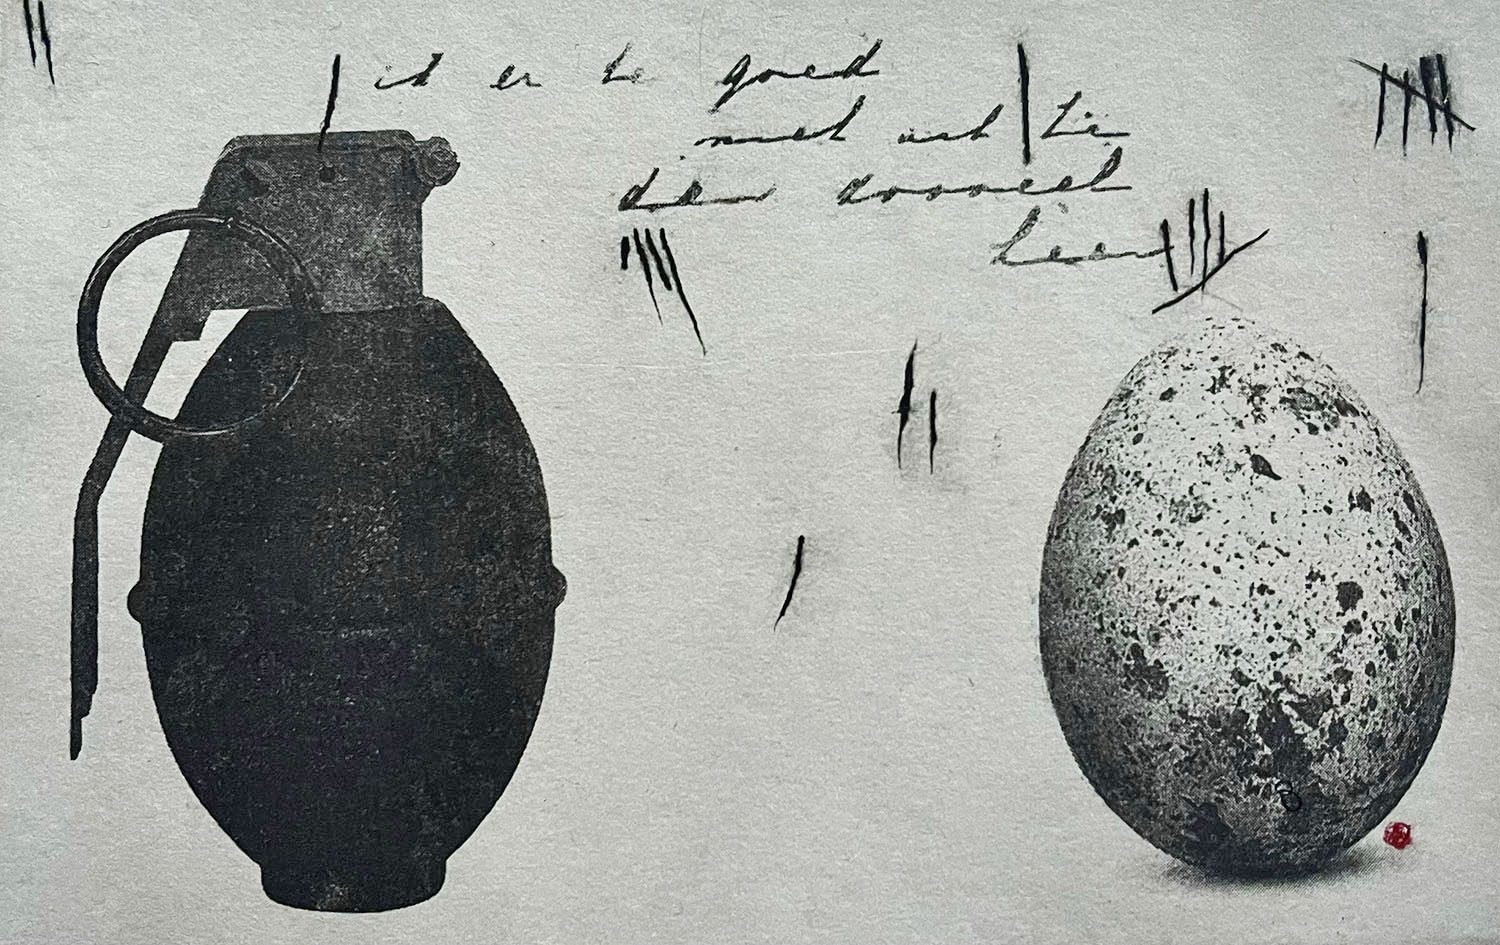
#48 Grenade— Dulcet Gray
Drypoint & transfer method on Stonehenge
9.5 x 9.5 cm
$30 Sold
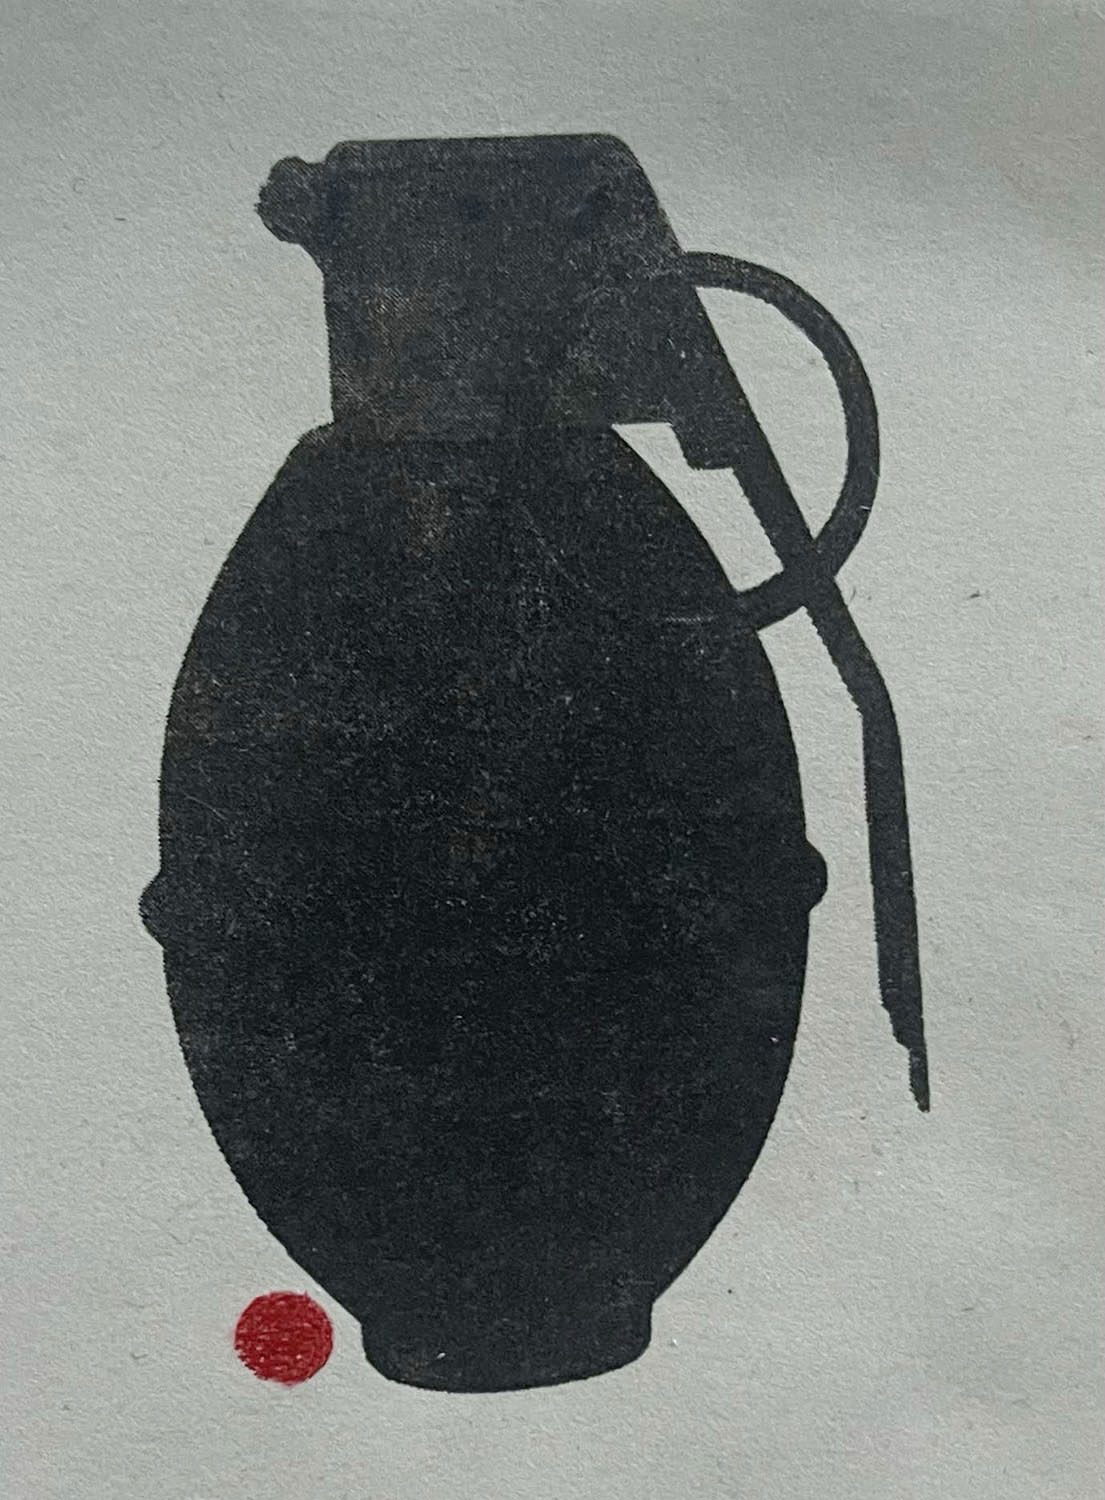
#49 Grenade — Dulcet Gray
Drypoint & transfer method on Stonehenge paper
11 x 9 cm
$30

#52 — Dulcet Gray
Drypoint & transfer method on Stonehenge
$30

#51— Dulcet Gray
Drypoint & transfer method on Stonehenge
$30

#50— Dulcet Gray
Drypoint & transfer method on Stonehenge
$30
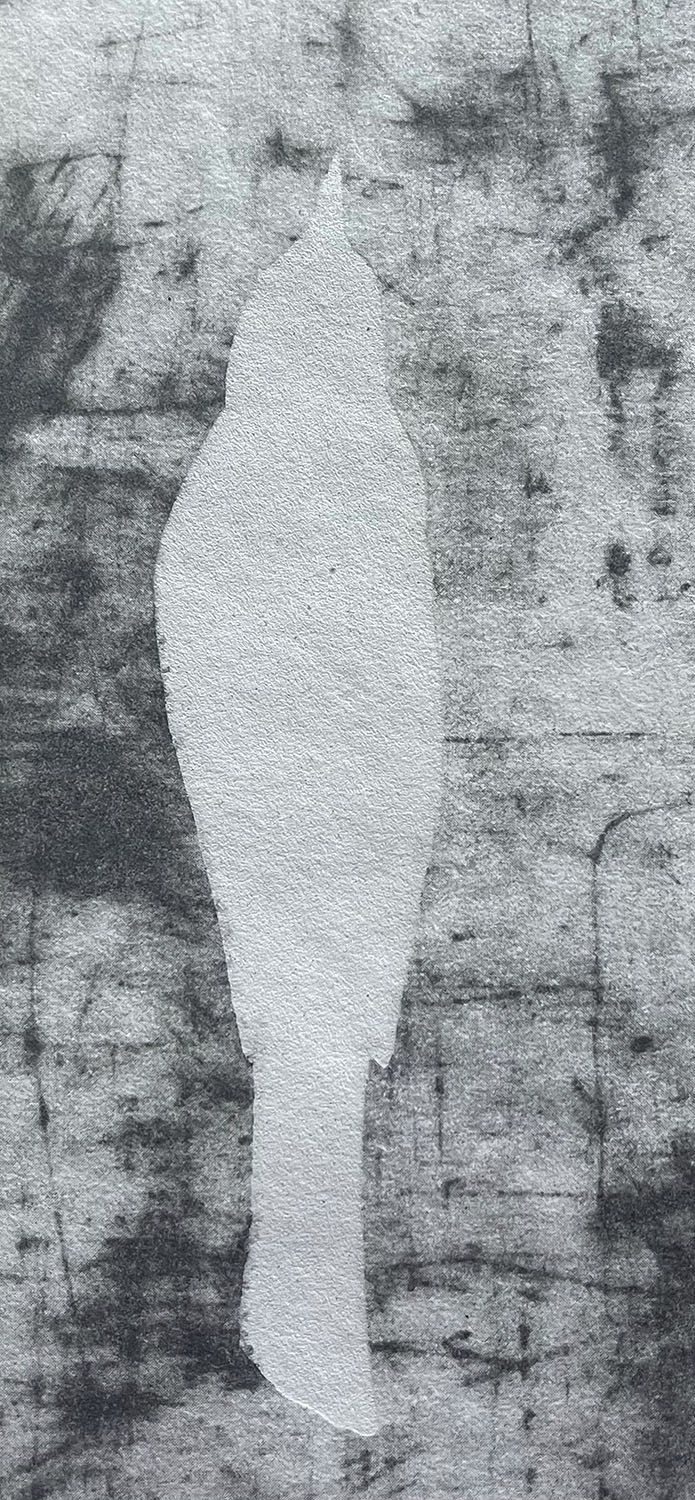
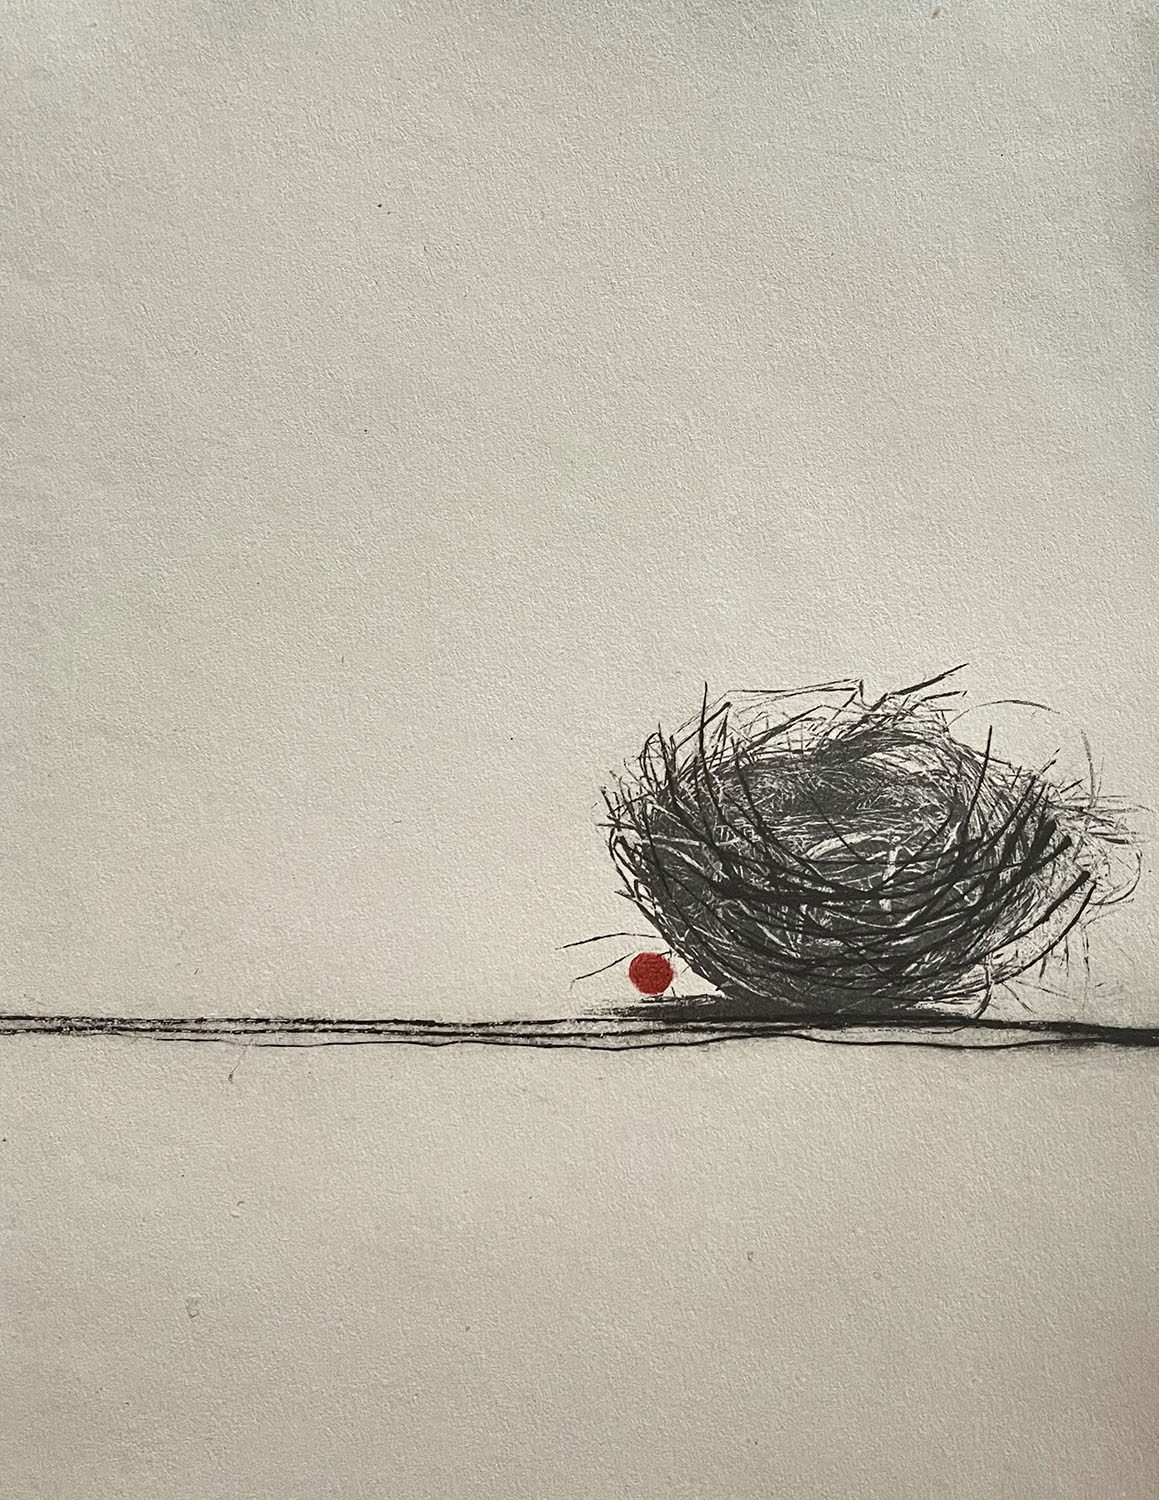
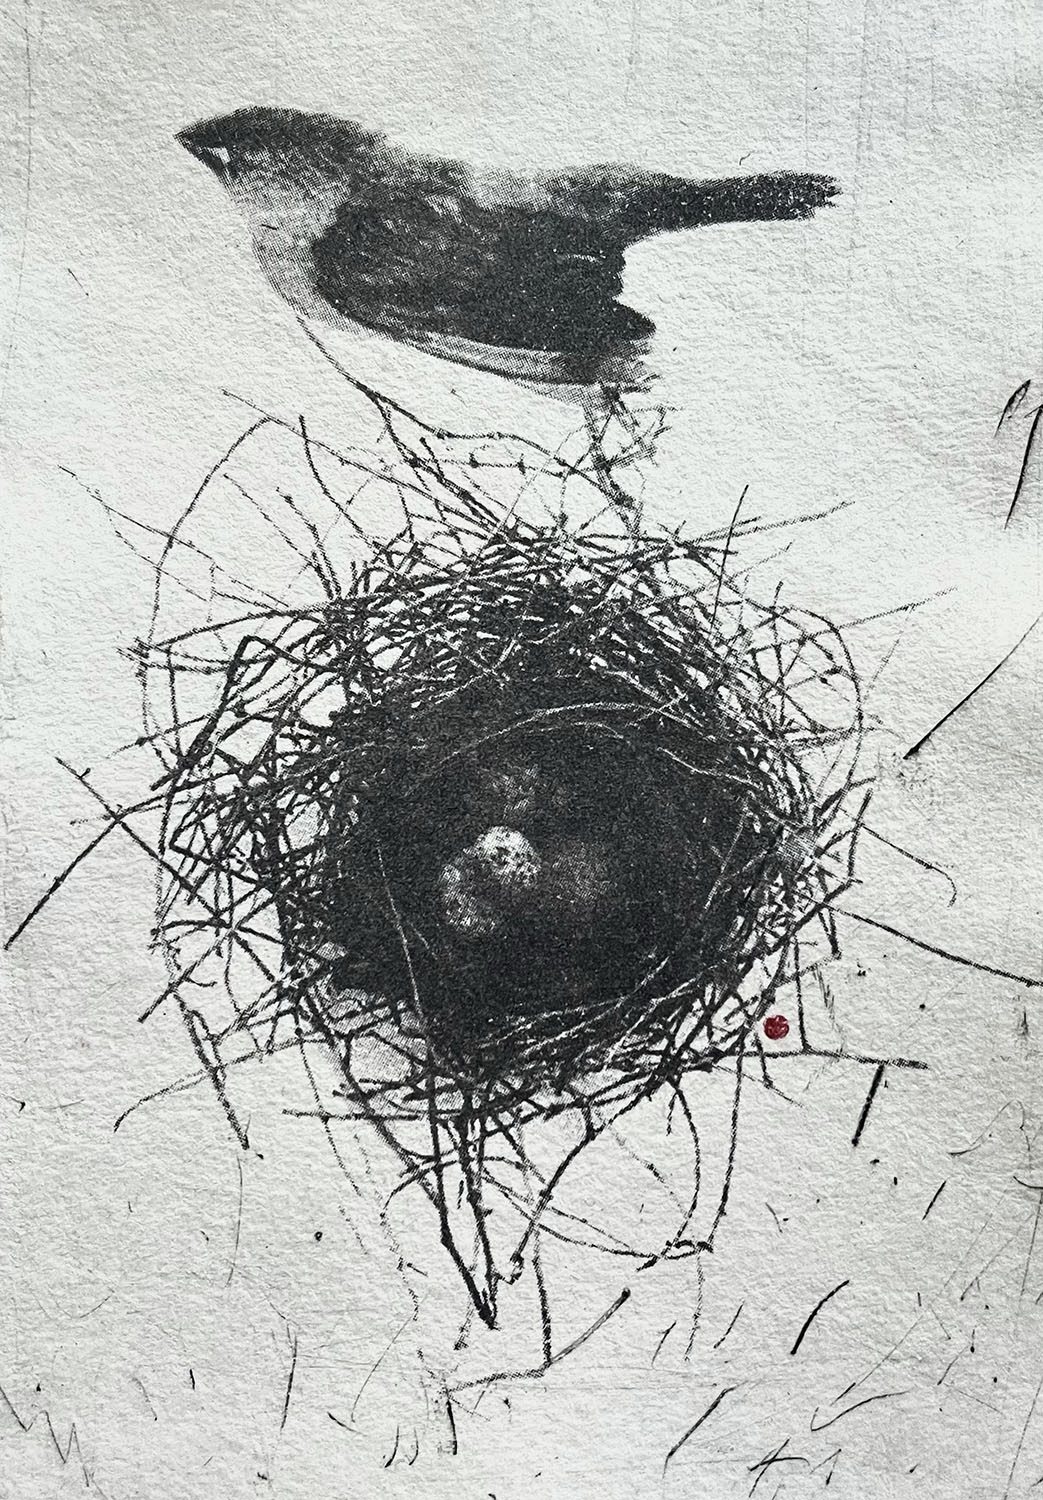
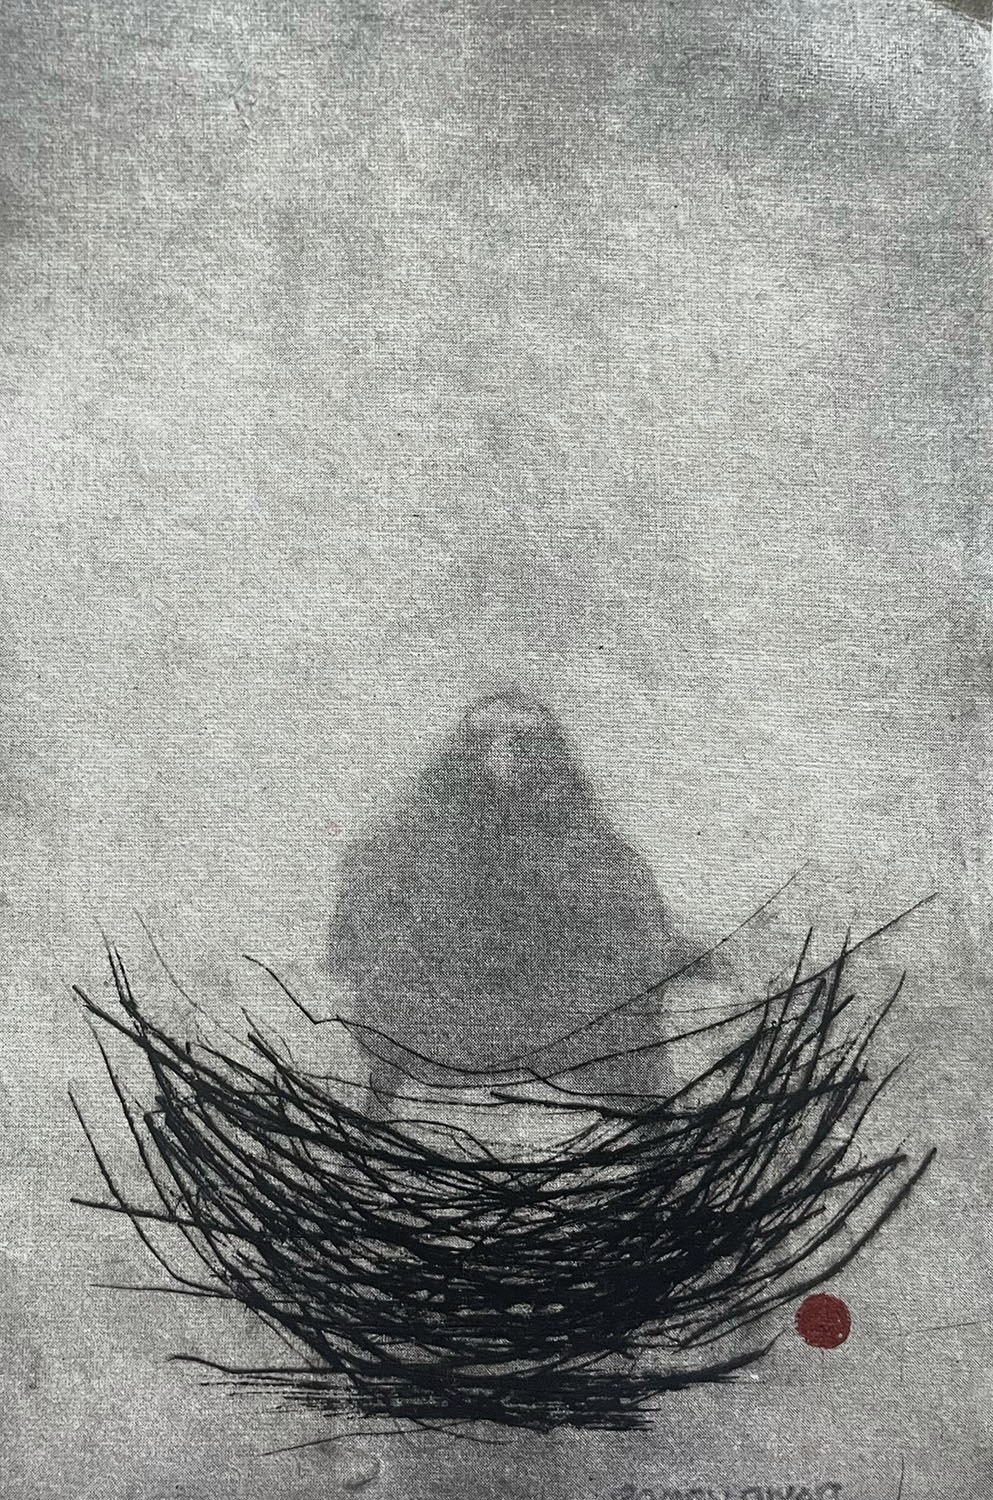
Bird
#9 — Dulcet Gray
Drypoint & transfer method on BFK Rives paper
24 x 18 cm
$120
#10 — Dulcet Gray
Drypoint & transfer method on BFK Rives paper
24 x 19 cm
$120
#11 — Dulcet Gray
Drypoint & transfer method on BFK Stonehenge paper
24 x 18 cm
$120
 Sold
Sold
#12— Dulcet Gray
Drypoint & transfer method on BFK Stonehenge paper
24 x 19 cm
$120 Sold
#14 — Dulcet Gray
Drypoint & transfer method on BFK Rives paper
24 x 18 cm
$120
 Sold
Sold
#15— Dulcet Gray
Drypoint & transfer method on BFK Rives paper
24 x 19 cm
$120 Sold
#16 — Dulcet Gray
Drypoint & transfer method on BFK Rives paper
23 x 17cm
$120
#17 — Dulcet Gray
Drypoint & transfer method on BFK Stonehenge paper
24 x 19 cm
$120
 Sold
Sold
#18 — Dulcet Gray
Drypoint, gouache & transfer method on fontaine paper
23 x 18 cm
$120 Sold
#19— Dulcet Gray
Drypoint & transfer method on BFK Rives
18x24cm
$30
#20 — Dulcet Gray
Drypoint & transfer method on BFK Rives paper
18 x 12 cm
$80
#21— Dulcet Gray
Drypoint, gouache & transfer method on Stonehenge paper
$30
#22— Dulcet Gray
Drypoint, gouache & transfer method on Stonehenge paper
$30
 Sold
Sold
#23— Dulcet Gray
Drypoint, gouache & transfer method on Fontaine paper
$30 Sold

#24— Dulcet Gray
Drypoint & transfer method on Fontaine
$30
#25— Dulcet Gray
Drypoint & transfer method on Stonehenge.
$30

#26— Dulcet Gray
Drypoint & transfer method on BFK Rives
18x24cm
 Sold
Sold
#27 — Dulcet Gray
Drypoint, gouache & transfer method on fontaine paper
18 x 15 cm
$80 Sold
 Sold
Sold
#29— Dulcet Gray
Drypoint & transfer method on BFK Rives paper
17x12 cm
$80 Sold
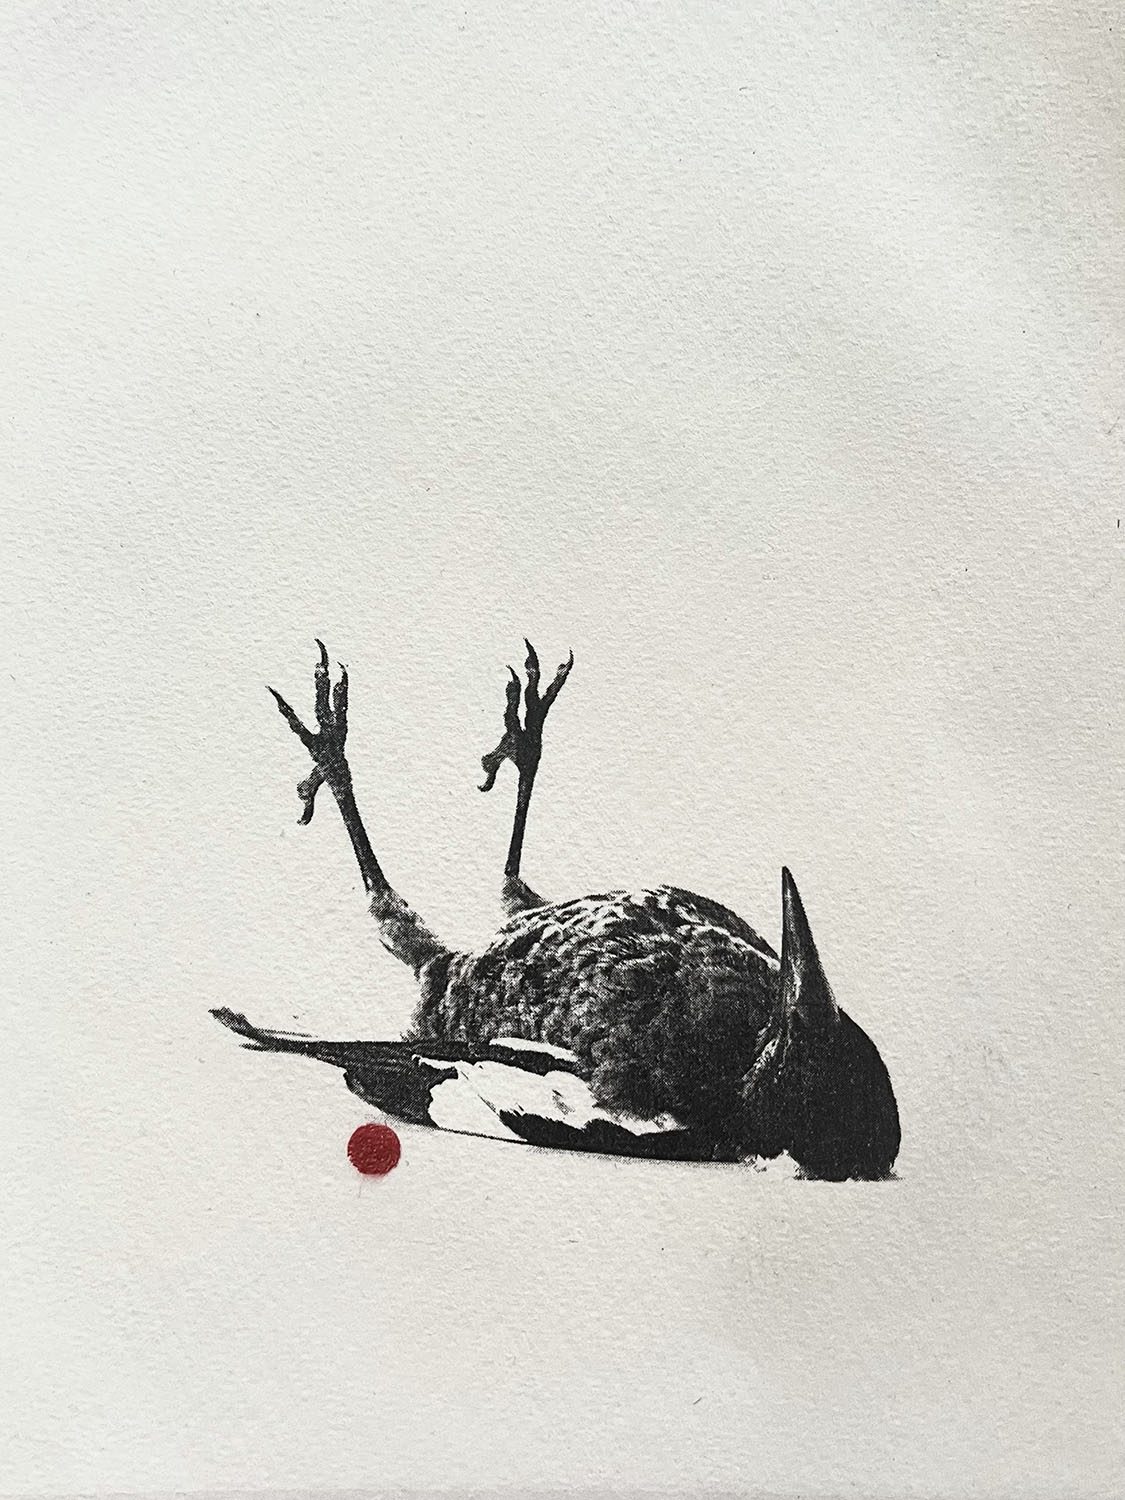
#29 Bird — Dulcet Gray
Drypoint & transfer method on BFK Rives paper
17 x 12 cm
$80
 Sold
Sold
#31— Dulcet Gray
Drypoint & transfer method on Khadi paper
14 x 14cm
$80 Sold
 Sold
Sold
#32— Dulcet Gray
Drypoint & transfer method on Fabriano paper
11 x 8cm
$40 Sold
 Sold
Sold
#33— Dulcet Gray
Drypoint & transfer method on Handmade Llama hair paper
6x10cm
$30 Sold
 Sold
Sold
#34 — Dulcet Gray
Drypoint & transfer method on Kozo paper
11x7cm
$30 Sold
 Sold
Sold
#35— Dulcet Gray
Drypoint & transfer method on Fabriano paper
13 x 8 cm
$40 Sold
 Sold
Sold
#37— Dulcet Gray
Drypoint on BFK Rives
14x14cm
$30 Sold
 Sold
Sold
#36— Dulcet Gray
Drypoint & transfer method on Khadi paper
14 x 13cm
$40 Sold
 Sold
Sold
#38— Dulcet Gray
Drypoint & transfer method on BFK Rives
12x19cm
$30 Sold
 Sold
Sold
#39 — Dulcet Gray
Drypoint & transfer method on Khadi paper
15 x 11cm
$40 Sold
 Sold
Sold
#40— Dulcet Gray
Drypoint & transfer method on BFK Rives paper
18 x 10 cm
$40 Sold
 Sold
Sold
#41— Dulcet Gray
Drypoint & transfer method on Stonehenge paper
16 x 10cm
$40 Sold
#42— Dulcet Gray
Drypoint & transfer method on Stonehenge paper
16 x 10cm
$40
#43— Dulcet Gray
DRYPOINT & TRANSFER METHOD ON STONEHENGE PAPER
11 x 16cm
$40 Sold
 Sold
Sold
#44— Dulcet Gray
Etching & transfer method on BFK Rives paper
18 x 12 cm
$80 Sold

#46 — Dulcet Gray
Drypoint & transfer method on Indian cotton rag
$30
#47— Dulcet Gray
ETCHING & TRANSFER METHOD ON BFK RIVES PAPER
38 x 24cm
$140

#48 — Dulcet Gray
Etching & transfer method on BFK Rives paper
38 x 24 cm
$140
#53 — Dulcet Gray
15 x 10 cm
$30
#49 — Dulcet Gray
Etching & transfer method on BFK Rives paper
34 x 26 cm
$140
 Sold
Sold
#91 — Dulcet Gray 2021
Drypoint & transfer method on BFK Rives paper
15 x 10 cm
$40 Sold
69 — Dulcet Gray